How to set up an SSH key
When you want to gain SSH access to a server, you need to generate a public/private keypair on your local computer. The private key is stored on your local machine, and should not be shared, while the public key is what you add to your Webdock account, and then assign to your shell users on your servers. Click here to read our article on how to use your Public Key with Webdock.
This article just deals with how you can create an appropriate SSH key on your local machine for use with Webdock.
Generate a Key directly in the Webdock Dashboard
You can now just generate a new public/private key pair directly in the Webdock Dashboard in the Add Public Key dialog window. You can access it by clicking the plus sign next to any shell user or on the Create Shell User screen, or in your Account area.
Webdock will generate a 2048bit SHA-512 RSASSA-PKCS1-v1_5 key which is a good balance between security and speed. Once you have generated a new Public/Private keypair you should save the Private Key to a file on your system and then click the “Save Public Key” button which will save the public key against your Webdock Account.
You can then assign this Public Key to any Shell User on any server in your Webdock Account.
The location where your Private Key should be placed and appropriate permissions for the Private Key file on your local file system are described in the following sections on this page.
MacOS/Linux
Setting up SSH keys is easiest on Mac and Linux, and is practically identical. By default, the system adds keys to the /Users/<yourname>/.ssh directory on MacOS and /home/<username>/.ssh on Linux.
From the terminal, enter ssh-keygen at the command line.
The command prompts you for a file to save the key in:
$ ssh-keygen
Sample output:
Generating public/private rsa key pair.
Enter file in which to save the key (/Users/yourusername/.ssh/id_rsa): <-- Press the Enter or Return key
You should just accept the default location, unless you have a reason to change it.
You should enter and re-enter a passphrase when prompted, if you want to password protect your key. This is more secure, but adds an additional password prompt whenever you want to log in to your Webdock server. Strictly speaking, the password can be omitted if you feel secure that your local system will not be compromised. You have to weigh convenience vs. risk here.
You can now list the contents of ~/.ssh to view the key files.
$ ls ~/.ssh
Sample output:
id_rsa id_rsa.pub
To view your public key, which is the one you should copy/paste into the Webdock interface, execute the following command:
$ cat ~/.ssh/id_rsa.pub
Sample output:
ssh-rsa AAAAB3NzaC1yc2EAAAABJQAAAIEAjm/8tQdXJ8gXETIOh3h6V+7KPAe+e9OUlBps a55Ky+1Ry1E2unGDDQNGqRVh9gmhL5p27NH0Bfd4kksa6Lm1WTnRirZCvHaVIPQ8 k4RTU73KJ9WnXmEi34hiMbmTjnrKLs+6YqLUqGmyyd/GK3Vs/9JYGhFHzc4qS2wk cmHKKws= mike@mymacbook
Congratulations, you now have your SSH key all set up!
Setting Proper Permissions on your SSH Key
Once you have created your ssh key either on your local machine or generated a key pair in the Webdock dashboard and downloaded it to your local machine, it’s a best practice to set proper permissions on the ssh key. Otherwise, the key will be ignored and you’ll not be able to log into your server.
For the private key and the public key, set the permission to 600. And for the .ssh folder a 700.
If you have generated the key on your local machine with default naming convention :
$ chmod 600 ~/.ssh/id_rsa
$ chmod 600 ~/.ssh/id_rsa.pub
$ chmod 700 ~/.ssh/
If you downloaded the private key from the Webdock dashboard :
$ chmod 600 <path-to-private-key>
Windows 10 or later
One easy way to achieve this on Windows is to install the Linux subsystem for Windows and just run Bash on your Windows machine, and then follow the same instructions as for Linux. You should then connect via. SSH through your Bash shell. For more information on how to run Linux on Windows, click here.
If you don't want to bother with installing Linux on your Windows machine, you can also generate an SSH key using the Open Source application Tera Term.
On Windows using Putty
Click here to read our full guide on how to use Putty to generate keys and connect to your Webdock server.
On Windows using Tera Term
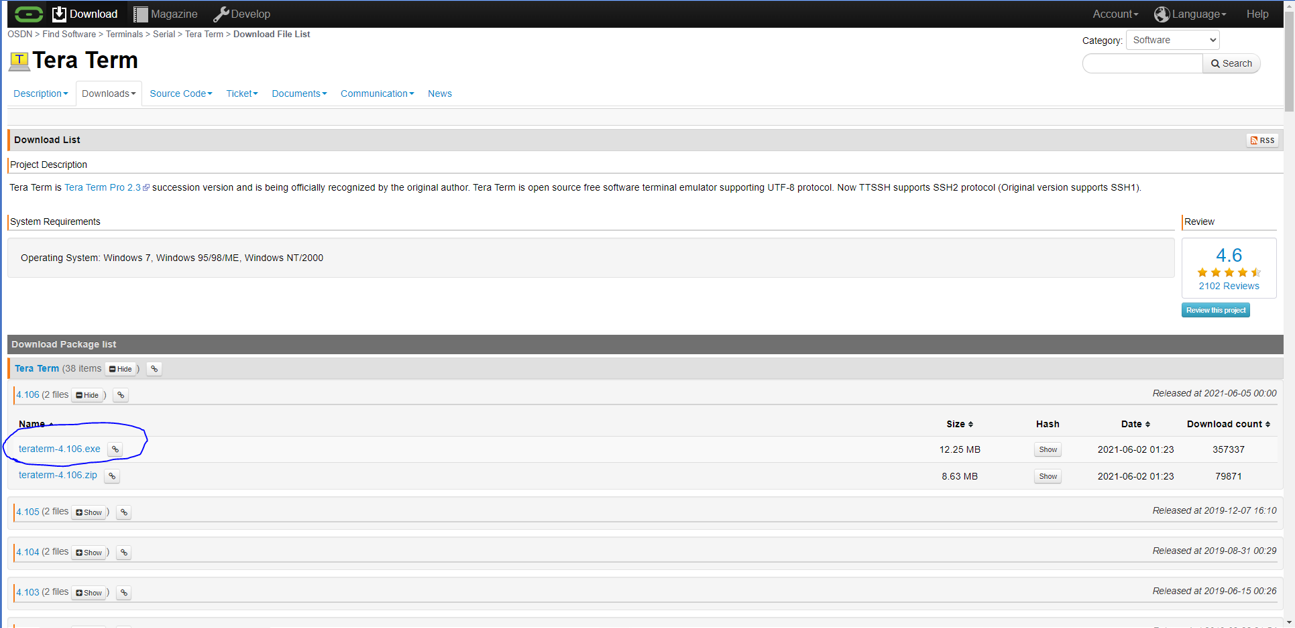
Download Tera Term from here: https://osdn.net/projects/ttssh2/releases/
Agree to the Terms of Service. Then install it without changing any settings.
Launch the software. Press “Cancel” to close the window that appears.
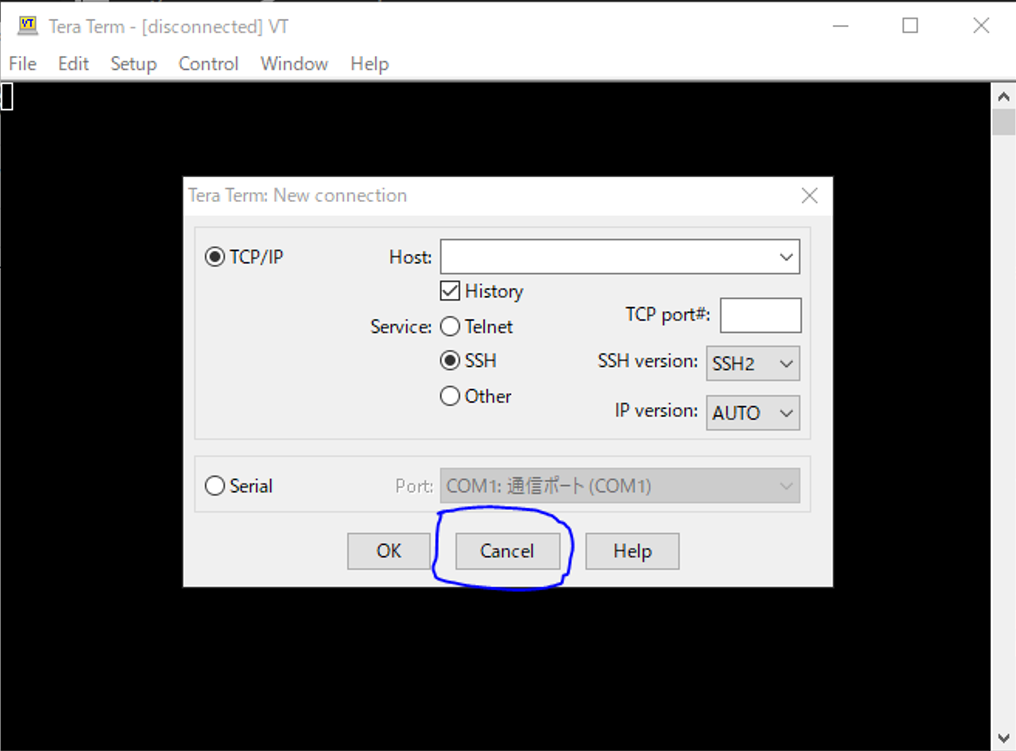
Click “Setup” and then “SSH Key Generator” to start the SSH Key Generator.
What kind of encryption settings should I use?
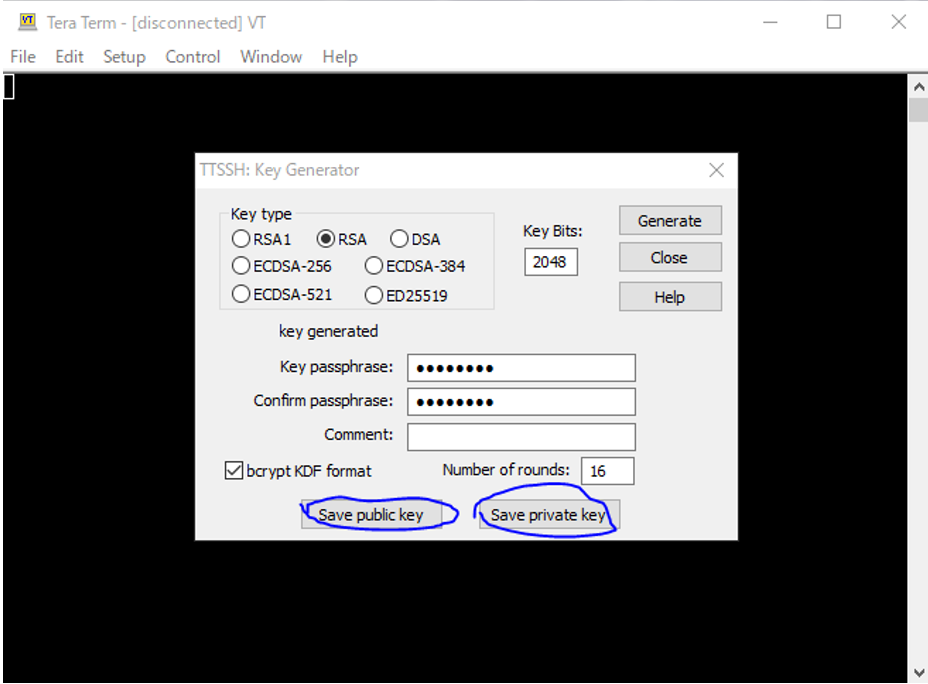
Basically, we recommend that you set the “Key Type” to RSA. RSA1 is strongly discouraged because of the possibility of decryption. RSA is the primary “key type”. ECDSA has been gaining attention as a successor to RSA. However, there are no security problems with either RSA or ECDSA at present, so you can choose either one. However, I think it is better to choose RSA, which is used by many people. ECDSA or RSA is a small issue, so if you are not particular about it, RSA is fine.
How many values should I use for “Key bits”?
Basically, 2048 bits. The larger the value of “Key bits”, the more difficult key becomes. The larger the value of “Key bits”, the more difficult it becomes, but if you make it too large, it will take longer to communicate. So let’s choose 2048 bits.
(Optional) Set the password for the SSH key
You can think of your SSH Key as being your password in a very complicated encrypted format. However, if you want to protect your keyfile in case it gets stolen or lost from your computer, you can add a password to it. You will be prompted to enter this password every time you connect to your server and you must then keep in mind that this is just a password to open up your keyfile and not the same password as for your sudo user on the server, for example.
If you are satisfied with your private key settings, click “Generate.
Finally, click “Save Public Key” and “Save Private Key” and save the files in any directory to get your private and public keys. (Note: Be careful not to lose your private key. (If you lose it, in the worst case, you will not be able to access your machine.)
How to add your Public Key to your Webdock VPS
Unlike other VPS providers you can easily add your newly generated public key to your Webdock server through our Control Panel.
First, go to the server administration page (click on your server name once logged in).
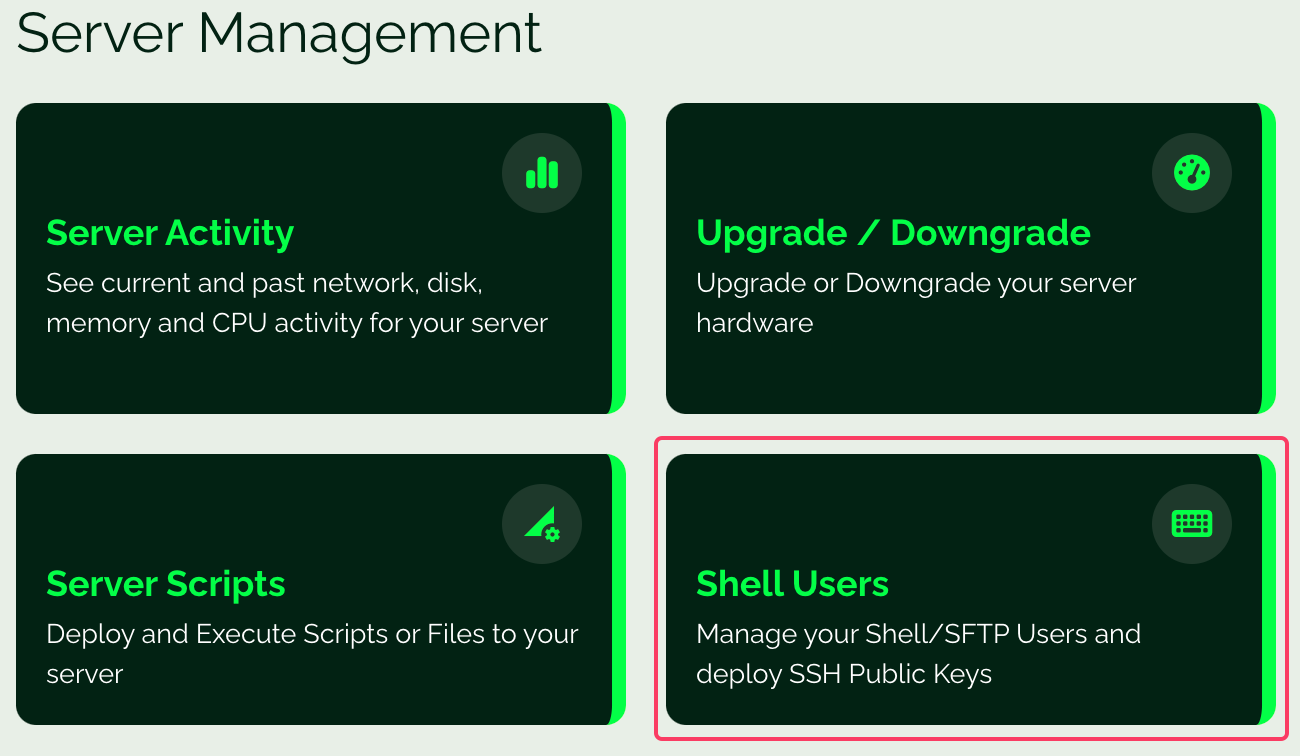
Next, click on “MANAGE SHELL USERS” at the bottom of the server administration page or find it in the main server menu (big red menu button at the top right of the screen).
Next, open the public key (extension .pub) that you just saved in any editor of your choice. (We will use vscode here, but you can also use the standard Windows Notepad). Then, copy the text in the file.
Then, create a vps server account. Choose a password and a user name, and click “ADD USER”.
Click here.
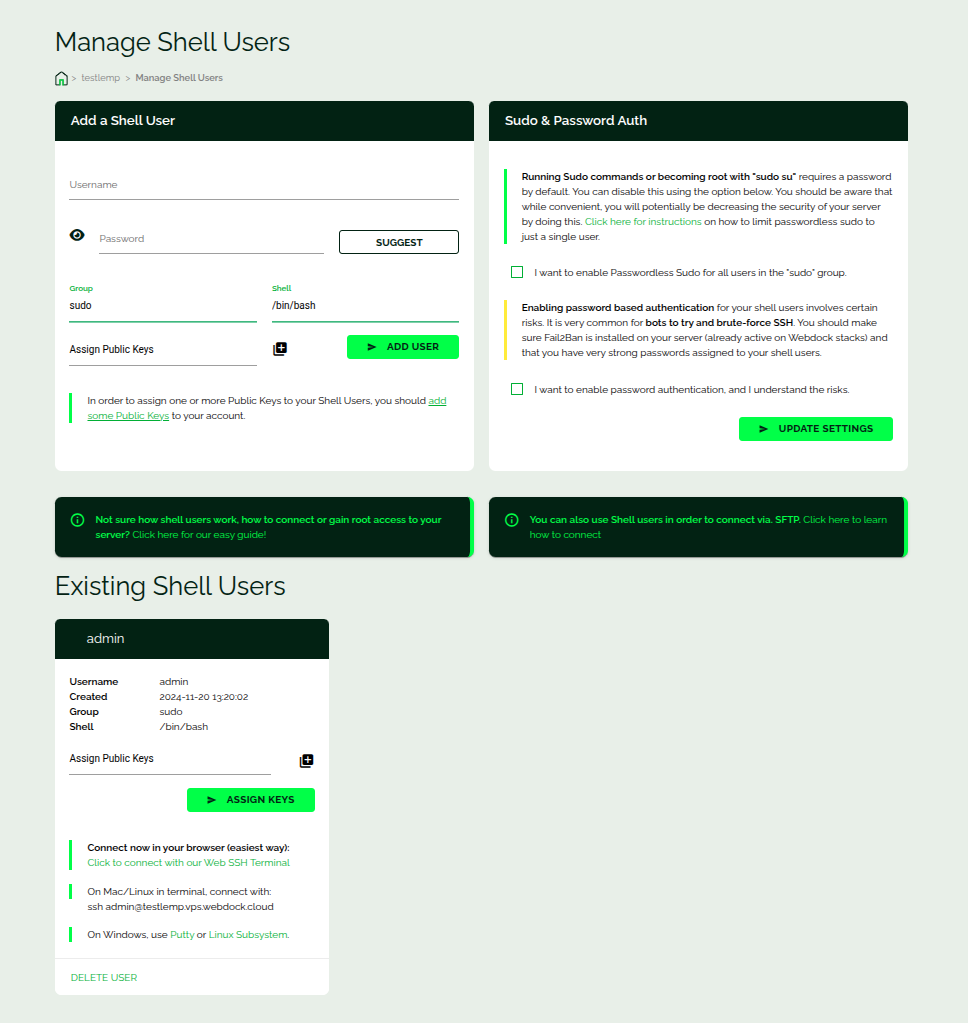
The “key name” can be any name. For “Your public key”, paste the one you copied earlier Then click “ASSIGN KEY” to add your private key.
Finally, click on “Assign Public Keys” and select the information you have just set. Click “ASSIGN KEYS” to finish the process.
