Introduction
This article details how to configure Virtual Hosting for Apache. If you are looking for a guide for Nginx, click here.
There are several reasons you may want to host multiple websites on a single server. If you are using a dedicated server / VPS and want to host multiple applications on a separate domain and a single server then you will need to host multiple websites on a single server. You can achieve this with Apache / Nginx virtual hosting. Virtual hosting allows you to use a single VPS to host all your domains. Hosting multiple websites on a single server is an affordable VPS solution to reduce your overall infrastructure spend.
There is, in theory, no limit to the number of sites that you can host on your VPS with Apache or Nginx. But, make sure that your server has enough disk space, CPU and RAM.
In this tutorial, we will learn how to set up multiple websites On Ubuntu VPS with Apache.
Please note: Doing these actions may bring down your server. Do not do this on a live site without knowing the potential consequences.
Prerequisites
- A fresh Webdock cloud Ubuntu instance with a LAMP stack installed.
- Two valid domain names are pointed with your VPS IP address. In this tutorial, we will use web1.webdock.io and web2.webdock.io.
- You have shell (SSH) access to your VPS.
Note : You can refer the Webdock DNS Guide to learn how to manage your DNS records.
Configure Apache to Host Multiple Websites
In this section, we will show you how to host two websites named web1.webdock.io and web2.webdock.io on a single Ubuntu VPS with Apache webserver.
Create Directory Structure
Before starting, make sure LAMP stack is installed on your VPS. You can check the Apache webserver status with the following command:
systemctl status apache2
Next, you will need to create a directory structure and sample content for each website.
First, create a document root directory for both websites with the following command:
mkdir /var/www/html/web1.webdock.io
mkdir /var/www/html/web2.webdock.io
Next, create sample website content for each website:
To do so, create a index.html file for web1.webdock.io website:
nano /var/www/html/web1.webdock.io/index.html
Add the following code:
<html>
<title>web1.webdock.io</title>
<h1>Welcome to the web1.webdock.io with Apache webserver.</h1>
</html>
Save and close the file.
Next, create a index.html file for web2.webdock.io website:
nano /var/www/html/web2.webdock.io/index.html
Add the following code:
<html>
<title>web2.webdock.io</title>
<h1>Welcome to the web2.webdock.io with Apache webserver.</h1>
</html>
Save and close the file. Then, change the ownership of both website directory to www-data:
chown -R www-data:www-data /var/www/html/web1.webdock.io
chown -R www-data:www-data /var/www/html/web2.webdock.io
Create Virtual Configuration
Next, you will need to create a virtual host configuration file for each website that indicate how the Apache web server will respond to various domain requests..
First, create a virtual host configuration file for web1.webdock.io website:
nano /etc/apache2/sites-available/web1.webdock.io.conf
Add the following lines:
<VirtualHost *:80>
     ServerAdmin [email protected]
     DocumentRoot /var/www/html/web1.webdock.io
     ServerName web1.webdock.io

     <Directory /var/www/html/web1.webdock.io/>
        Options Indexes FollowSymLinks MultiViews
        AllowOverride All
        Order allow,deny
        allow from all
     </Directory>

     ErrorLog ${APACHE_LOG_DIR}/web1.webdock.io_error.log
     CustomLog ${APACHE_LOG_DIR}/web1.webdock.io_access.log combined
</VirtualHost>
Save and close the file. Then, create a virtual host configuration file for web2.webdock.io website:
nano /etc/apache2/sites-available/web2.webdock.io.conf
Add the following lines:
<VirtualHost *:80>
     ServerAdmin [email protected]
     DocumentRoot /var/www/html/web2.webdock.io
     ServerName web2.webdock.io

     <Directory /var/www/html/web2.webdock.io/>
        Options Indexes FollowSymLinks MultiViews
        AllowOverride All
        Order allow,deny
        allow from all
     </Directory>

     ErrorLog ${APACHE_LOG_DIR}/web2.webdock.io_error.log
     CustomLog ${APACHE_LOG_DIR}/web2.webdock.io_access.log combined
</VirtualHost>
Save and close the file. Then, enable virtual host configuration files with the following command:
a2ensite web1.webdock.io
a2ensite web2.webdock.io
Finally, restart Apache web service to apply the configuration changes:
systemctl restart apache2
Test Your Websites
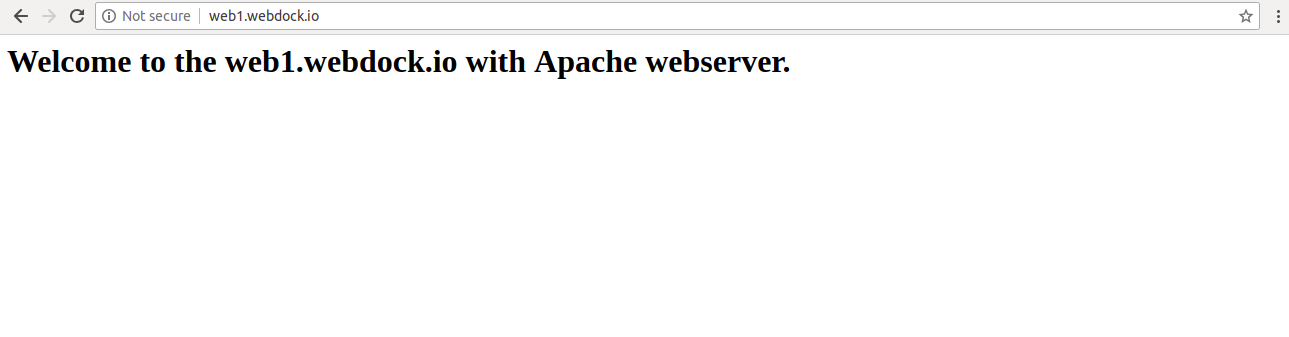
Now, open your web browser and type the URL http://web1.webdock.io and http://web2.webdock.io. You should see both websites with content we have created earlier in the following page:
web1.webdock.io
web2.webdock.io

Add PHP-FPM Support to Apache
PHP-FPM also known as a “PHP-FastCGI Process Manager” is a FastCGI handler for PHP scripts and applications. It allows a website to handle high loads. PHP-FPM is faster than traditional CGI-based methods for multi-user PHP environments. PHP-FPM allows you to host multiple applications that uses different PHP versions.
You probably want to enable PHP support as otherwise things like WordPress will not work. As your starting point was a Webdock LEMP stack, then everything is installed and configured correctly for the PHP version in your stack already. In this example, we are using php 7.3 – replace the version number with whatever is appropriate for the stack you started out with.
To enable PHP-FPM support on web1.webdock.io website, open the existing default webdock config for your server at /etc/apache2/sites-available/webdock.conf
nano /etc/apache2/sites-available/webdock.conf
Copy the following lines:
    <FilesMatch .php$>
        # 2.4.10+ can proxy to unix socket
         SetHandler "proxy:unix:/run/php/php7.3-fpm.sock|fcgi://localhost"
    </FilesMatch>
Next, open Apache virtual host configuration file for website web1.webdock.io with the following command:
nano /etc/apache2/sites-available/web1.webdock.io.conf
Paste all the lines which you have copied from webdock config file as shown below:
<VirtualHost *:80>
     ServerAdmin [email protected]
     DocumentRoot /var/www/html/web1.webdock.io
     ServerName web1.webdock.io

     <Directory /var/www/html/web1.webdock.io/>
        Options Indexes FollowSymLinks MultiViews
        AllowOverride All
        Order allow,deny
        allow from all
     </Directory>

    <FilesMatch .php$>
        # 2.4.10+ can proxy to unix socket
         SetHandler "proxy:unix:/run/php/php7.3-fpm.sock|fcgi://localhost"
    </FilesMatch>

     ErrorLog ${APACHE_LOG_DIR}/web1.webdock.io_error.log
     CustomLog ${APACHE_LOG_DIR}/web1.webdock.io_access.log combined
</VirtualHost>
Save and close the file. Then, restart Apache and PHP-FPM service to apply the configuration changes:
systemctl restart apache2
systemctl restart php7.3-fpm
Repeat the same process for website web2.webdock.io
Conclusion & Next Steps
Congratulations! you have successfully host two websites on a single Ubuntu VPS. I hope you have now enough knowledge to host unlimited number of websites on your own server. For more information about virtual hosting, you can visit Apache Virtual Hosting.
You may also want to secure your new websites with Let’s Encrypt SSL certificates. The standard Webdock control panel can only handle a single website / webroot so if you want to secure all your sites on the same server, you need to do so manually as well. Click here to learn how to issue SSL certificates for all your websites.
