Introduction
This guide provides instructions for creating a Minecraft server using the Pterodactyl game server panel.
Prerequisites
- This guide assumes you’ve already installed Pterodactyl on your server. If not, install it using this guide.
- Shell access to your VPS.
Creating Minecraft Game Server
Before creating a Game server, you need to allocate IP and ports to your node.
On the right-hand side, you’ll find Assign New Allocations section. Add your server’s IP address to the IP address box, give it an optional alias and add relevant ports.
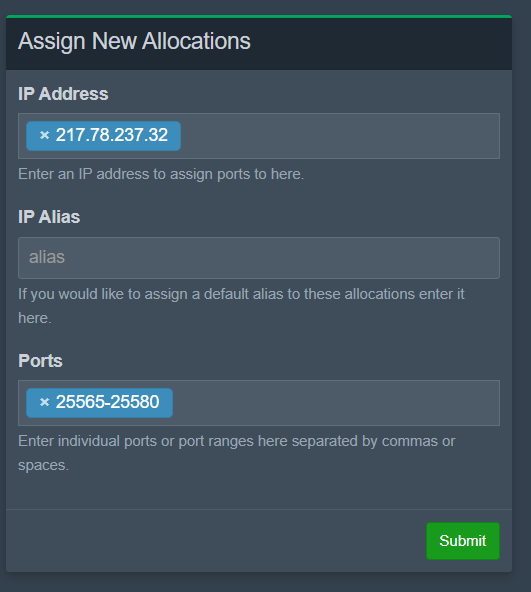
Since I will set up a Minecraft server, I will add the ports from 25565 – 25580.
After this, you need to open up the ports you’ve mentioned. Go to your terminal and run the following by replacing the port number with the port numbers you’ve used:
### Switching to root user and opening ports in firewall

# sudo su -
# ufw allow 25565:25580/tcp
Now navigate to the servers section on the left and click on Add New.
You can assign the name of the server to whatever you’d like. You can also add an optional description to your server to help you distinguish.
Once that’s done, you must assign the server to a User. I am just going to select my profile for the same.
Select the Node we made a while back from the dropdown. Now that would select the most immediate IP address and Port in the Allocations. You can choose another from the list if you wish to change the port/IP address. You may also select Additional Allocations.
I will leave everything in the Application Feature Limits and Resource Management to 0 (unlimited), the CPU pinning blank, and the Block IO to its default value. You may adjust the same as per your requirements.
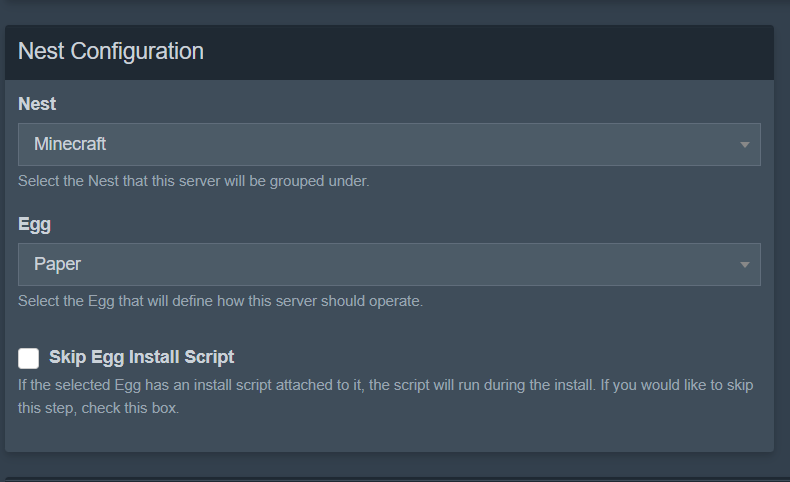
After this, I will select Minecraft from the nest. You can also choose the game you wish to run from the list. Select ‘Paper’ from the Egg dropdown if you’re setting up a Minecraft server.
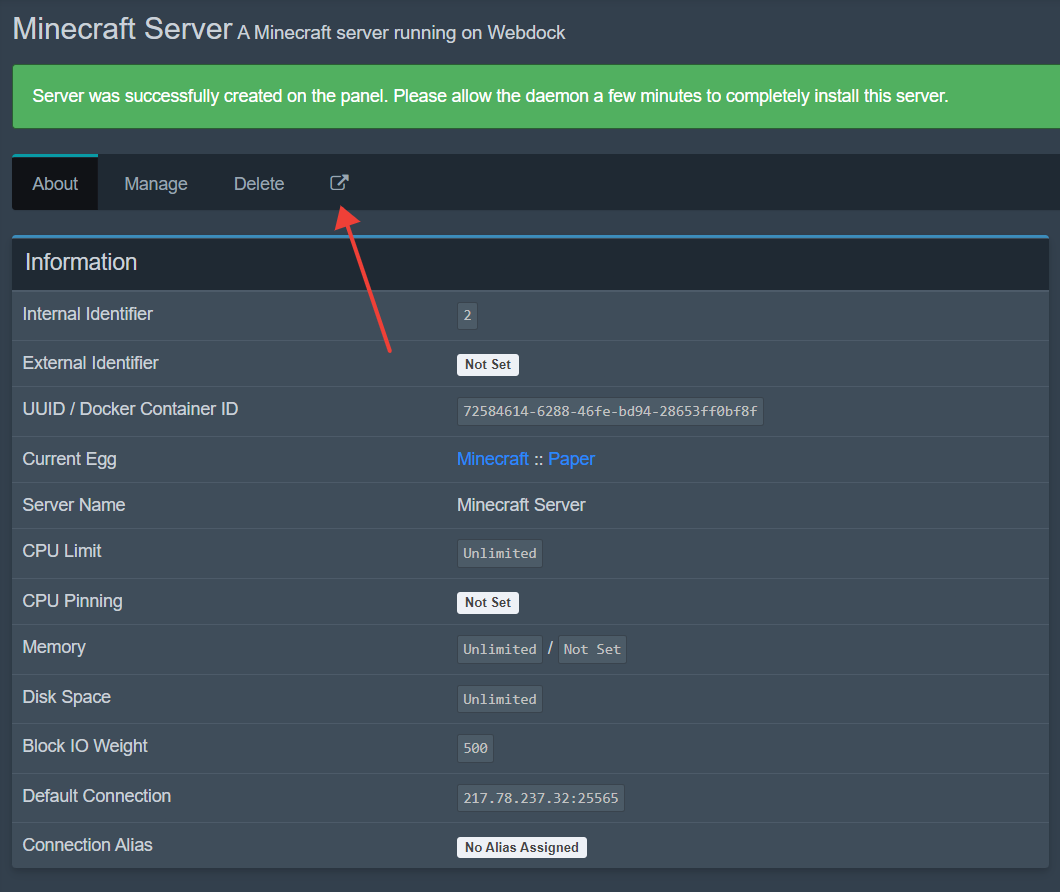
Click on Create Server. You will be redirected to a view panel with a success message. Click on the open in a new tab icon to open the server container.
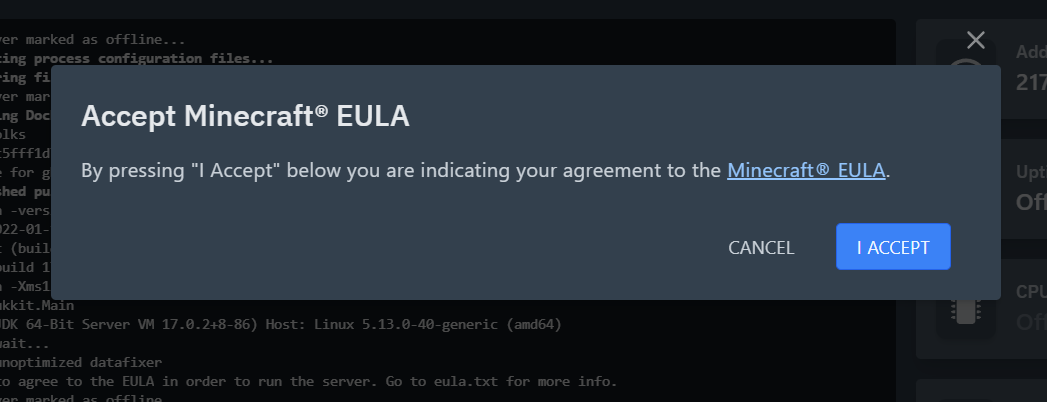
To continue the setup, you may need to accept your Game’s EULA/Terms and Conditions/Privacy Policy.
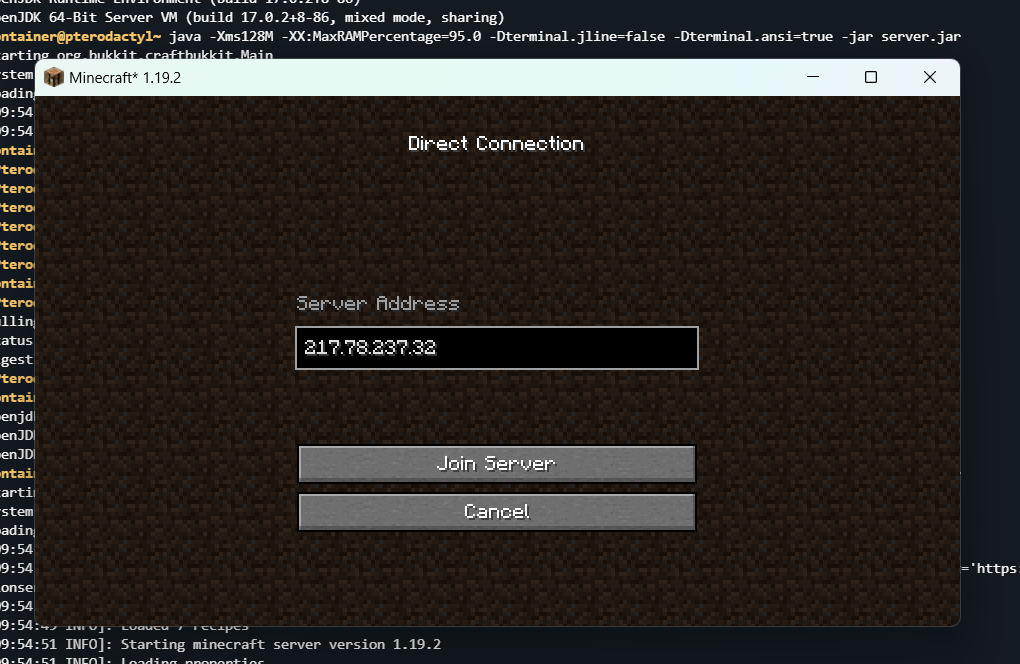
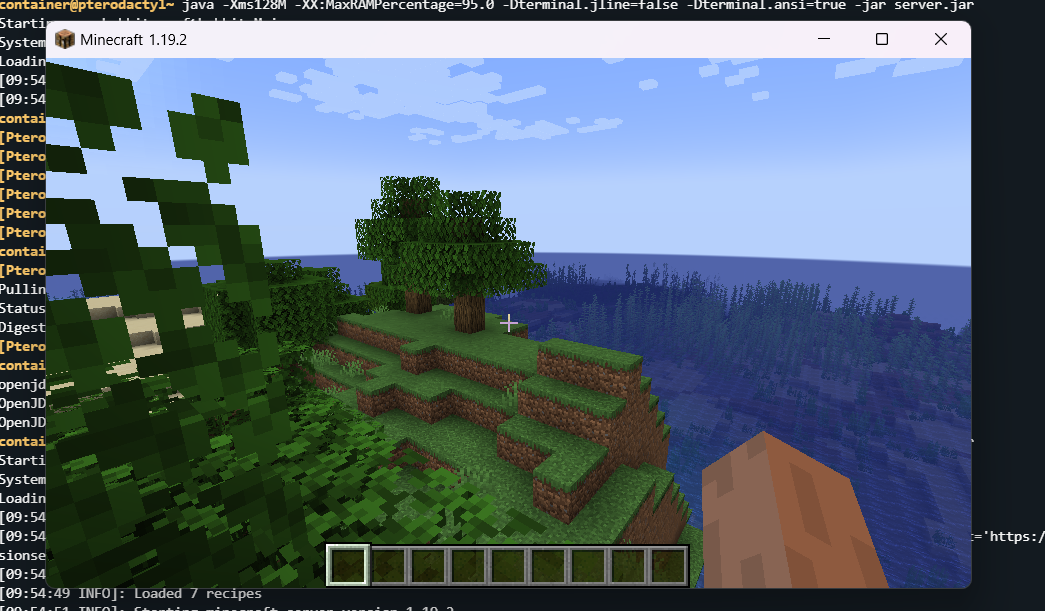
Once the server is set up entirely, simply paste the IP address of your VPS inside your Minecraft game, and voila!
Conclusion
You now have your Minecraft game server ready 🙂
Contact Webdock Support if you have any issues.
Aayush Nair has been a passionate freelance WordPress designer for the past eight years. He likes to share his knowledge to help and enrich the community in his free time.
