Introduction
Developed and maintained by the Apache Software Foundation, Apache HTTP Server is a free and open-source web server that powers 67% of the websites in the world. It’s reliable and secure and can be easily customized to meet the needs of many different environments via extensions and modules.
While Nginx is the new favorite of performance and efficiency enthusiasts, Apache can provide high performance in various real-world situations.
Prerequisites
- A Linux Server (Demonstrations in Ubuntu in this documentation)
- Access to your Apache configuration file
- Most Important: A Backup of your server
Most Apache configuration files are stored in /etc/apache2/apache2.conf. Check with your VPS provider/ Host if you can’t find the Apache configuration file.
Webdock users can access their’s by running the following command as a sudo user:
$ sudo nano /etc/apache2/apache2.conf
You should also restart Apache after changing the values in each step by running:
$ sudo systemctl restart apache2
Lower the Timeout
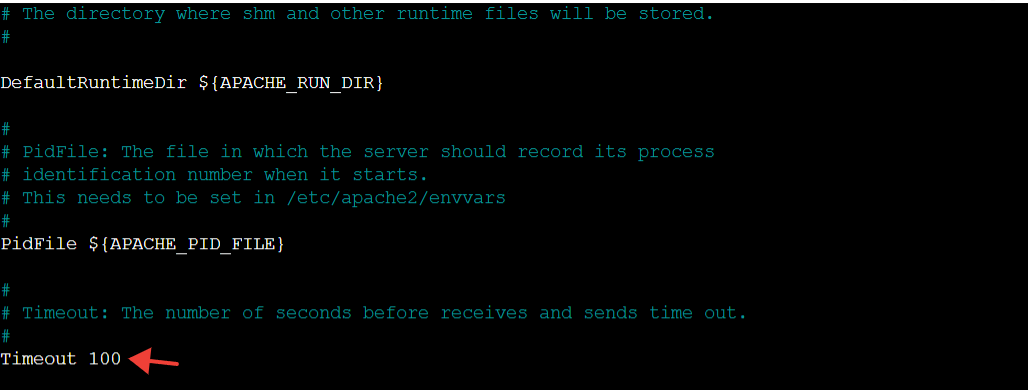
The Timeout setting is the number of seconds before data “send” or “receives” (to or from the client) times out.
Determining the ideal Timeout value depends on both traffic habits and hosted applications. Large timeouts can cause problems for website visitors, including making them wait longer for pages to load. They can also make servers more vulnerable to SlowLoris-style DOS attacks.
On the other hand, low timeouts can cause scripts to terminate earlier than expected. The key is to strike a balance between the two poles.
I like to keep 100-120 for servers with limited resources and 60 for servers under average resources.
Tweak Apache’s KeepAlive
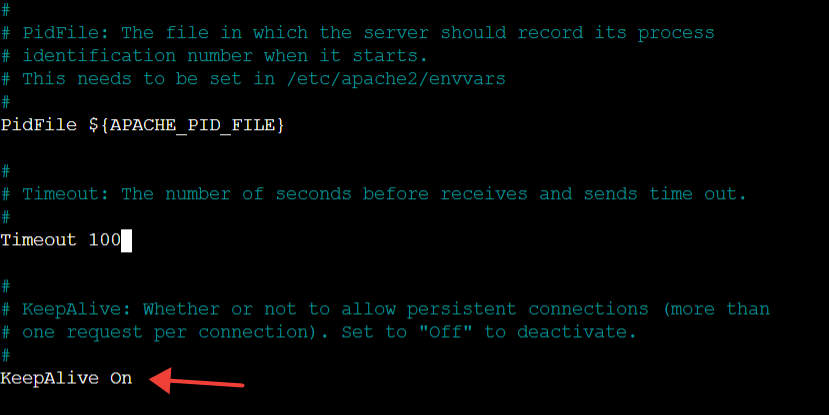
By changing the KeepAlive setting to On, Apache will allow more than one request per connection. This can be highly beneficial for high-traffic servers as it has the potential to improve performance significantly.
KeepAlive is On by default on Webdock. If you’re unsure about your host, look for KeepAlive in your Apache configuration file and ensure it is ON.
Tweak Apache’s MaxAliveRequests
The MaxKeepAliveRequests property sets the maximum number of requests to accept per connection.
I like to keep the value to 500. Increasing this number may improve server performance, but only up to a certain point, as it depends on your resources.

Configure KeepAliveTimeout limit
KeepAliveTimeout represents the number of seconds that Apache will keep waiting for a new request from a connection before it finally decides to close the connection. It’s generally best to keep this number low.
To change the limit, find KeepAliveTimeout in the configuration file and change the value. I like to keep the value to 3.

Enable GZIP compression
Apache’s GZIP compression can help improve website speed and performance and also reduce the number of resources used by compressing data while sending responses. Install the GZIP module by running the following command as a sudo user:
$ sudo a2enmod deflate
Once you have installed the GZIP module, you must enable GZIP in the .htaccess file. To do so, run the following command to open the .htaccess file:
$ sudo nano /var/www/html/.htaccess
You should change the “/var/www/html” path if you use a different webroot.
And add the following lines to the file:
## Enable GZIP compression HTML, CSS, JS, Text, XML, fonts

<IfModule mod_deflate.c>
AddOutputFilterByType DEFLATE application/javascript
AddOutputFilterByType DEFLATE application/rss+xml
AddOutputFilterByType DEFLATE application/vnd.ms-fontobject
AddOutputFilterByType DEFLATE application/x-font
AddOutputFilterByType DEFLATE application/x-font-opentype
AddOutputFilterByType DEFLATE application/x-font-otf
AddOutputFilterByType DEFLATE application/x-font-truetype
AddOutputFilterByType DEFLATE application/x-font-ttf
AddOutputFilterByType DEFLATE application/x-javascript
AddOutputFilterByType DEFLATE application/xhtml+xml
AddOutputFilterByType DEFLATE application/xml
AddOutputFilterByType DEFLATE font/opentype
AddOutputFilterByType DEFLATE font/otf
AddOutputFilterByType DEFLATE font/ttf
AddOutputFilterByType DEFLATE image/svg+xml
AddOutputFilterByType DEFLATE image/x-icon
AddOutputFilterByType DEFLATE text/css
AddOutputFilterByType DEFLATE text/html
AddOutputFilterByType DEFLATE text/javascript
AddOutputFilterByType DEFLATE text/plain
AddOutputFilterByType DEFLATE text/xml
</IfModule>
Luckily, for Webdock users, we enable GZIP by default for you.
Enable MPM Event
The event Multi-Processing Module (MPM) is designed to serve more requests simultaneously. It does this by passing off some processing work to the listener threads, freeing up the worker threads to serve new requests. This can help improve the performance of your website or application.
To enable MPM, you first need to stop Apache and PHP and disable Pre-fork. To do so, run the following commands.
To stop Apache:
$ sudo systemctl stop apache2
To stop PHP:
$ sudo a2dismod php8.1
(Alter the PHP version as per your configuration)
To disable the Pre-fork MPM module:
$ sudo a2dismod mpm_prefork
And finally, to enable the event MPM module:
$ sudo a2enmod mpm_event
And voila, the MPM event is enabled for your Apache server. You need not worry about this step if you’re a Webdock user, as it is enabled as default, like the above step.
If you’re experiencing problems, try using the Worker or Prefork MPM. Some people notice faster performance with Prefork or Worker, depending on the type of website, CPU usage, ram usage, etc. In general, for a high-performance server that needs to serve many visitors quickly, I always recommend MPM Event.
Conclusion
Configuring Apache for high traffic can be tricky since no specific values work for all web servers. You should understand your web server’s requirements before changing any settings. The recommended values for the various parameters aren’t always the best and only work in specific circumstances.
However, they can give you a good starting point for managing these values according to your requirements. You can gradually increase the values while performing tests to see improvements.
Before taking any new changes to live, it’s essential to test them in a staging environment first. This way, you can ensure that everything is working as it should be and have a backup plan in case anything goes wrong.
Leaving the value at default is best if you don’t see any changes.
Aayush Nair has been a passionate freelance WordPress designer for the past eight years. He likes to share his knowledge to help and enrich the community in his free time.
