Introduction
This article explains how to configure the Postmark add-on to send transactional emails from your domain, including DNS verification, API credentials, and integration with applications.
Linking Your Domain
Note: This add-on is available on selected standard profiles and on custom profiles that meet the minimum pricing tier. Refer to the Custom VPS pricing page for current eligibility requirements.
In the ‘Manage Email’ screen, accessible from the server dashboard, connect your domain to the Postmark add-on.
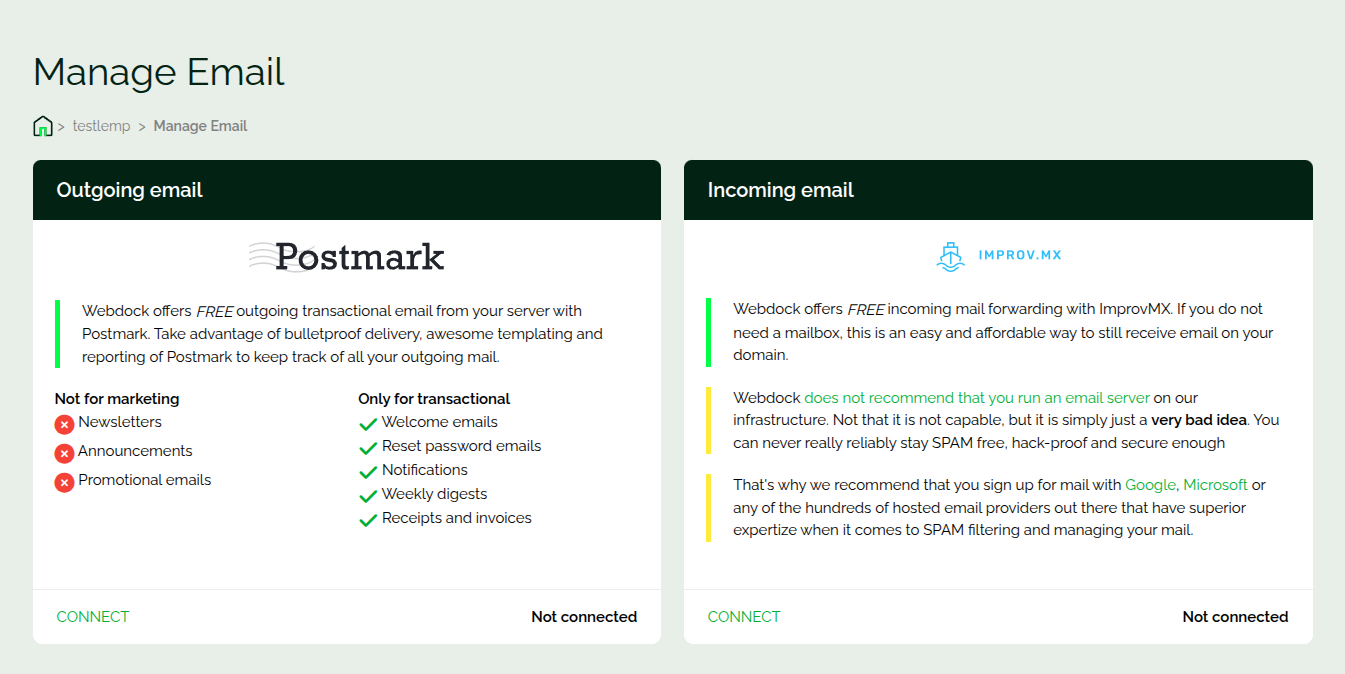
For inbound email forwarding (receiving emails), refer to the ImprovMX guide, as Postmark is used exclusively for outbound transactional email delivery.
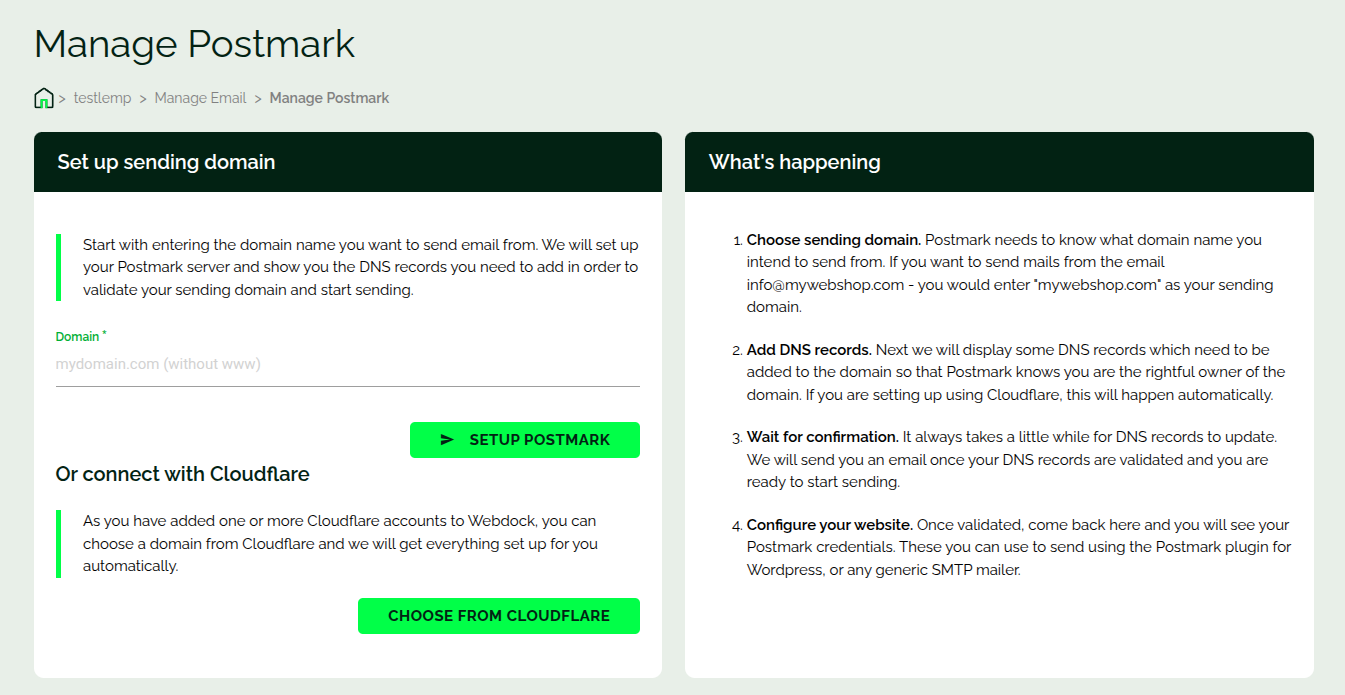
After entering your domain and initiating the connection, the system displays the required DNS records for domain verification. Add the provided DNS records (such as TXT or CNAME) to your domain’s DNS configuration to complete verification.
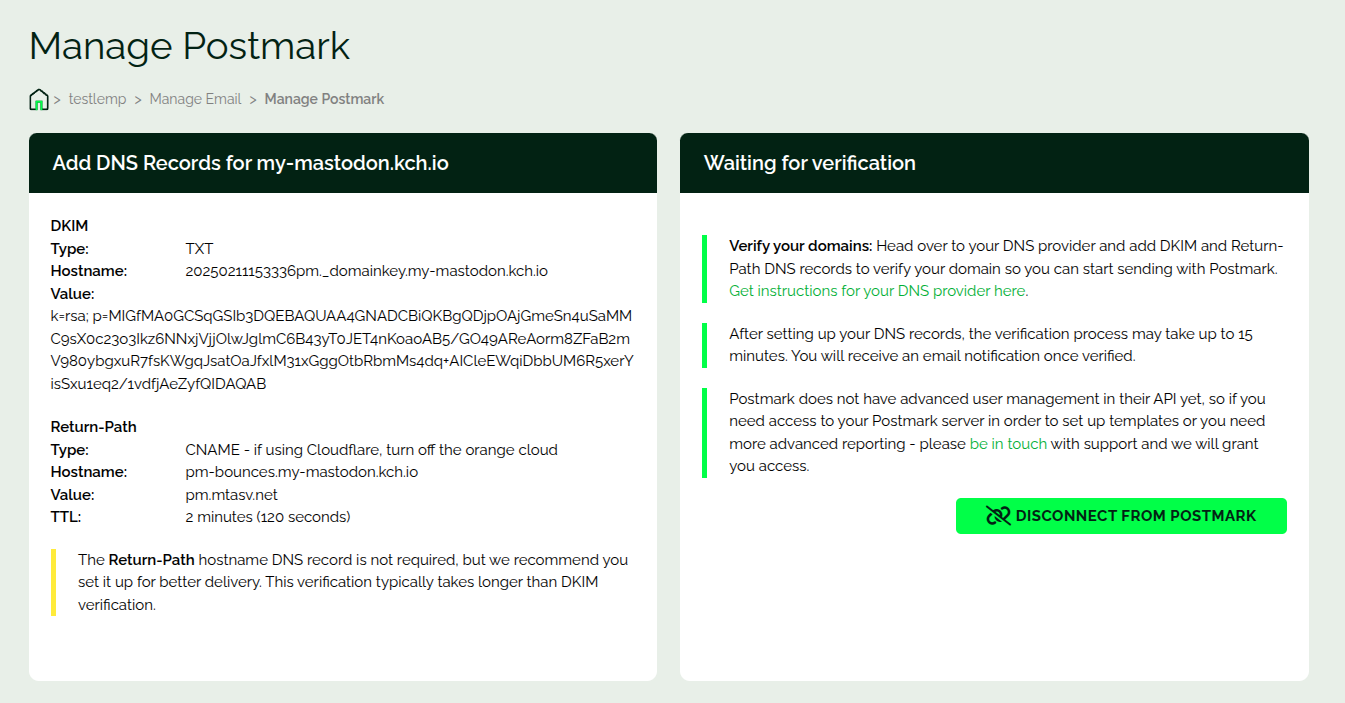
Verification is performed automatically. Once completed, the system provides your Postmark server credentials and API key, which are required to authenticate and send emails via the Postmark API or SMTP.
Note: Some DNS providers automatically append your domain to the host field. In such cases, enter only the subdomain portion (e.g., use ‘pm._domainkey’ instead of ‘pm._domainkey.example.com’).
For WordPress integration, install the WordPress Postmark plugin and configure it using the provided API key to enable transactional email delivery.
Usage Limits
- You can send unlimited emails, provided they are classified as transactional (e.g., password resets, system notifications, order confirmations). Webdock does not allow marketing or bulk promotional emails, such as newsletters or campaigns.
- You can connect a single domain only per server. For using multiple domains you need to subscribe directly at Postmark.
Conclusion
The Postmark add-on provides a streamlined way to enable reliable transactional email delivery by handling domain verification and credential generation within the dashboard. Once configured, you can integrate email sending into your applications with minimal setup and consistent delivery performance.
