Introduction
This article explains how to create, edit, and delete cron jobs from the Webdock dashboard, including configuring execution schedules, selecting the run user, and applying standard cron syntax for automated task scheduling.
Creating Cron Jobs
To create a cron job, open the main server screen and select ‘Cron Jobs’ under the server management options to access the cron job management interface.
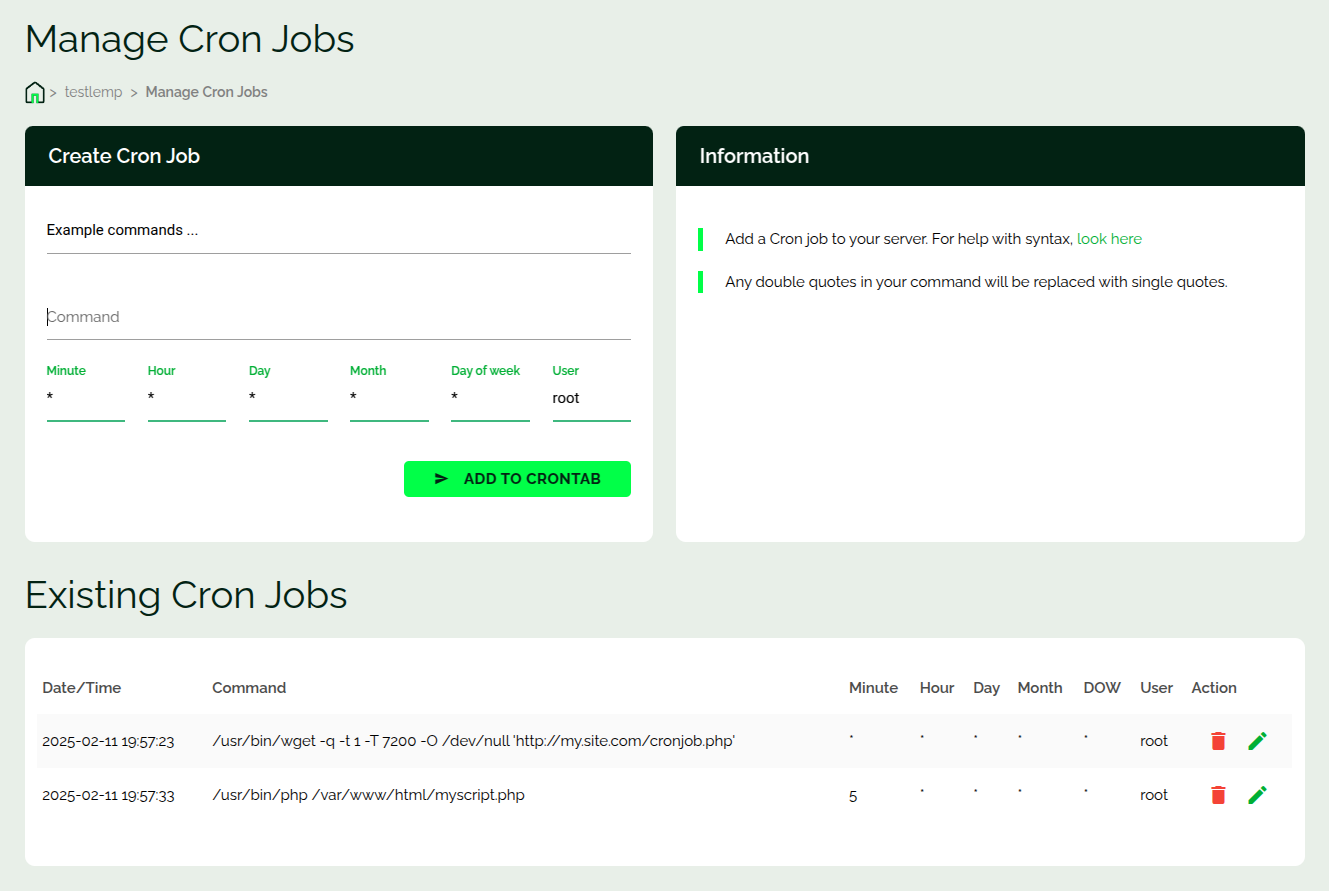
The cron jobs dashboard allows you to create new cron jobs, edit existing entries, and delete scheduled tasks using the available action controls.
When creating a cron job, you can specify the execution context by selecting a different system user in the ‘User’ field, which determines the permissions under which the task runs.
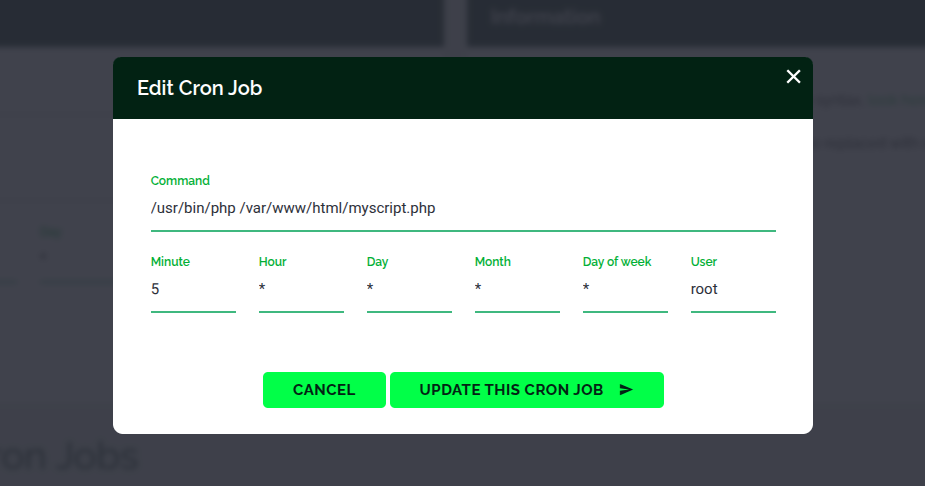
To modify an existing cron job, click the pencil icon next to the entry, update the configuration, and confirm the changes to overwrite the existing cron entry on the server.
For detailed guidance on cron expression syntax, refer to this page on configuring crontab schedules in Linux.
You can also use external tools such as crontab.guru to generate valid cron expressions, then paste the generated schedule into the corresponding fields.
Conclusion
Cron jobs enable automated execution of scheduled tasks on your server, allowing you to run maintenance scripts, backups, or recurring processes without manual intervention. Through the Webdock dashboard, these tasks can be managed centrally with full control over scheduling and execution context.
