Introduction
This article shows how you can link your domain to Postmark addon for sending transactional emails.
Linking Your Domain
Note: This add-on is available on selected standard profiles and in any custom profile that costs more than a certain fixed price per month.
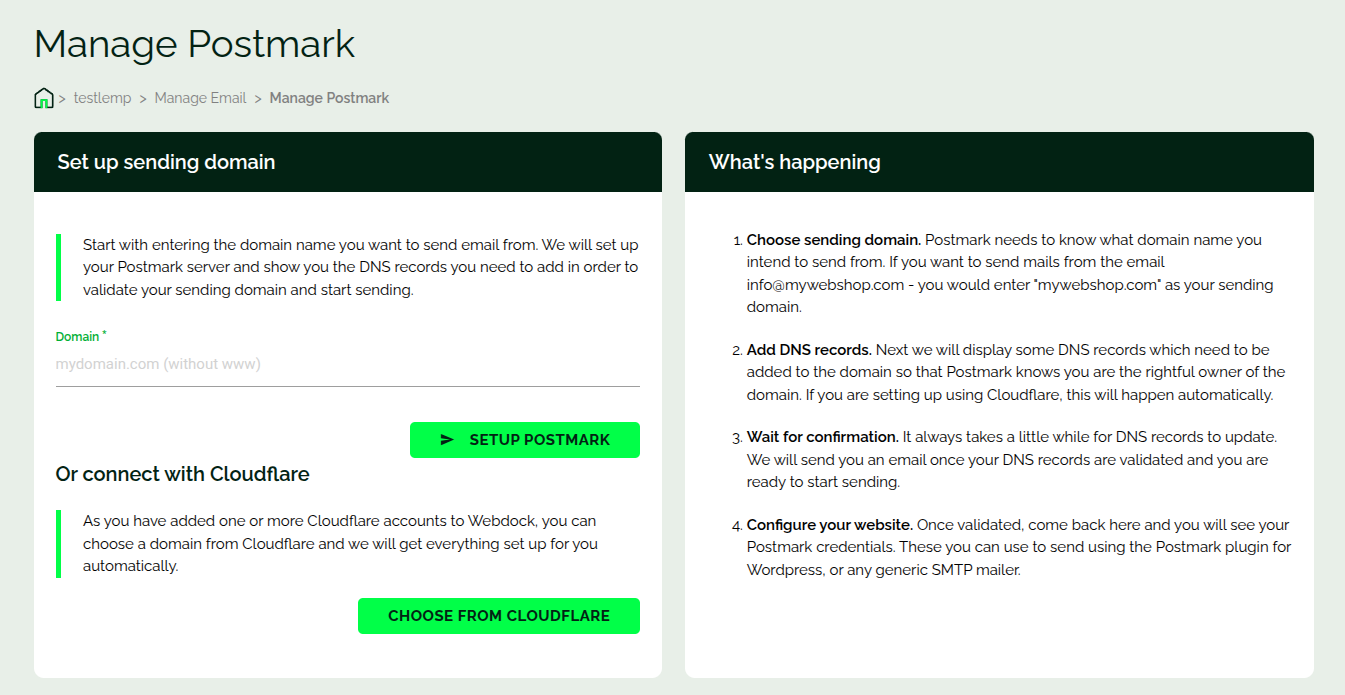
In the “Manage Email” screen (which can be found in the main server screen) you can connect your domain to the Postmark addon.
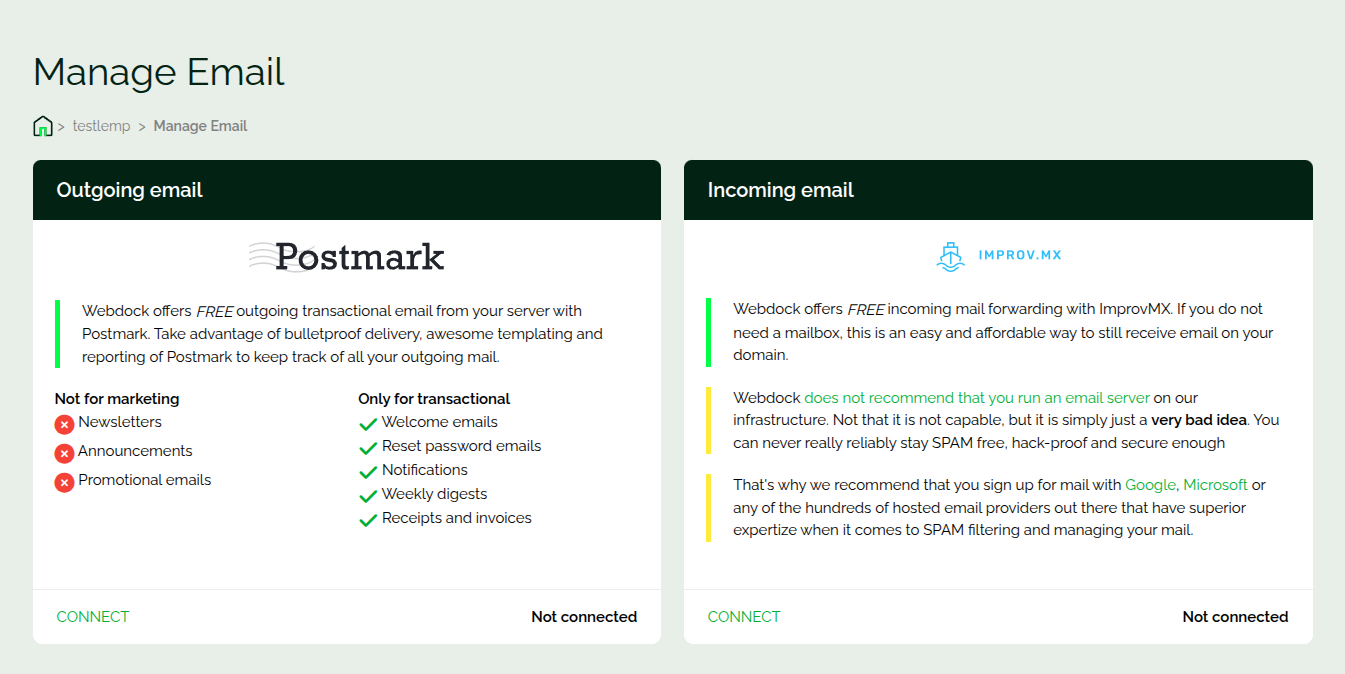
Once you enter your domain and connect you’ll be shown DNS records information. You need to add/create them in your domain DNS interface for verification. To forward incoming emails on your doamin to your email inbox, check our ImprovMX intro guide.
Below you can see I was shown the DNS record information that I need to update in my DNS setup.
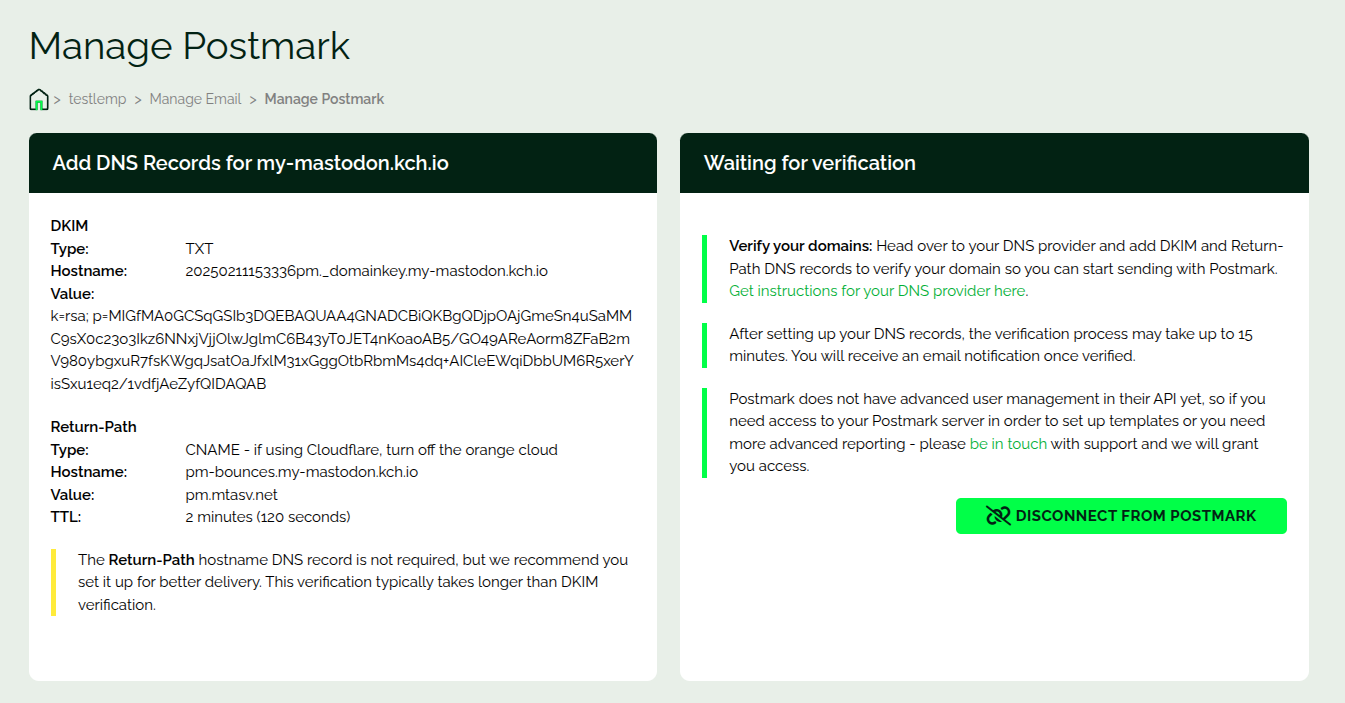
The verification happens automatically and once that’s done you’ll see the credentials and the API key of Postmark, which you can use to send emails.
Note: Some domain providers auto-append your domain to the host field address. In that case, you need to omit the trailing “domain.tld” part from the host value.
A tip: If yours is a WordPress site, all you need to do is to install the Postmark WP plugin and input the credentials into the plugin. That’s all. The WP Postmark plugin then takes care of sending emails.
That’s it. You can send as many as you want as long as your emails are transcational 🙂
Conclusion
This article showed how you can link your domain to Postmark for sending transactional emails.
