Introduction
Ruby on Rails is a popular application stack for developers looking to create sites and web apps. The Ruby programming language combined with the Rails development framework allows for the building and deployment of scalable apps quickly.
Webdock makes it easy to get started with Rails on your server, and in this guide, I will show you how to get started with Ruby on Rails on your Webdock server. Let’s go.
Prerequisites
- An Ubuntu Server (on Ubuntu Noble in my case)
- A Sudo user
- Coffee or Beverage of choice (it will take some time 😉 )
Installing Node.js
Node.js provides a runtime platform for executing JavaScript code on the server side. This makes it possible to write web application server-side scripts in JavaScript. To install Node.js to your server:
List all updates:
$ sudo apt update
Just to make sure curl is installed:
$ sudo apt install curl
Run the below command to add NodeJS 22 repo.
$ curl -sL https://deb.nodesource.com/setup_22.x | sudo -E bash -
Install NodeJS:
$ sudo apt-get install nodejs -y
You can learn how to daemonize your Node.js application, among other handy tips, here.
Installing dependencies
Ruby relies on several packages that you can install through your package manager. Once those are installed, you can install rbenv and use it to install Ruby.
First, update your package list:
$ sudo apt update
Then install the dependencies:
$ sudo apt install git libssl-dev libreadline-dev zlib1g-dev autoconf bison build-essential libyaml-dev libreadline-dev libncurses5-dev libffi-dev libgdbm-dev
To install rbenv, first install the dependencies, then use curl to fetch the install script from GitHub and pipe it directly to bash to run the installer:
$ curl -fsSL https://github.com/rbenv/rbenv-installer/raw/HEAD/bin/rbenv-installer | bash
Next, ensure the rbenv command line utility is in your $PATH. You can do this by editing your ~/.bashrc file. This will make sure that the changes take effect the next time you log in:
$ echo 'export PATH="$HOME/.rbenv/bin:$PATH"' >> ~/.bashrc
Then, add the command eval "$(rbenv init -)" to your ~/.bashrc file so rbenv loads automatically:
$ echo 'eval "$(rbenv init -)"' >> ~/.bashrc
Next, apply the changes you made to your ~/.bashrc file to your current shell session:
$ source ~/.bashrc
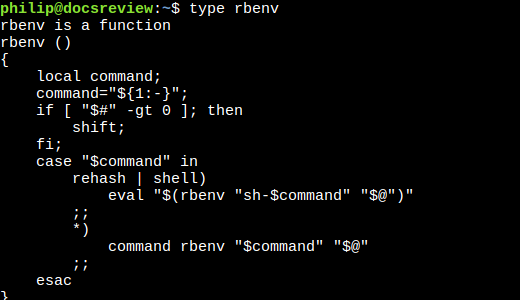
Run the type command to check if rbenv is set up and working as it should:
$ type rbenv
The output should be something like this:
Installing Ruby
The ruby-build plugin makes installing different versions of Ruby with a single easy command easy. To see a list of all available versions of Ruby, type the following command:
$ rbenv install -l
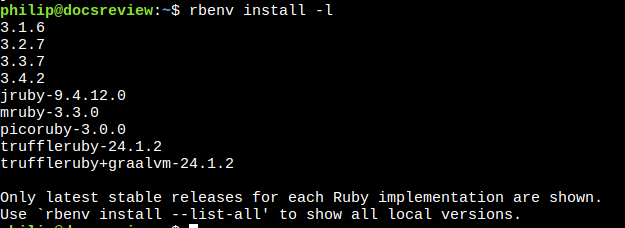
I will choose version 3.4.2:
$ rbenv install 3.4.2
Installing Ruby can take some time, so make sure you have a beverage of your choice handy to help pass the time.
Once you've installed Ruby, you can set it as your default version with the global sub-command. This will ensure that all new projects use the correct version of Ruby from the start:
$ rbenv global 3.4.2
To check if Ruby was correctly installed, find out its version number:
$ ruby -v
Installing Rails
I am going to install Rails using Gems. Ruby libraries are distributed as gems, and you use the gem command to manage these gems.
But, Installing a gem comes with the generation of local documentation. If you want to save time, you can disable this setting:
$ echo "gem: --no-document" > ~/.gemrc
Once this is done, install Bundler:
$ gem install bundler
Then, install Rails:
$ gem install rails
You can also use the -v flag to install a specific version:
$ gem install rails -v 8.0.0
Now that you've got Ruby on Rails installed, it's time to start developing web applications! To test your installation, create a new project and see if everything works as expected. Check the Ruby on Rails documentation for troubleshooting tips if you encounter any problems.
Conclusion
In this article, I successfully deployed Ruby on Rails on a Webdock server.
Aayush Nair has been designing WordPress websites for eight years now. He is also a content writer, writing blogs on technology and related topics, and likes helping people in his free time.
