Introduction
Redis, an acronym for REmote DIctionary Server, was developed by Italian software engineer Salvatore Sanfilippo (commonly known by his username antirez) and released as an open-source project in 2009. Designed to address the limitations of traditional key-value databases, Redis prioritized speed and flexibility, which contributed to its rapid adoption in software development. Unlike disk-based storage systems, Redis operates primarily in-memory, enabling exceptionally fast data access and manipulation. This architecture makes it particularly effective for latency-sensitive applications such as caching, real-time analytics, and session management.
A defining feature of Redis is its support for diverse data structures beyond basic string key-value pairs. Developers can utilize lists, sets, sorted sets, and hashes to represent complex relationships in applications. More recent updates have introduced advanced types like streams (for message logging) and geospatial indexes (for location-based queries). These structures reduce the need for additional processing logic, allowing developers to implement features such as leaderboards, job queues, or real-time recommendation systems efficiently.
Now, let's get down to brass tacks and walk through the process of self-hosting Redis on Linux and making it accessible by exposing its port. If you're looking to harness the power of Redis under your direct management, whether for development, testing, or even production in some scenarios, self-hosting offers that level of granular control. Here's your guide to getting it done.
Note: You need to have Coolify installed in order to follow the next steps. To install Coolify on your Webdock Server follow this guide.
Installing Redis with Coolify
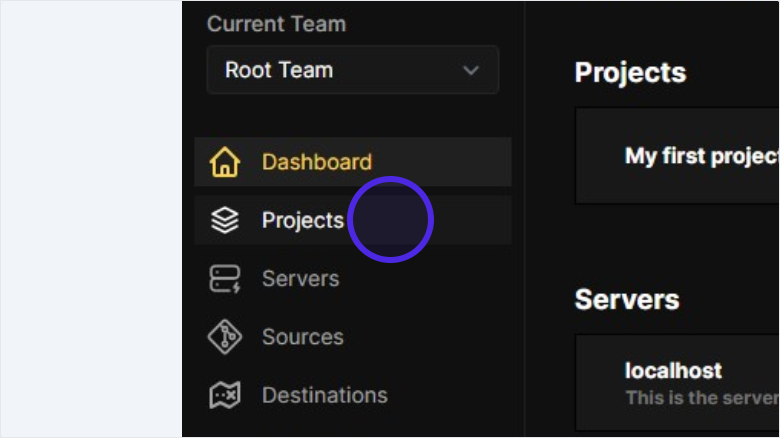
From the sidebar choose “Projects”
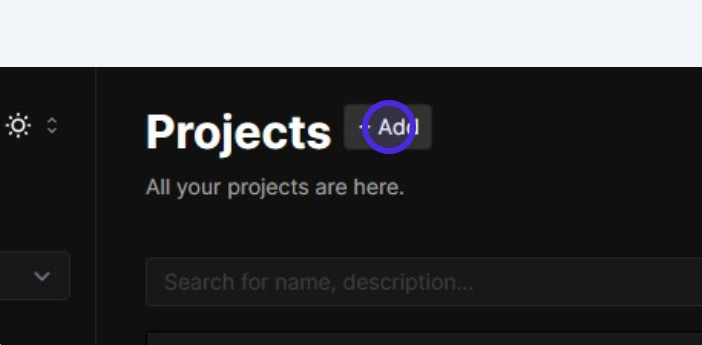
Click “Add” to create a new project
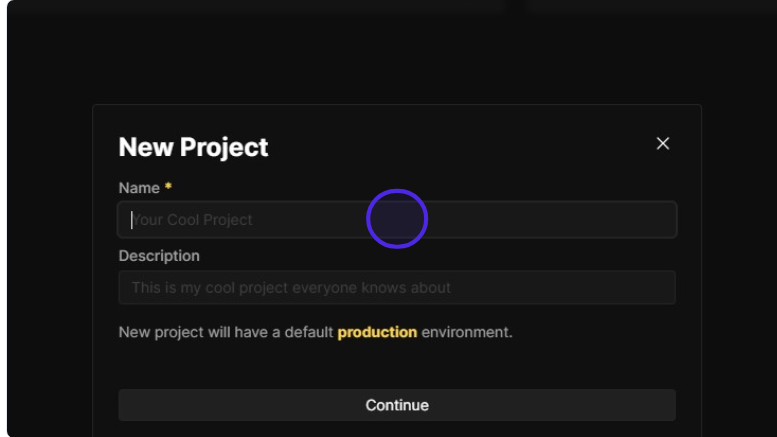
Enter “Name” and “Description” for your project and click “Continue”
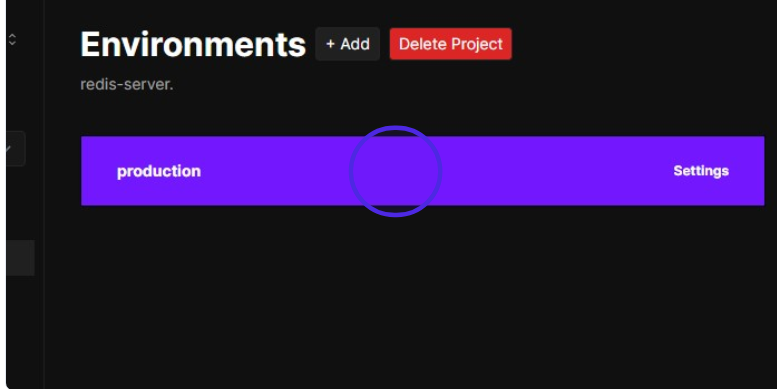
Enter the “Production” Environment
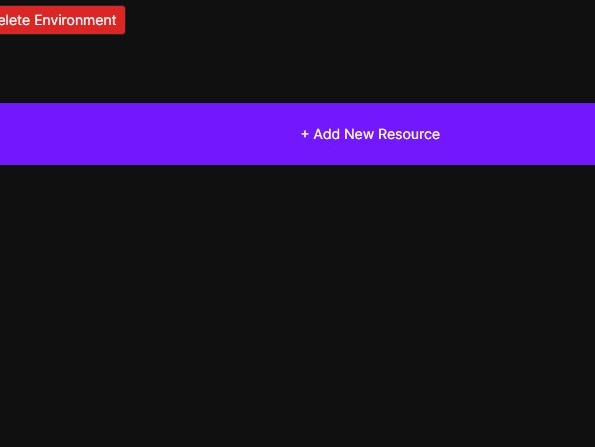
Click “+ Add New Resource”
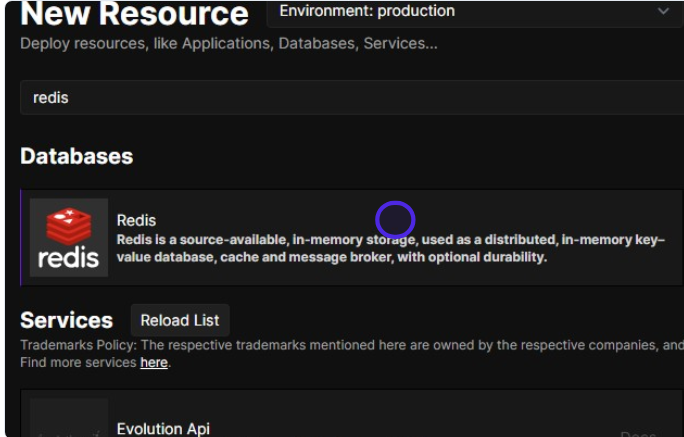
Enter “redis” in the search bar
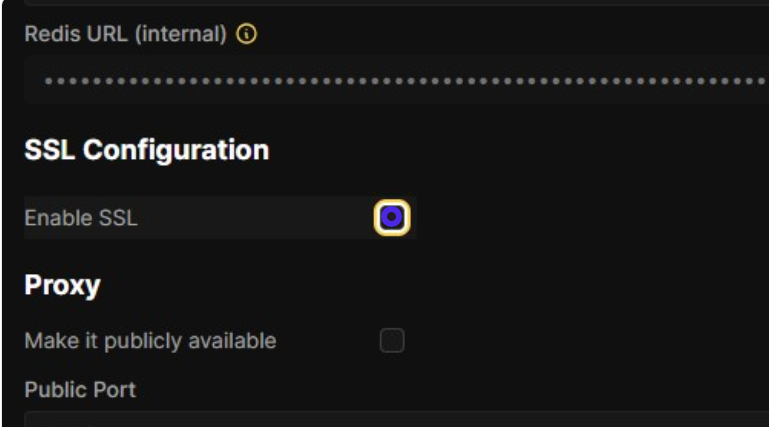
Enable SSL
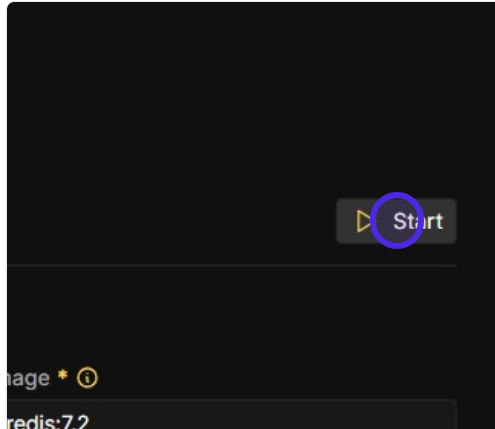
Click “Start”
After deploying the instance, set a custom port
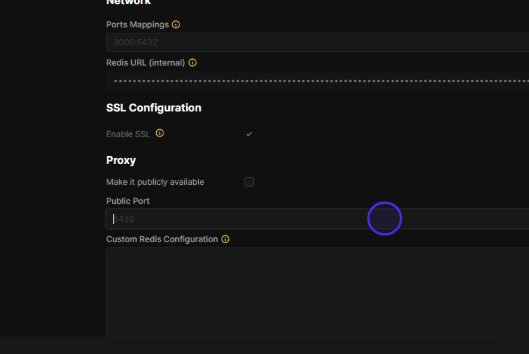
Make the instance public

That’s it. Now you are all set!

Conclusion
This article provided instructions on how to install Redis using Coolify.
This article was written by Ahmad Adel . Ahmad is a freelance writer and also a backend developer.
