Introduction
This article provides instructions on how to install ImageMagick version 7, along with the PHP extension.
We'll use a script to install the ImageMagick, and then compile the PHP extension.
Let's get started.
Prerequisites
- A server using Ubuntu LEMP/LAMP image
- SSH access to your server.
Note: The below steps have to be rerun if you change the PHP version on your Ubuntu LEMP/LAMP stack from the "Manage PHP" screen.
Installing ImageMagick v7
We'll use the ImageMagick Easy Install script to install it.
First, remove the existing imagemagick package if it is already installed using:
$ sudo apt remove imagemagick
Switch to root user using:
$ sudo su
Now run the IM7 script. Copy/paste the below command to the command line and run it. For changing the build options, please check the easy install script documentation.
t=$(mktemp) &&
wget 'https://dist.1-2.dev/imei.sh' -qO "$t" &&
bash "$t" &&
rm "$t"
The script will take a while to finish the compilation and will install the latest version of ImageMagick.
To verify the installed version, you can check by running the below command.
$ convert --version
Sample output:
Version: ImageMagick 7.1.1-21 Q16-HDRI x86_64 dcffc2de3:20231021 https://imagemagick.org
Copyright: (C) 1999 ImageMagick Studio LLC
License: https://imagemagick.org/script/license.php
Features: Cipher DPC HDRI Modules OpenMP(4.5)
Delegates (built-in): bzlib cairo djvu fftw fontconfig freetype gslib gvc heic jbig jng jp2 jpeg jxl lcms lqr ltdl lzma openexr pangocairo png ps raqm raw rsvg tiff webp wmf x xml zip zlib
Compiler: gcc (11.4)
Installing the Imagick PHP Extension
Make sure you have git installed. If it's not installed you can install it using apt.
$ sudo apt install git
Now, to install the imagick PHP extension run the below commands as the root user.
$ git clone https://github.com/Imagick/imagick
$ cd imagick
$ phpize && ./configure
$ make
$ make install
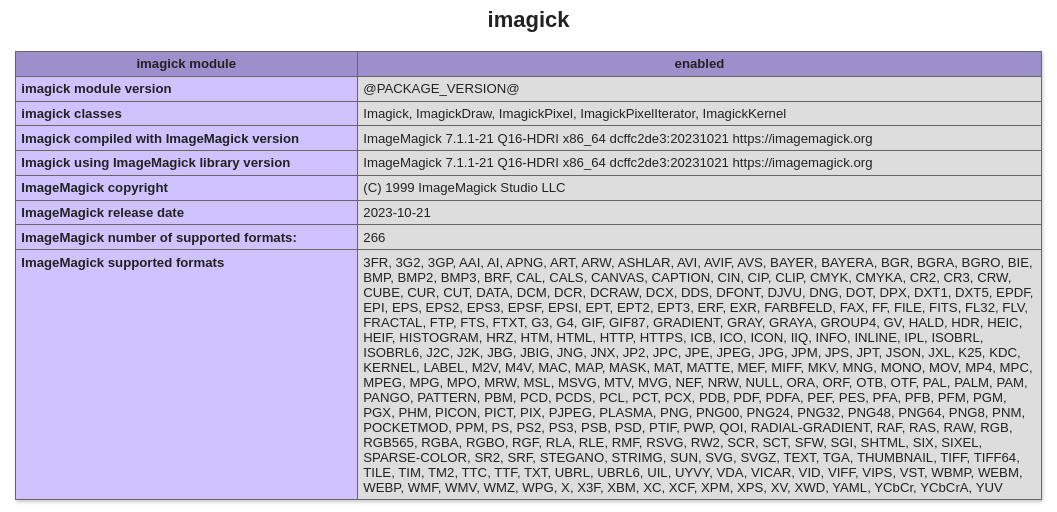
After the imagick extension is installed you can verify it on the phpinfo page.
That's it 🙂
Conclusion
This article provided instructions on how you can install the latest version of ImageMagick along with the PHP extension.
