Introduction
New Relic is a powerful monitoring tool that can help you keep track of your entire infrastructure. You can use it to monitor cloud services, dedicated resources, or containers running in an orchestrated environment.
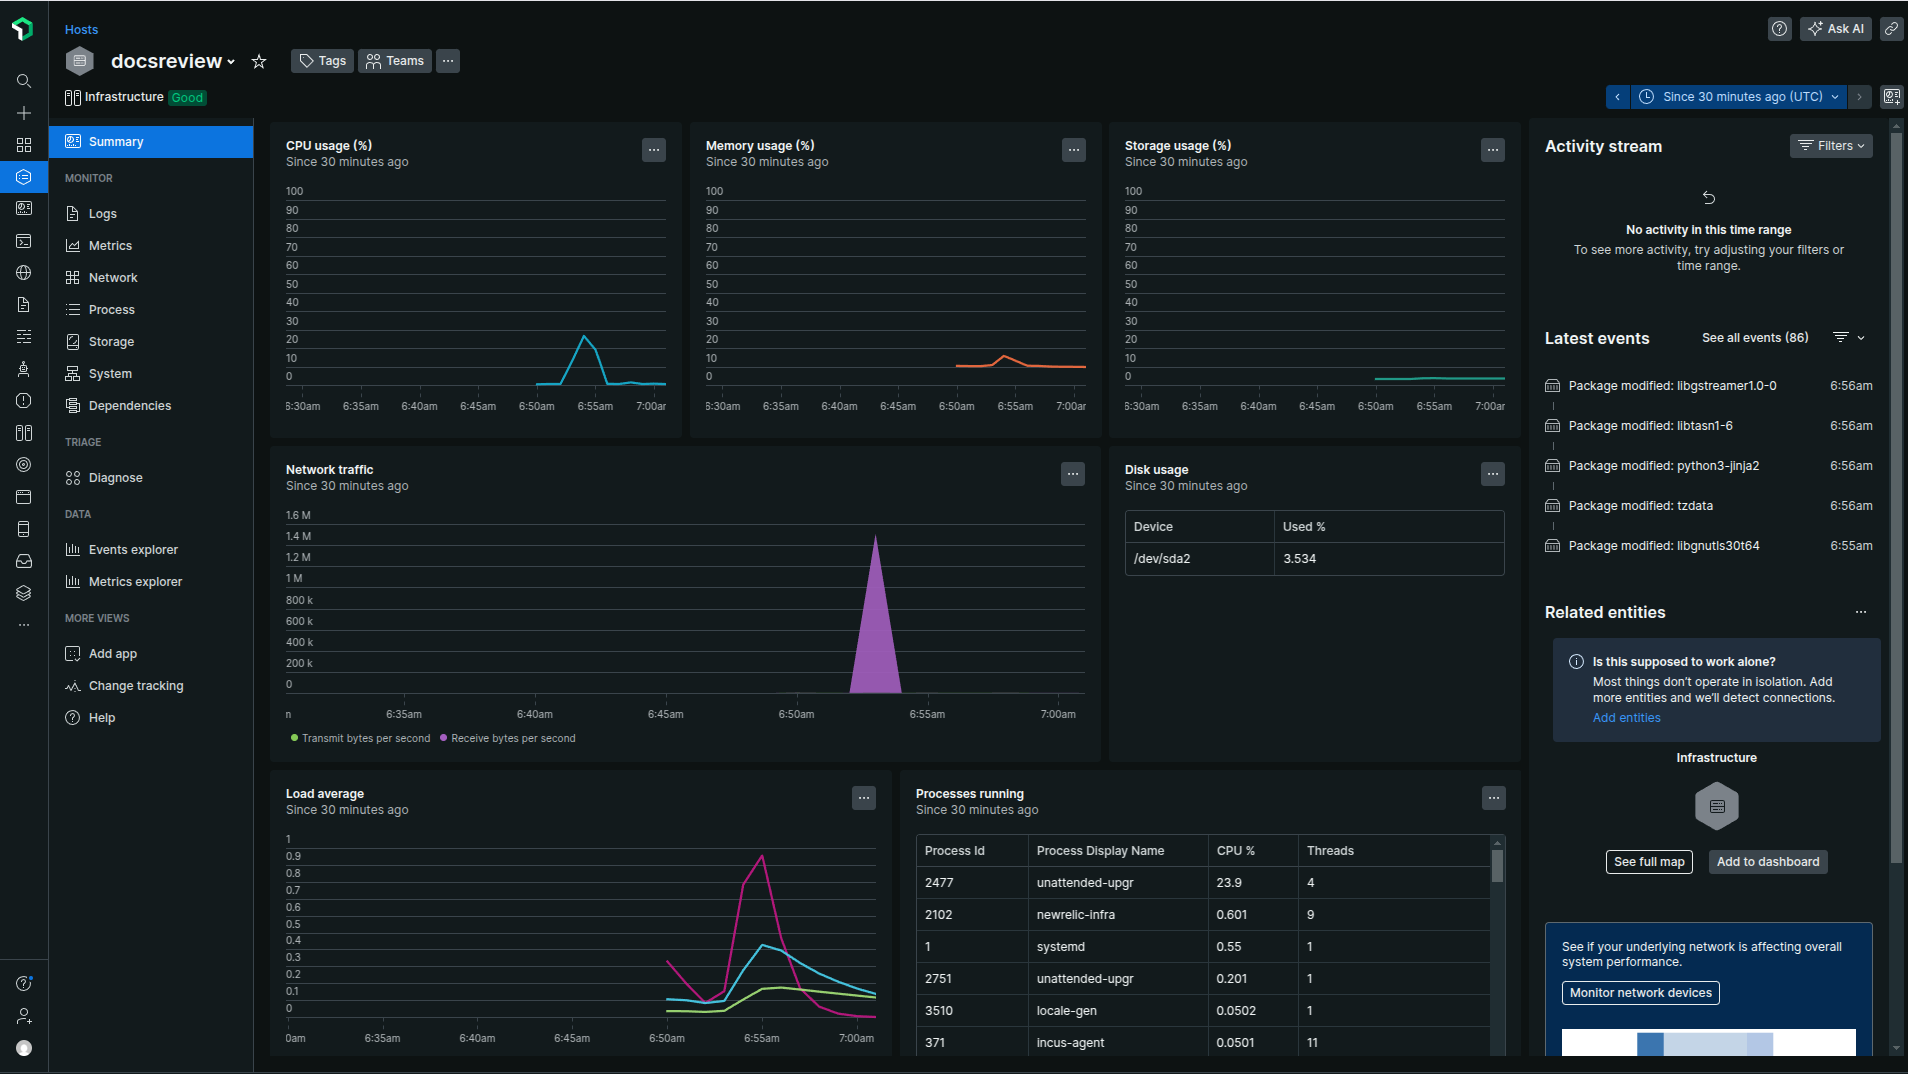
The modern UI of the infrastructure makes monitoring all host data on one page easy. Real-time data collection helps accelerate the work of current operations teams.
New Relic Infrastructure is a powerful monitoring tool that allows you to create custom queries to understand your data better. Custom charts, tables, and other visual data presentations help you make informed decisions about your infrastructure.
This post will look at installing and configuring New Relic Infrastructure on your server.
Prerequisites
- A Linux KVM Server (I am using Ubuntu 24.04)
- A Sudo User
Creating an account on New Relic
To install New Relic on your server, you’ll need to create an account on their website. They offer a free plan so that you can explore the insights that their platform can provide. Once registered, validated, and chose your Data Region, you’ll be able to select the plan that best fits your needs.
After completing the account creation and validation process, you must select an “Installation Plan.” Choose “Linux” as Webdock offers Linux servers.

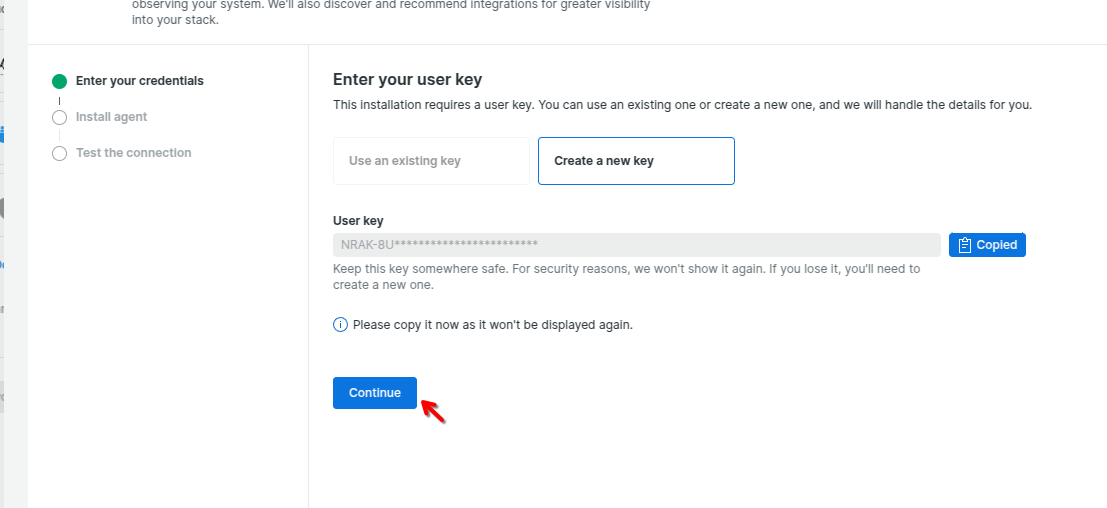
Click on “Create a new key”

You can copy the key and save it in a safe place once the key is generated. Then click continue.
Then you’ll be shown the exact command that you need to run on your Webdock server to install the NewRelic agent.
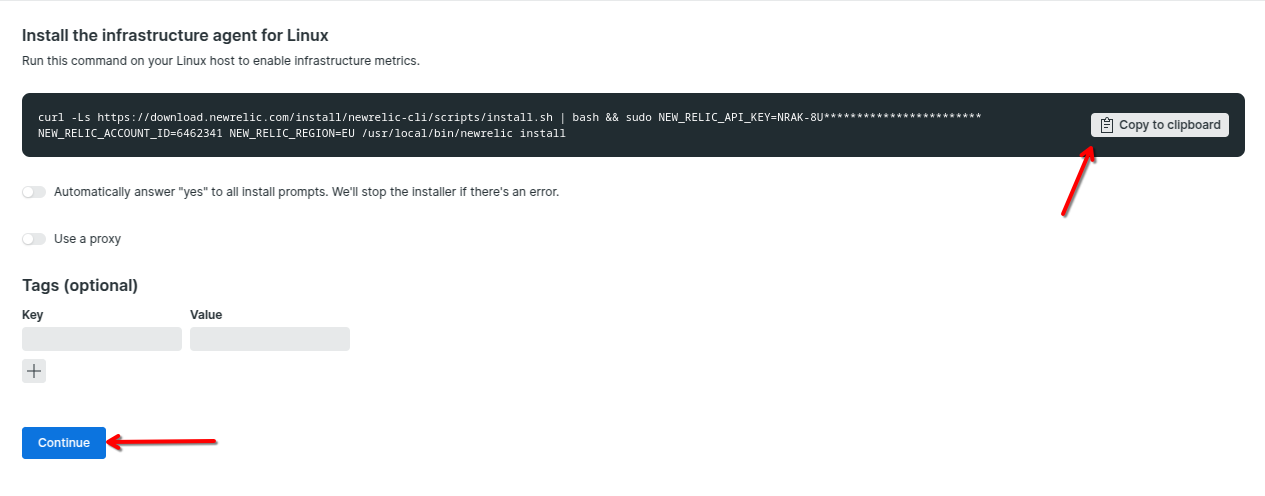
Installing New Relic
SSH into your server as a sudo user, and run the installation command. It’ll look something like this:
$ curl -Ls https://download.newrelic.com/install/newrelic-cli/scripts/install.sh | bash && sudo NEW_RELIC_API_KEY=NRAK-------CS46ZLEVA5KHDR3HXRP8VB NEW_RELIC_ACCOUNT_ID=33341XX NEW_RELIC_REGION=EU /usr/local/bin/newrelic install
Once hit enter, the installation process will begin. Installation may take a little time, depending on your server specs.
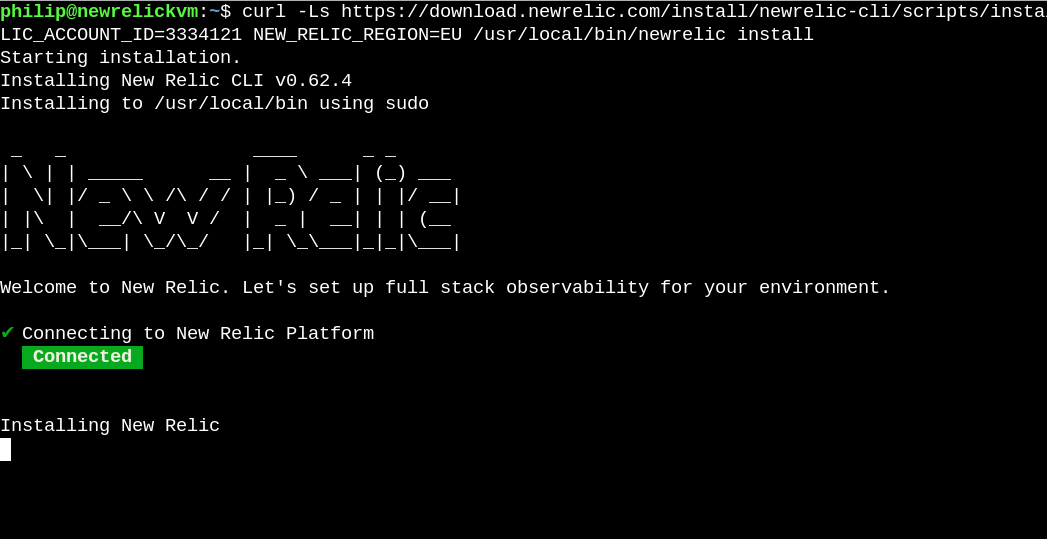
You may need to click ‘Y’ to install Golden Signal Alerts and enable email notifications to your registered email address.
That’s it – you’re done! Your New Relic account is now collecting and monitoring data from your server on your New Relic Dashboard.
Conclusion
This guide provided step-by-step instructions to install New Relic to monitor your VPS.
Aayush Nair has been designing WordPress websites for eight years now. He is also a content writer, writing blogs on technology and related topics, and likes helping people in his free time.
