Introduction
A few months ago, I missed a limited-time discount on a pair of sneakers I have been keeping my eyes on for 3 months because I didn’t notice when they went on sale. That’s when I knew I needed a better system than “check it when I remember.”
If you’re tired of manually checking websites for updates or are forgetful (like I am), having a tool that does it for you and notifies you when needed is great.
And that’s where ChangeDetection.io steps in. And in this guide, I will go through on how to install ChangeDetection.io on your Webdock server.
What is ChangeDetection.io?
Many Python-based tools like ChangeDetection.io allow you to monitor job postings and competitors. It sends you alerts when something on a page changes. Super helpful if you’re:
- Tracking price drops on products
- Following updates to the documentation
- Monitoring job postings
- Keeping an eye on competitors’ websites
- Watching for new content on blogs without RSS feeds
On their website, they advertise a hosted ChangeDetection.io paid version. However, the software itself is completely free and open source. Apart from the convenience, the hosted version of ChangeDetection.io doesn’t seem to have any practical benefit.
So, in my opinion, it is safe to say that regardless of what your use case is, self-hosting ChangeDetection.io is very cost-effective.
The self-hosted version runs in Docker, which makes installation relatively straightforward on most systems. It’s lightweight and won’t bog down your server.
A general recommendation to run your own ChangeDetection.io instance is around 2 vCPU, 2 GB RAM, and 15 GB Storage.
Step-by-Step Installation
Now that all is said, let’s get everything done. The following is a step-by-step guide to installing ChangeDetection.io. If you are a Webdock user, ensure you choose a Clean OS to avoid conflicts.
Installing Docker And Other Dependencies
As usual, start by updating the current packages. Open your terminal and log in as a sudo user:
$ sudo su
And run:
# sudo apt update && sudo apt upgrade -y
This might take a few minutes, depending on how recently you’ve updated your system.
ChangeDetection.io runs in Docker containers, so we need Docker installed first. If you already have Docker set up, you can skip to Step 3.
First, install the required packages to allow apt to use repositories over HTTPS:
# sudo apt install apt-transport-https ca-certificates curl software-properties-common gnupg lsb-release -y
Next, add Docker’s official GPG key:
# curl -fsSL https://download.docker.com/linux/ubuntu/gpg | sudo gpg --dearmor -o /usr/share/keyrings/docker-archive-keyring.gpg
Set up the stable repository:
# echo "deb [arch=$(dpkg --print-architecture) signed-by=/usr/share/keyrings/docker-archive-keyring.gpg] https://download.docker.com/linux/ubuntu $(lsb_release -cs) stable" | sudo tee /etc/apt/sources.list.d/docker.list > /dev/null
Update apt again with the new repository and install Docker:
# sudo apt update && sudo apt install docker-ce docker-ce-cli containerd.io -y
After installation completes, check if Docker is running:
# sudo systemctl status docker
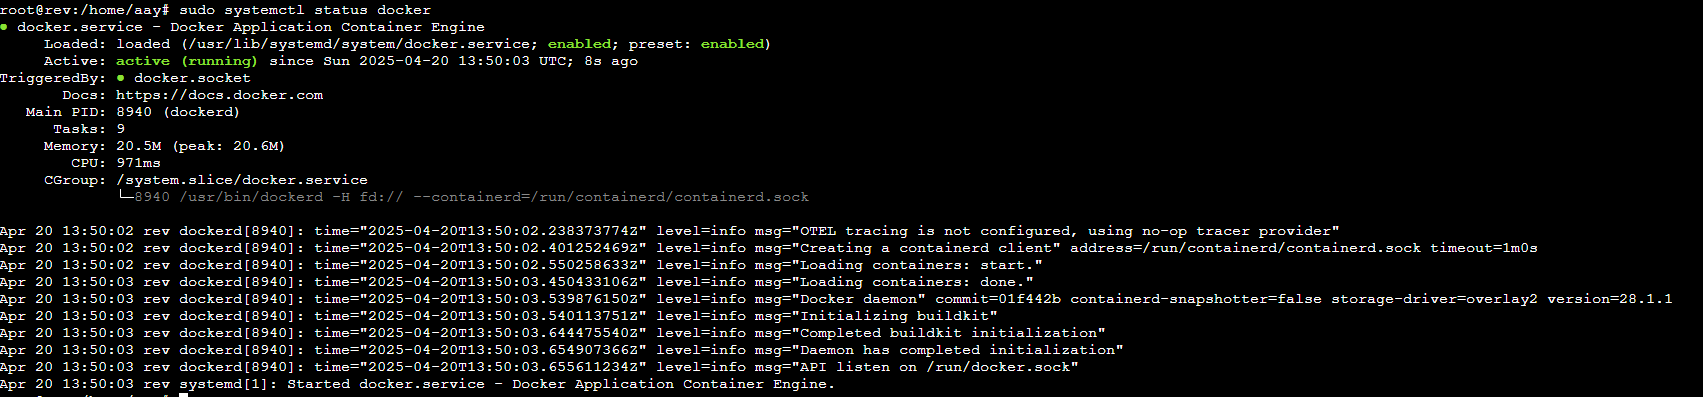
You should see output indicating that the service is active (running). If it’s not running for some reason, start it with:
# sudo systemctl start docker
And enable it to start at boot:
# sudo systemctl enable docker
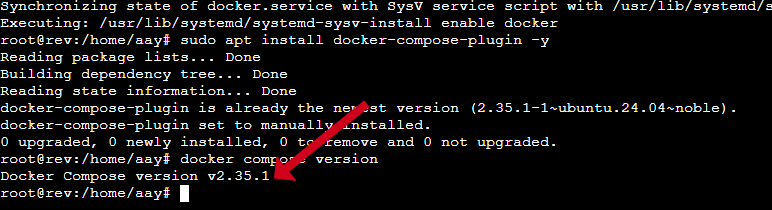
ChangeDetection’s setup uses Docker Compose to manage its containers, so we need that too:
# sudo apt install docker-compose-plugin -y
Verify it installed correctly:
# docker compose version
You should see version information such as:
Setting Up Requisites For ChangeDetection.io
Before installing ChangeDetection.io, let’s create a directory to store ChangeDetection’s configuration and data:
# mkdir -p ~/changedetection
# cd ~/changedetection
Then, we’ll create a Docker Compose file to define our ChangeDetection setup. Using your favorite text editor (I’ll use nano here), create a new file:
# nano docker-compose.yml
Copy and paste the following content:
version: '3.8'
services:
  changedetection:
    image: dgtlmoon/changedetection.io
    container_name: changedetection
    hostname: changedetection
    volumes:
      - ./datastore:/datastore
    ports:
      - 5000:5000
    restart: unless-stopped
    security_opt:
      - no-new-privileges:true
    environment:
      - PUID=1000
      - PGID=1000
      - PLAYWRIGHT_DRIVER_URL=ws://playwright-chrome:3000/?stealth=1&--disable-web-security=true
    depends_on:
      - playwright-chrome


  playwright-chrome:
    image: browserless/chrome
    container_name: playwright-chrome
    hostname: playwright-chrome
    restart: unless-stopped
    security_opt:
      - no-new-privileges:true
    environment:
      - SCREEN_WIDTH=1920
      - SCREEN_HEIGHT=1080
      - SCREEN_DEPTH=16
      - ENABLE_DEBUGGER=false
      - PREBOOT_CHROME=true
      - CONNECTION_TIMEOUT=300000
      - MAX_CONCURRENT_SESSIONS=10
      - CHROME_REFRESH_TIME=600000
      - DEFAULT_BLOCK_ADS=true
      - DEFAULT_STEALTH=true
Save and exit.
Here, we’re setting up two containers – one for ChangeDetection itself and another for a headless Chrome browser that helps ChangeDetection handle JavaScript-heavy websites. The setup includes volume mapping to store your data persistently.
Starting ChangeDetection.io
Now let’s start the services:
# docker compose up -d
This command downloads the necessary Docker images and starts the containers in detached mode (running in the background). The first run will take a bit longer since it’s downloading the images.
You can check that the containers are running:
# docker ps
You should see both containers listed.
ChangeDetection is now running and accessible at:
http://your-server-ip:5000
When you first open the interface, you’ll see a clean, simple dashboard ready for you to add your first website to monitor.
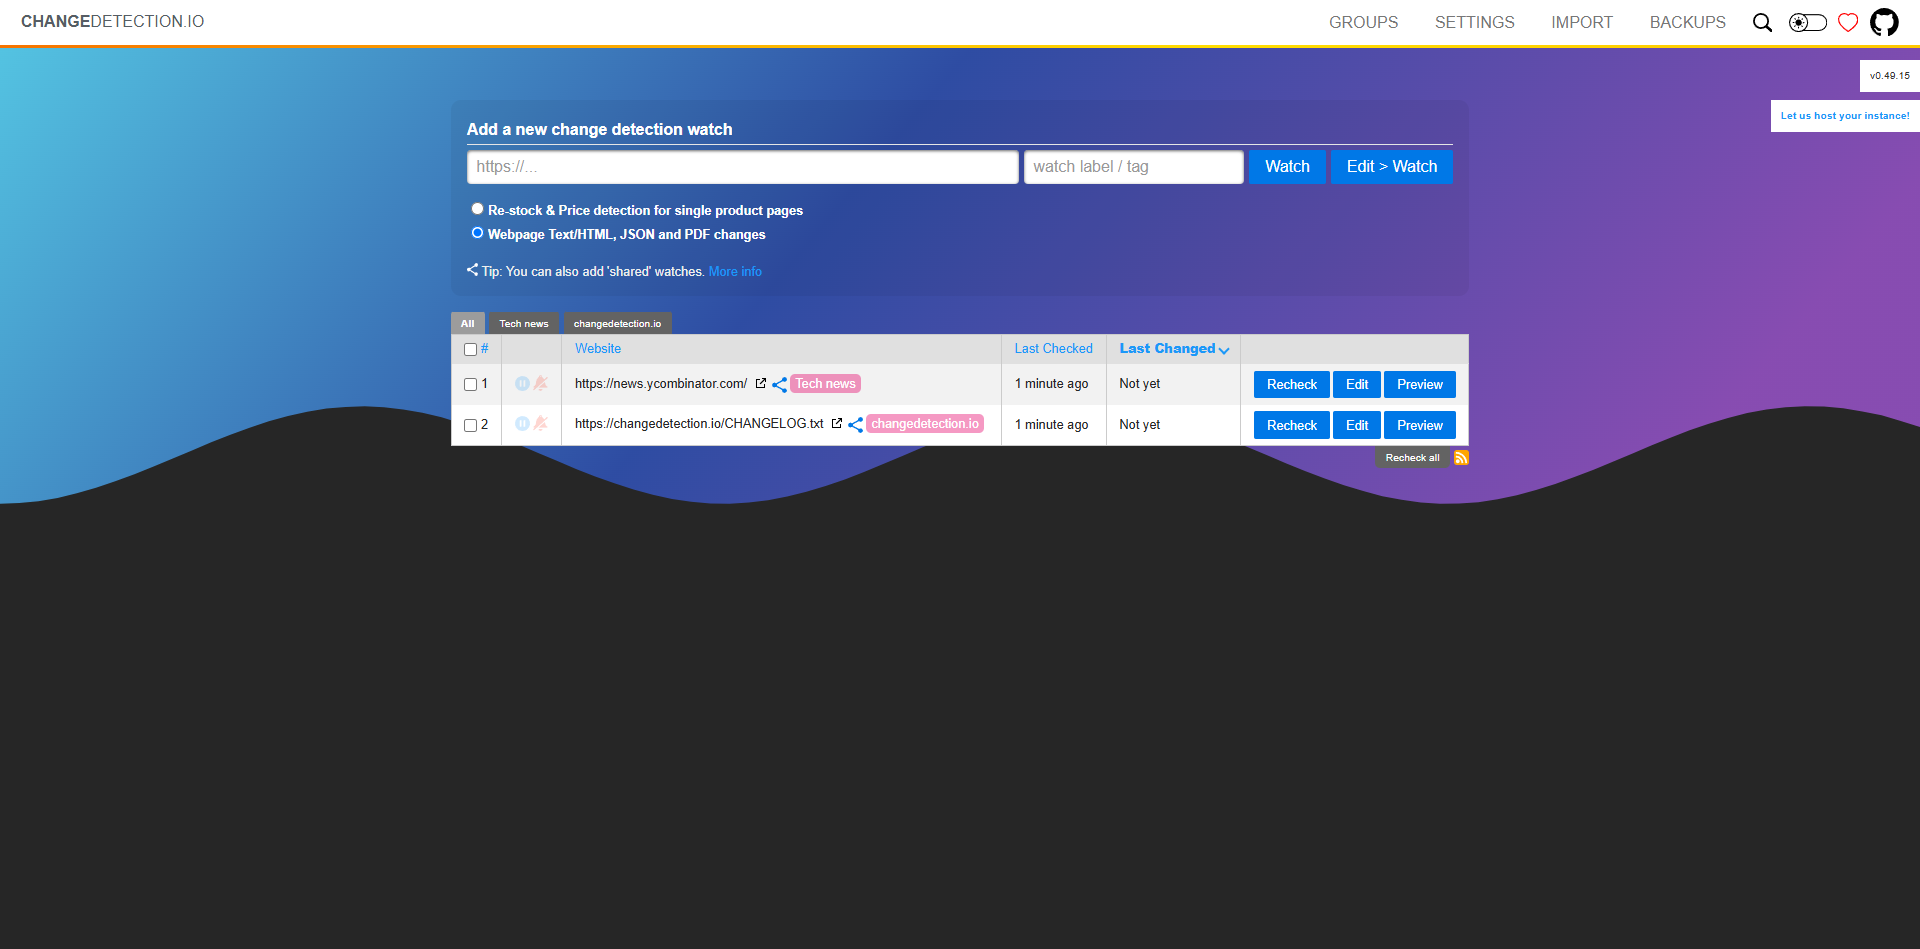
Basic Setup
The interface is pretty straightforward:
- In the “URL” field, paste the URL of a website you want to monitor
- Give it a title (optional, but helpful)
- Select your mode
- Click “Watch”
ChangeDetection will immediately make its first check of the website. Then it’ll regularly check for changes based on the settings you configure.
You probably want to know when changes happen without checking manually. Click on the settings option in the top-right corner of the interface.
You can set up various notification methods:
- Webhook
- Telegram
- Discord
- Custom scripts
Emails are a reliable notification channel. With other VPS providers, you are left to narrow down an email provider and pay for it additionally. But if your selected Webdock server plan has access to Postmark addon, you can use for sending emails.
Postmark is a trusted transactional email service known for its high delivery rates. You can integrate Postmark into your project to send unlimited transactional emails, with Webdock covering all related costs.
Additionally, these plans come with generous backup options, which can save your organization money.
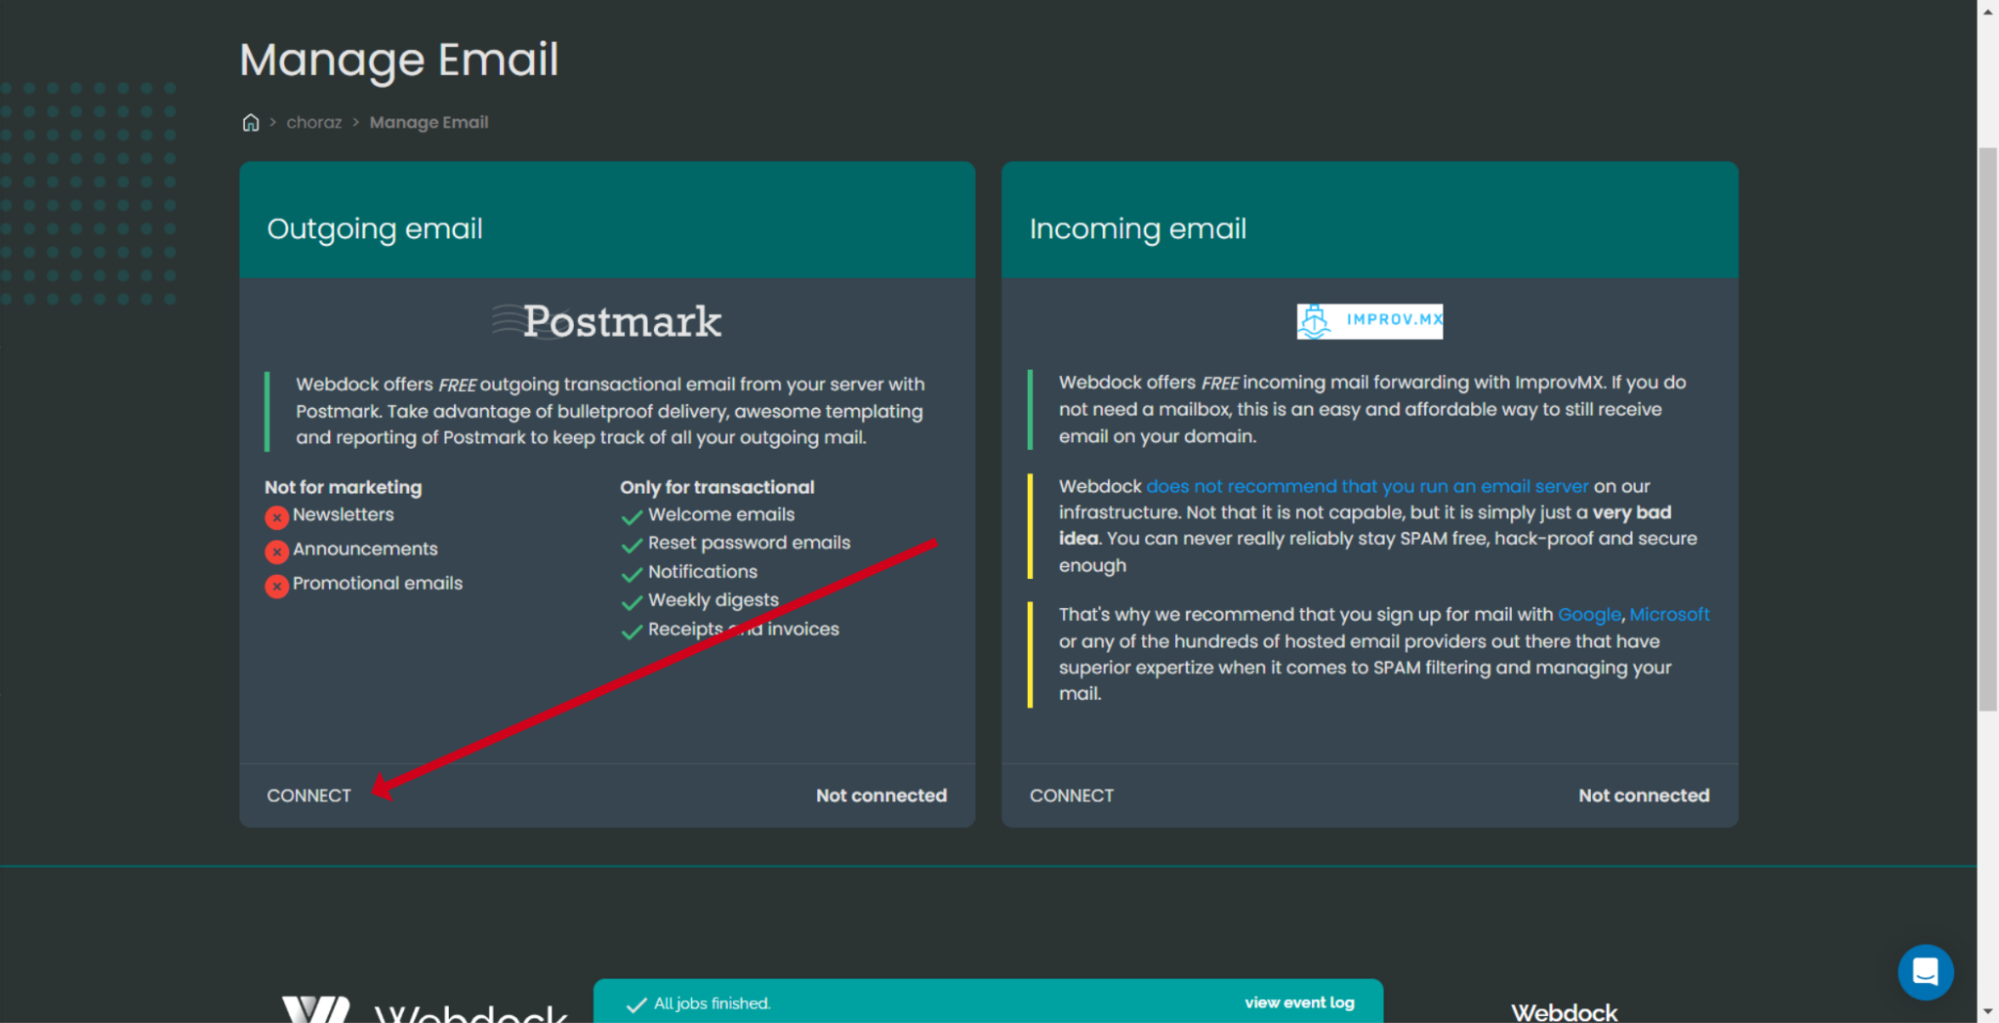
To set up your email sender, start by going to your server’s control panel. Look for the “Manage emails” section and submit a request to Webdock for permission to enable this feature. This is to prevent abuse of this awesome service.

After you receive approval, click the Connect button.
To stop Changedetection from running, just run:
# docker compose down
Advanced Setup: Setting Up A Reverse Proxy
Setting up a reverse proxy basically means to access your ChangeDetection.io instance using a domain and, better than that, using SSL to encrypt the connection. This isn’t a mandatory step, and not every one would need a domain to access ChangeDetection.io, but it can have several benefits. Some benefits I can think on the top of my head:
- Instead of remembering your server’s IP address and port number (like 123.45.67.89:5000), a reverse proxy lets you access your monitoring dashboard through a proper domain name (like monitor.yourdomain.com).
- A reverse proxy like NGINX you fine-grained control over who can access your ChangeDetection instance. You can implement IP restrictions, basic authentication, or even integrate with advanced authentication systems to protect your monitoring setup from unauthorized access.
- If your monitoring needs to grow, a reverse proxy can distribute traffic across multiple ChangeDetection instances, providing better performance and redundancy.
- By default, ChangeDetection.io doesn’t include SSL encryption. This means all traffic between your browser and the application travels unencrypted across the internet. Anyone monitoring network traffic could potentially see what websites you’re monitoring or even intercept your login credentials. A reverse proxy with SSL encryption solves this problem by encrypting all data in transit.
- Most likely, your server hosts more than just ChangeDetection.io. A reverse proxy lets you run multiple web applications (like a personal blog, email server, or other tools) on the same server, directing traffic to the right application based on the domain or subdomain.
Again, none of these are must haves, but quality of life improvements. But, depending on your use case, a reverse proxy could be a boon.
My go-to choice of a web server is NGINX, because, hey, it’s not 2009 to use Apache. So, start by installing NGINX:
# sudo apt update && sudo apt install nginx
Before we move on, ensure your server’s IP is pointed to by your domain using A/CNAME record.
Then, create a new NGINX server block configuration:
# sudo nano /etc/nginx/sites-available/changedetection
Add the following configuration, replacing monitor.yourdomain.com with your actual domain:
server {

    listen 80;

    server_name monitor.yourdomain.com;


    # We'll start with HTTP and let Certbot modify this later

    location / {

        proxy_pass http://localhost:5000;

        proxy_set_header Host $host;

        proxy_set_header X-Real-IP $remote_addr;

        proxy_set_header X-Forwarded-For $proxy_add_x_forwarded_for;

        proxy_set_header X-Forwarded-Proto $scheme;


        # WebSocket support (needed for some ChangeDetection features)

        proxy_http_version 1.1;

        proxy_set_header Upgrade $http_upgrade;

        proxy_set_header Connection "upgrade";


        # Timeouts for long-running connections

        proxy_read_timeout 86400;

        proxy_send_timeout 86400;

    }

}
Enable the configuration by creating a symbolic link:
$ sudo ln -s /etc/nginx/sites-available/changedetection /etc/nginx/sites-enabled/
Test the configuration and restart NGINX:
$ sudo nginx -t
And if you don’t see any errors:
$ sudo systemctl restart nginx
There are many ways to secure your ChangeDetection setup with SSL, but my preferred way is to use Let’s Encrypt to get an SSL certificate because of how easy it is to use and secondly, it’s free and has no attached fills.
You can use Certbot to get free certificates from Let’s Encrypt. Start by installing snapd, which Certbot needs. Run this command:
$ sudo apt update && sudo apt install snapd -y
Next, install Certbot itself:
$ sudo snap install --classic certbot
After that, use Certbot to set up SSL automatically for Nginx by running:
$ sudo certbot --nginx -d your_domain.com
Keep in mind, your domain must point to your server’s IP address; otherwise, the process won’t work. Follow the instructions Certbot gives you. This may include entering your email address to proceed.
Certbot will also set up a scheduled task (a cron job) to renew your certificates automatically. Still, it’s wise to test this by running:
$ sudo certbot renew --dry-run
This simulates the renewal process and confirms everything is working as expected. Once done, your ChangeDetection application will be accessible through your chosen domain, encrypted and protected by SSL.
Setting up a reverse proxy with SSL might seem like extra work, but it could be an important step for any production deployment of ChangeDetection.io. The security benefits alone make it worthwhile, not to mention the improved usability of accessing your monitoring dashboard through a proper domain name.
Final Thoughts
ChangeDetection.io can save you a lot of time by automatically tracking website updates instead of checking manually. Its Docker-based setup is straightforward on Ubuntu, and the tool’s flexibility lets you keep an eye on nearly any web content.
The project receives regular updates, so it’s a good idea to peek at the GitHub repository now and then for new features.
Keep in mind that monitoring should be done thoughtfully. Avoid checking sites too often, and always respect their robots.txt rules and terms of service. If you hit any bumps, the GitHub issues page is a solid resource for troubleshooting, or you can open a new issue to get help.
Meet Aayush , a WordPress website designer with almost a decade of experience who crafts visually appealing websites and has a knack for writing engaging technology blogs. In his spare time, he enjoys illuminating the surrounding minds.
