Introduction
So, you’ve decided to self-host PostgreSQL. Good. You’ve chosen the path of glorious control *and* inevitable frustration. Hosting your own database is like adopting a very needy pet: it’s rewarding until it starts chewing through your server logs. But fear not—this guide will walk you through installing PostgreSQL, configuring it to actually listen to your requests, and exposing its port to the world (or your LAN, if you’re not completely reckless). Let’s get our hands dirty.
There are two ways to host your own postgres Database, there is the easy way and there is the hard way, the choice is yours.
1. Install with Coolify (Recommended)
2. Install Manually
Note: You need to have Coolify installed in order to follow the next steps. To install Coolify on your Webdock Server follow this guide.
First method: Install with Coolify
Coolify provides an easy experience, you will rarely need to interact with the cli, we recommend it if it’s your first time hosting you database.
After installing Coolify, visit your dashboard and create a new project.
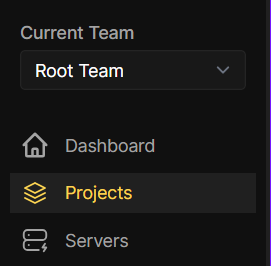
Click “add” and enter the project's name

The project resource page will open, click “Add New Resource.”

Choose the product you want, in our case, it’s PostgreSQL
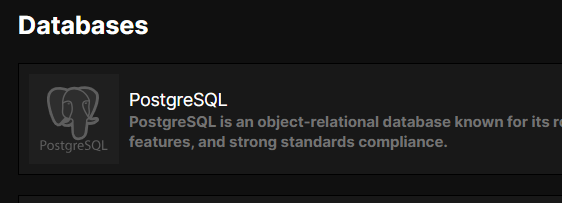
Choose the first Option, “PostgreSQL 16”
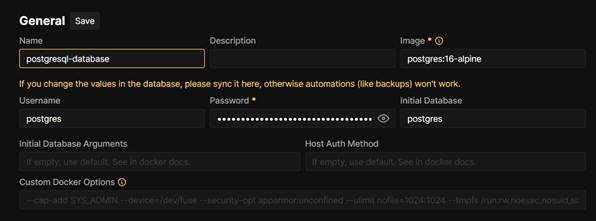
Coolify has generated the initial credentials for you (we recommend keeping the password as-is)
In the top right corner, click “start” to start the PostgreSQL instance.

Now, scroll down and enable SSL, and check “Make it publicly available”.
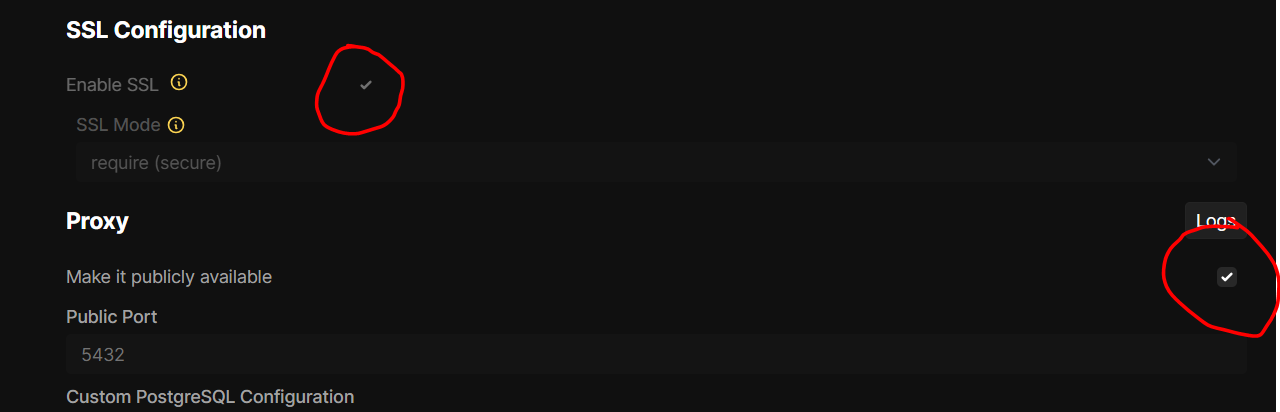
Scroll down to get the URLs to connect to your database.

Manual Installation
Install PostgreSQL
First, install PostgreSQL. On Ubuntu/Debian, open a terminal and run:
$ sudo apt update && sudo apt install postgresql postgresql-contrib
PostgreSQL will install itself and start sulking in the background. Check if it’s alive:
$ sudo systemctl status postgresql
If it’s not running, yell at it:
$ sudo systemctl start postgresql
Configure PostgreSQL to Stop Ignoring You
By default, PostgreSQL only listens to `localhost`, To make it acknowledge the outside world, edit the config file:
$ sudo nano /etc/postgresql/[version]/main/postgresql.conf
Find the line `#listen_addresses = 'localhost'` and change it to:
listen_addresses = '*' # Yes, asterisk. Live dangerously.
*Wait!* Before you save: `'*'` lets PostgreSQL listen on all interfaces. If you’re not a fan, replace `*` with your server’s local IP (e.g., `192.168.1.42`).
Next, tweak the client authentication rules. Edit `pg_hba.conf`:
$ sudo nano /etc/postgresql/[version]/main/pg_hba.conf
Add a line to allow remote connections (replace `0.0.0.0/0` with your IP range, e.g., `192.168.1.0/24`):
host all all 0.0.0.0/0 md5
Save, exit, and restart PostgreSQL:
$ sudo systemctl restart postgresql
Set Up a User Who Isn’t `postgres` (Because Defaults Are Boring)
Log in to PostgreSQL:
$ sudo -u postgres psql
Create a new user and database. Replace `webdock` and `ahmad ` with something less obvious than "admin" and "password":
CREATE DATABASE webdock;
CREATE USER ahmad WITH ENCRYPTED PASSWORD 'super_secret_password';
GRANT ALL PRIVILEGES ON DATABASE webdock TO ahmad;
Exit with `q`.
Let the Firewall Know You Mean Business.
If you’re using a firewall (you *are* using a firewall, right?), open port `5432`:
$ sudo ufw allow 5432/tcp
Conclusion
This article provided two steps in which you can install PostgreSQL. The first is recommended as Coolify does all the heavy lifting for you 🙂
This article was written by Ahmad Adel . Ahmad is a freelance writer and also a backend developer.
