Introduction
Using Visual Studio Code (VSCode) Server is ideal for cloud-based Python development and offers significant advantages for programmers.
By leveraging cloud infrastructure, developers can access their coding environment from anywhere, on any device, without worrying about local machine configurations or setups.
This flexibility enables seamless collaboration, as teams can easily share their environments and codebases in real-time, reducing time spent on onboarding and troubleshooting. Additionally, cloud-based IDEs like VSCode Server offer scalability, as they can handle resource-intensive tasks without taxing local hardware, while automatically managing dependencies, extensions, and updates.
As a result, developers can focus more on writing code and solving problems, rather than managing their environment, leading to faster development cycles and increased overall productivity.
This article provides instructions on installing the VSCode server on your Webdock server. So, let’s get started!
Prerequisites
- A Webdock Ubuntu Server (this guide uses the Ubuntu Jammy image)
- SSH access to the VPS
The Setup
First, SSH into your VPS as a sudo shell user. Then, update the APT repo and upgrade the system.
$ sudo apt update && sudo apt upgrade -y
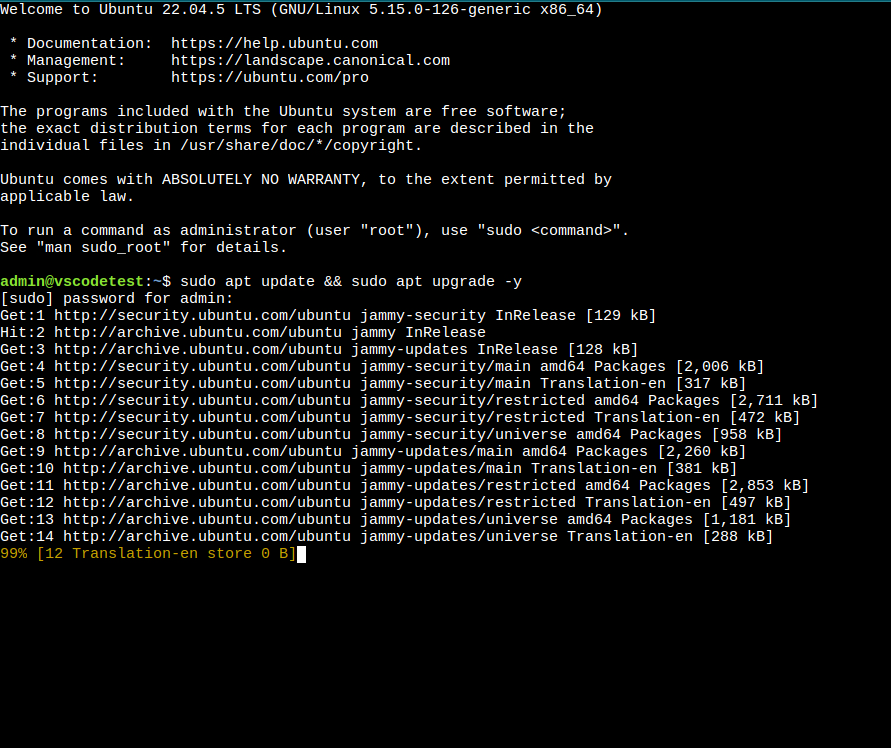
Once done, we’ll install the Git package. Git is a program used to fetch code from Git hosting repos like Github. We’ll use Git to download vscode-server from the coder GitHub page.
Install Git using:
$ sudo apt install git
Now visit the code-server GitHub page and copy the link to the repo.
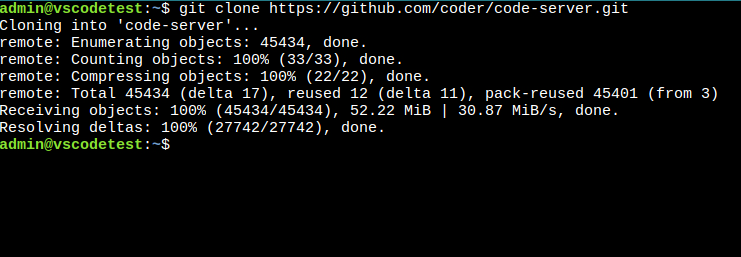
Now clone the repo with:
$ git clone https://github.com/coder/code-server.git
$ cd code-server
Now, we run the installer called install.sh
$ ./install.sh
Once the installation has finished, run the following command to create a systemd service so that code-server will run in the background even after you quit the SSH session.
$ sudo systemctl enable --now code-server@$USER
This will start the code-server but you may not see anything when you visit IP:8080
This happened because the code-server listens on localhost by default. To change this a small change has to be done to the configuration file.
Open the the configuration file under .config/code-server/config.yml with your favorite editor. I’ll use nano.
$ nano ~/.config/code-server/config.yml
In this file, we’re going to change the bind address. Also, here you will find the password to log in to the code editor.
Change the bind address to 0.0.0.0 instead of 127.0.0.1
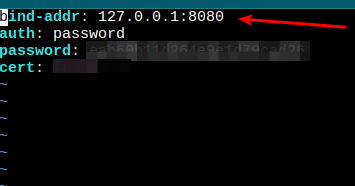
After making changes, save the file. Finally, restart code-server.
$ sudo systemctl restart code-server@$USER
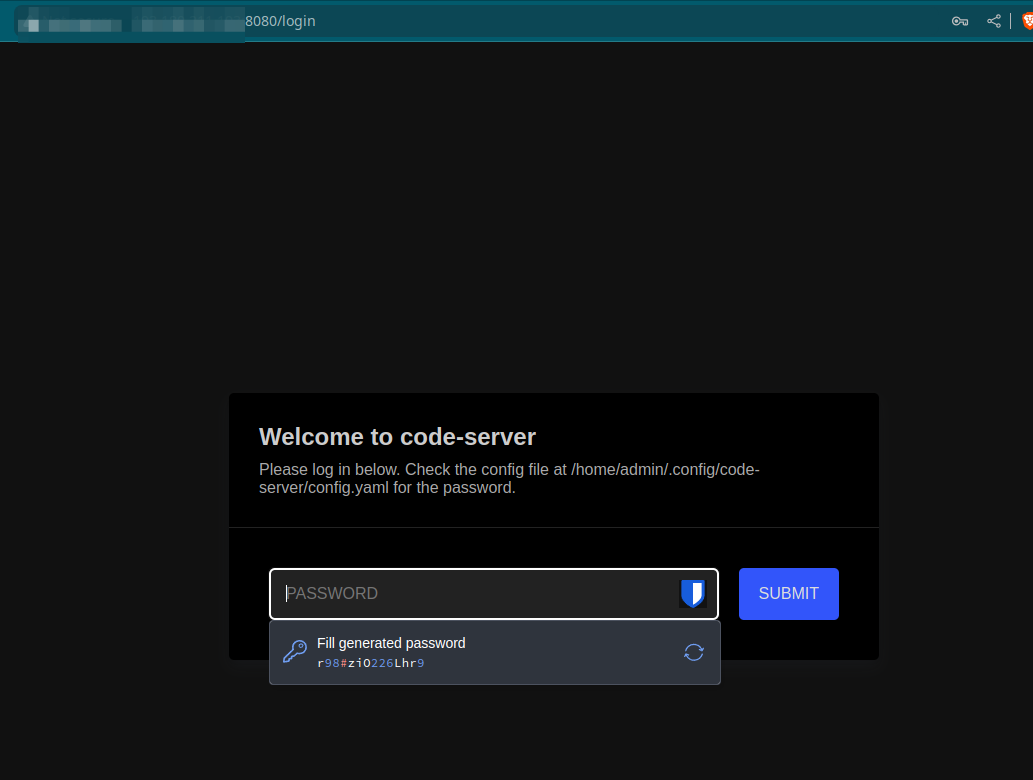
Now visit IP:8080 and you should see this.
Voila! Now we have a full vscode instance running in the cloud to have your apps wherever you go.
Conclusion
This article provided instructions on getting your own code-server instance up and running on your Webdock server. Feel free to reach Webdock Support if you have any questions or need assistance with this.
This article was written by Webdock Support Specialist Jose Porras. Jose is passionate about Cloud Hosting and helping Webdock Customers succeed wherever he can.


