Introduction
In 2023, Python will remain one of the best programming languages to learn. It has applications in back-end web development, machine learning, scientific modeling, system operations, and several enterprise-specific software.
Generally, Python is considered one of the more approachable programming languages because it has dynamically typed, English-like syntax and many libraries.
The server is an integral part of the client-server model that helps make up the internet. When you visit a website, your browser acts as the client who makes a request to the server for the files it needs to operate. The server then responds to the client’s request with the necessary files to display the web page.
In this tutorial, I will cover how to set up a web server using Python and Flask on your Webdock server. Let’s go ahead without any further ado!
Prerequisites
- Webdock LEMP server
- A Sudo User
Installing Python
All Webdock’s default stack (LEMP/LAMP) comes with Python pre-installed. If you’re not sure, you can try installing Python. There are multiple ways to install Python on Ubuntu. But installing Python using APT is my favorite:
Firstly, update your system:
$ sudo apt update
Then download and install the latest version of Python:
$ sudo apt install python3
Installing PIP
Pip is the package manager for Python. Like Python, PIP is also pre-installed. You can always reinstall it when in doubt:
$ sudo apt-get install python3-pip
Installing and Setting up Flask
Flask is one of the many Python packages that runs perfectly on our Python hosting solutions.
To install Flask, run the following as a non-sudo user:
$ pip install flask
And to set up Flask, you may need to create a new folder:
$ mkdir python-server
Then, open your newly made folder:
$ cd python-server
And then, create a new file:
$ nano __init__.py
(That’s two underscores)
And paste the following and save the file:
from flask import Flask, jsonify
app = Flask(__name__)
app.config['SECRET_KEY'] = "secretkey123"
@app.route("/") # this sets the route to this page
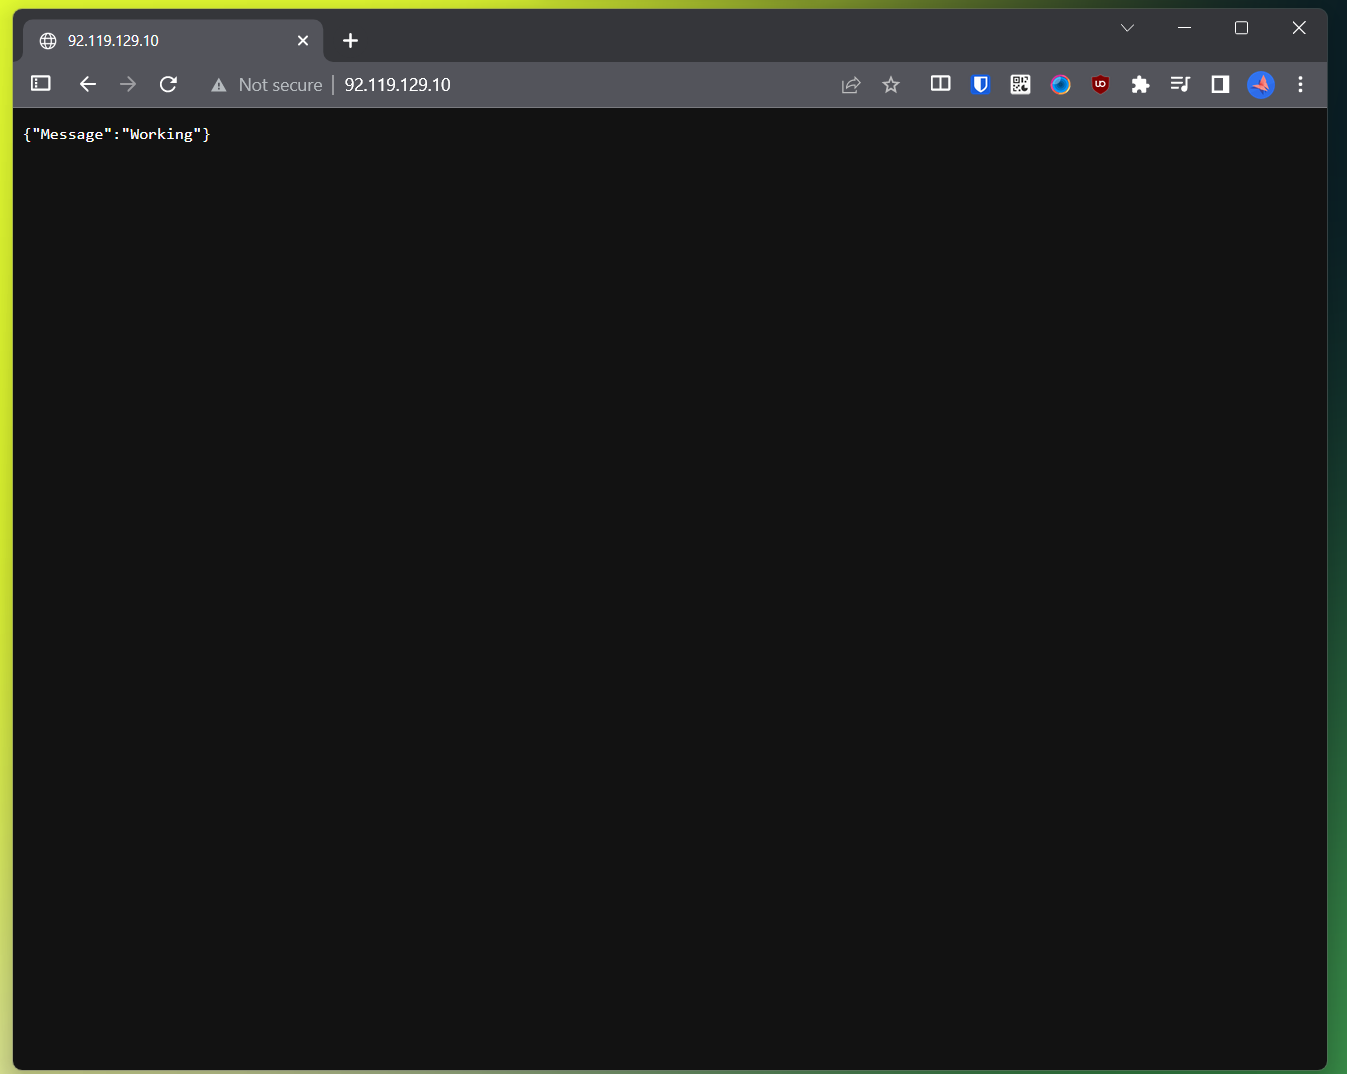
def home():
return jsonify({'Message': "Working"})
if __name__ == "__main__":
app.run()
Setting up NGINX
Webdock’s LEMP stack comes with NGINX pre-installed. You would need to create a configuration file for your Flask application, so it can be accessed via the browser using NGINX as the gateway. To do so, create a new configuration file using the following:
$ sudo nano /etc/nginx/sites-enabled/python-server
(the config file name can be anything but I prefer using the folder name I used “python-server”)
And paste the following by replacing the same with your IP address and save the file:
server {

    listen 80;

    server_name [server-ip];


    location / {

        proxy_pass http://127.0.0.1:8000;

        proxy_set_header Host $host;

        proxy_set_header X-Forwarded-For $proxy_add_x_forwarded_for;

    }

}
Instead of the IP address, you can use your domain name here but make sure you point your domain to your Webdock server’s IP address.
Now execute the below command to check for syntax errors.
$ sudo nginx -t
You should see this output. If you see some error, that means a mistake has been made while copy-pasting the code.
nginx: the configuration file /etc/nginx/nginx.conf syntax is ok
nginx: configuration file /etc/nginx/nginx.conf test is successful
If all is good, restart the NGINX server:
$ sudo systemctl restart nginx
Installing Gunicorn
Gunicorn acts as a gateway between your NGINX setup and your flask application. To install Gunicorn, you’d need to run the following:
$ sudo apt-get install gunicorn -y
Starting your Web server
Once you have installed and set up all the above modules, you just need to run a line of command to start your Application, but first, you would need to come to the home directory where you created the folder made in step 3. To do so, simply type and enter the following:
$ cd ..
This will take you to the folder above. Now, run the following:
$ gunicorn -w 5 python-server:app
(Replace the python-server with your folder name)
The number after -w indicates the number of cores dedicated to the worker. It’s simple to calculate and should be 2x the number of cores on your server. Since I use an SSD bit instance, I have 2.5 cores, hence the number (2.5 x 2) Be sure to adjust the same depending on your profile.
Once you run the above command, your web server will start.
But your web server will close as soon as you close your SSH screen. To avoid this and to run your Flask application in the background, run the following:
$ sudo apt-get install screen -y
Followed by:
$ screen gunicorn -w 5 python-server:app
Hit Ctrl + A then D to detach from screen.
And that’s all on how you can set up a Python Web Application on your Webdock machine!
Conclusion
This article outlined steps on how to host a Python Flask web application with Gunicorn and Nginx.
Aayush Nair has been designing WordPress websites for eight years now. He is also a content writer, writing blogs on technology and related topics and likes helping people in his free time.
