Introduction
A daemon is a program that runs continuously as a background process and wakes up to handle periodic service requests. These requests often come from remote operations, and the daemon program is alerted to them by the operating system (OS). The daemon either responds to the request or forwards it to another program or process as appropriate.
Creating a systemd unit file is essential if you want Ubuntu’s init system to start your application automatically.
This guide will show you how to make the systemd service unit file for your Python server so your application can start without any issues by illustrating how you can daemonize Gunicorn and Flask applications to begin whenever the server boots.
Prerequisites
- An application (I use a Flask Application with Gunicorn and Nginx, refer to this guide)
- A Linux server with a Sudo user (I use ubuntu in this tutorial)
Creating a systemd service file
To begin, create a unit file that ends in .service within the /etc/systemd/system directory where python-server can be any name:
$ sudo nano /etc/systemd/system/python-server.service
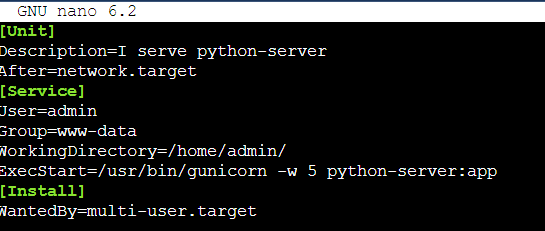
Inside the [Unit] section, you’ll specify metadata and dependencies. Add a description of your service here, and tell the init system only to start this after the networking target has been reached:
[Unit]
Description=I serve python-server
After=network.target
Next, add a [Service] section to your file. This will specify the user and group under which you want the process to run. Give your regular user account ownership of the process since it owns all relevant files. Give group ownership to the www-data group so Nginx can communicate easily. Replace the username here with your username.
[Service]
User=admin
Group=www-data
Next, map out the working directory and update the PATH environmental variable (if your application executables are located in a non-standard path) so that the init system knows where to find the executables for the process. Also, specify the command to start the service. This will help ensure that your process starts up correctly and smoothly:
WorkingDirectory=/home/admin/
ExecStart=/usr/bin/gunicorn -w 5 python-server:app
And Finally, we’ll add a [Install] section which tells the systemd what to do when we enable this service to start at boot. We want the service to start automatically when the system starts up, so we’ll specify that here:
[Install]
WantedBy=multi-user.target
In the end, your service file looks like this.
Your systemd service file is complete, and now is the time to save and close it.
Start your SystemD file
You can now start the service that you created. To do this, enter the following command:
$ sudo systemctl enable python-server
$ sudo systemctl start python-server
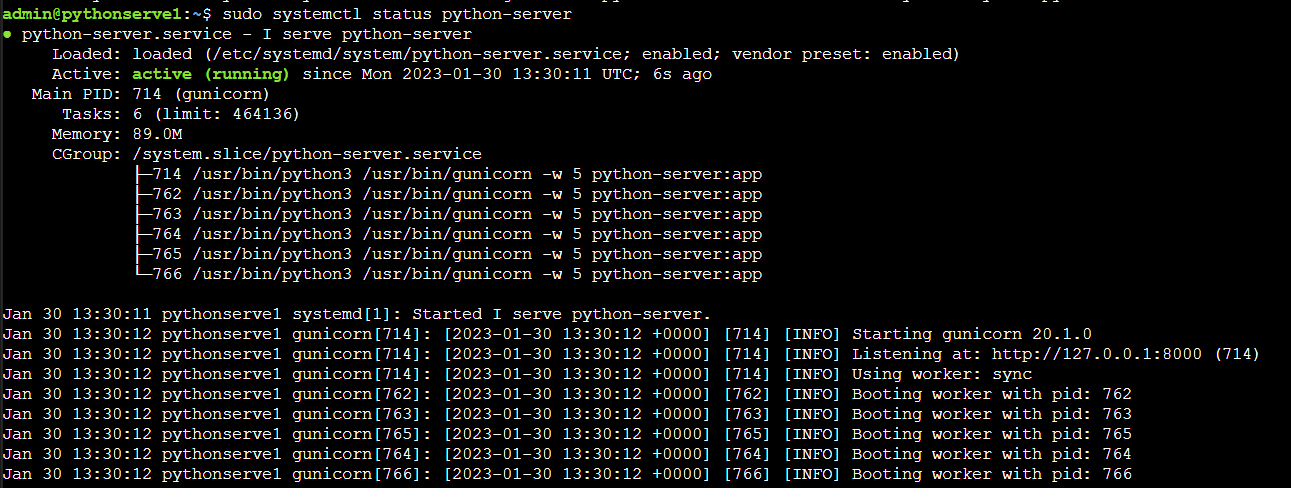
Not sure if it is working? Check the status by running the following command:
$ sudo systemctl status python-server
(Optional) Restart your Server
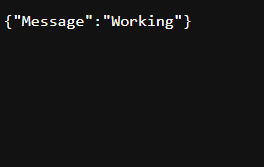
This is optional, but to check if our Application has been daemonized, simply restart your server. If you don’t get an error on your IP address or domain upon restarting your server, you have successfully daemonized your application.
Conclusion
This article outlined steps on How to Daemonize an Application using Flask web application with Gunicorn and Nginx as an example.
Aayush Nair has been designing WordPress websites for eight years now. He is also a content writer, writing blogs on technology and related topics, and likes helping people in his free time.
