Introduction
Do you run a small or medium enterprise and yearn for a seamless integration of your critical operations? Discover the transformative power of ERPNext, the free and open-source Enterprise Resource Planning (ERP) solution that promises to revolutionize your workflow. This comprehensive guide will navigate the meticulous process of installing ERPNext on your Ubuntu server, unveiling a world of efficiency and productivity.
What is ERPNext?
ERPNext is a free and open-source Enterprise Resource Planning (ERP) software that simplifies and automates various business operations. The software offers interconnected tools for accounting, inventory management, customer relationship management (CRM), human resources, and project management.
ERPNext centralizes data management, provides real-time reports, and facilitates department collaboration, benefiting businesses of all sizes. Its flexible structure, customization options, and open-source nature make it a cost-effective solution for different types of companies.
Why Use Webdock for launching ERPNext?
ERPNext can be challenging to host on a server with its numerous modules and features. Albeit, thanks to its modular structure, you can quickly turn off the modules you do not plan to use.
However, the developers of ERPNext suggest that a server should have at least 8GB of RAM, 4 CPUs, and 160GB of storage for a medium-sized organization with all modules enabled. With major VPS providers, this configuration could cost a minimum of $48/month (or €44/month). Additionally, there are expenses related to emails, backups, and other services.
In contrast, on Webdock, a server with similar specifications costs only $13.60/month, saving nearly 70%! Furthermore, you will have full access to the Postmark addon if you choose any plan above the SSD Nano4 plan. Postmark is the most sought-after transactional email-sending solution on the market. By selecting Webdock, you can utilize Postmark in your project to send unlimited transactional emails, and Webdock covers all the costs. You also get generous backup options. These features can provide substantial savings for your organization.
Installing ERPNext
All things said, now let’s take a look at how you go about installing ERPNext
Prerequisites
- A clean server with Ubuntu 22.04 and minimum specs of at least 2 Cores, 4 GB RAM, and 20 GB Storage (SSD Bit would be a great option).
- Synced timezone. Since your server may have a different location than your actual location, if you are unsure, simply check it by running the date command.
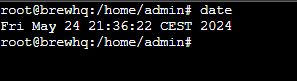
If it is different than your actual location, manually set it by running:
$ timedatectl set-timezone "TIMEZONE"
Ensure to replace the TIMEZONE with your actual timezone. For example, Europe/Copenhagen
Installing Essential Packages
Start by logging into a root user (use sudo su.) As usual, start by updating all existing packages on the system:
$ sudo apt-get update && sudo apt-get upgrade -y
Then, we will need to create a new user. If you’re on Webdock, you can do this from the control panel; however, I will do this via the command line itself to keep things quick:
$ sudo adduser beanjamin-button
You can, of course, replace this user’s name without a pun by replacing the beanjamin-button part. Now, we’ll give superuser privileges to this user:
$ sudo usermod -aG sudo beanjamin-button
Then, let’s switch to the newly created user:
$ su beanjamin-button
And navigate to its home folder:
$ cd /home/beanjamin-button/
These small extra steps will help us avoid exposing the root user and keep things safe. Let’s go ahead and install packages for this user. I’ll add a -y flag in front of all install commands to save time by auto-approving the installation.
Fail2ban
Fail2ban is a security tool that protects servers by monitoring log files and banning IP addresses showing malicious signs and is usually preinstalled on most servers. However, if you’re unsure, start by installing Fail2ban:
$ sudo apt-get update && sudo apt-get install fail2ban -y
Then, start the service:
$ sudo systemctl start fail2ban
Supervisor
Supervisor helps you manage and monitor multiple long-running programs through a single interface. It offers an easy way to keep track of various processes and ensures everything runs smoothly, so go ahead and install:
$ sudo apt update && sudo apt install supervisor -y
GIT
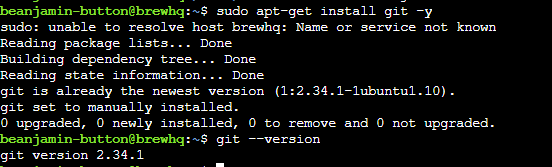
GIT is a version control system used for tracking changes in code. GIT is usually preinstalled, but you can try to install the same by running:
$ sudo apt-get install git -y
To check if it is running correctly, simply run the following:
$ git --version
Python
We’ll also need Phyton. Execute this command:
$ sudo apt-get install python3-dev python3.10-dev python3-setuptools python3-pip python3-distutils -y
This command will install several Python-related packages and tools on your system. Specifically, it will install Python development headers, development files for Python 3.10, setup tools for Python 3, the Python package installer, and Python 3 distutils.
We’ll need the tools needed to create and manage virtual environments for Python projects using Python 3.10, as well:
$ sudo apt-get install python3.10-venv -y
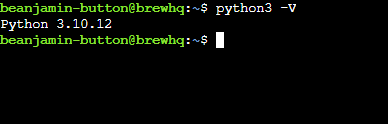
Check if everything is installed correctly by checking the Phyton version:
$ python3 -V
MariaDB
We of course, will also need a database manager. ERPNext recommends going with MariaDB, which I recommend, too:
$ sudo apt install mariadb-server mariadb-client -y
cURL
cURL will ensure with seamless transfer of files using links, so go ahead and install it if isn’t already preinstalled:
$ sudo apt install curl -y
Node
With cURL installed, let’s use it to install Node. First, download the executable script:
$ curl -fsSL https://deb.nodesource.com/setup_20.x -o nodesource_setup.sh
Run the executable script:
$ sudo -E bash nodesource_setup.sh
And install:
$ sudo apt install nodejs -y
The above command also installs npm.
With the NPM installed, we’ll install Yarn (Yet Another Resource Negotiator) – A package manager for JavaScript that installs, updates, and manages dependencies efficiently for Node.js projects:
$ sudo npm install -g yarn -y
This might take some time to complete. Everything installed? Check Node’s version to be sure before we move ahead:
$ node --version
Redis Server
With so many packages and dependencies running, caching can help the server not turn into a toaster. So, we’ll go ahead with installing Redis:
$ sudo apt-get install redis-server -y
Once installed, start the Redis server:
$ sudo systemctl start redis-server.service
Software Properties
To better manage the repositories, we’ll install a package that provides a set of scripts and utilities for managing software repositories on Ubuntu:
$ sudo apt-get install software-properties-common -y
MySQL client library development files
We’ll need the MySQL client library to enable applications to communicate with the MySQL database server by handling connection, query execution, result retrieval, and transaction management, among other things:
$ sudo apt-get install libmysqlclient-dev -y
XVFB, libfontconfig, wkhtmltopdf
And lastly, we will need these ‘aesthetic’ packages. Namely:
- XVFB: Virtual display server for running GUI applications.
- libfontconfig: Font configuration library for managing fonts.
- wkhtmltopdf: Tool for converting HTML files to PDF format.
So, go ahead and install these packages at once:
$ sudo apt-get install xvfb libfontconfig wkhtmltopdf -y
Setup MYSQL Server
Now, let’s set up and secure the MYSQL server:
$ sudo mysql_secure_installation
While setting up, the server will ask you some questions. Just follow the instructions and approve all asked questions by pressing Y, except "Disallow root login remotely?" by clicking N to proceed with the setup process.
After you complete the setup, open the MYSQL config file:
$ sudo nano /etc/mysql/my.cnf
And add the following to the end:
[mysqld]

character-set-client-handshake = FALSE
character-set-server = utf8mb4
collation-server = utf8mb4_unicode_ci

[mysql]

default-character-set = utf8mb4
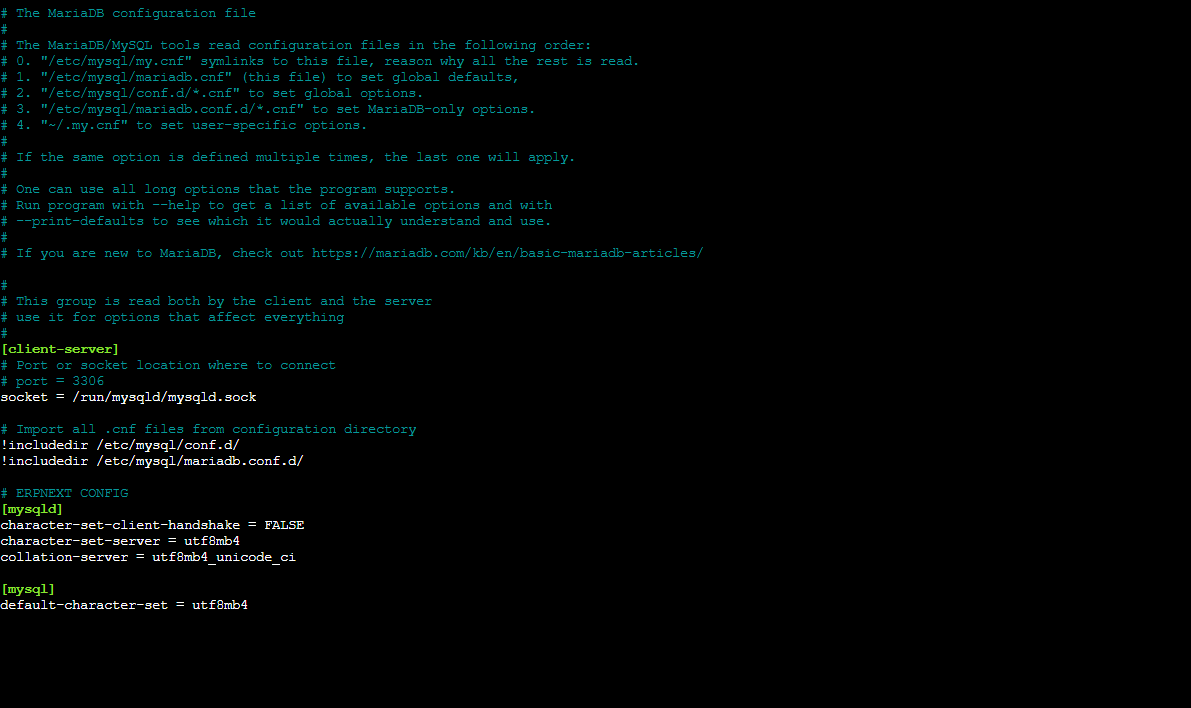
This configuration sets MySQL to use the utf8mb4 character set and collation. It disables client character set negotiation, sets the server character set to utf8mb4, and its collation to utf8mb4_unicode_ci. For the MySQL client, it also defaults to utf8mb4.
Configuring MySQL to use utf8mb4 is essential for handling many characters, including emojis. This configuration ensures proper data storage and display. Setting the collation to utf8mb4_unicode_ci ensures accurate sorting and comparison of text. This configuration helps avoid issues with data handling in ERPNext.
After adding, save by pressing CTRL + X and then Y. And then restart MYSQL:
$ sudo service mysql restart
Installing Frappe Bench
Frappe Bench is a command-line tool for managing and deploying Frappe applications like ERPNext. It is very simple to use and handles setup, configuration, and maintenance tasks for development and production environments. We will use the Phyton package manager to install Frappe Bench:
$ sudo pip3 install frappe-bench
Once installed, check the version to ensure it has been installed correctly: bench –version

If it is working as expected, go ahead and initialize Frappe Bench:
$ bench init --frappe-branch version-15 frappe-bench
Have a cup of joe or stretch. This might take a while. Once installed, open the directory:
$ cd /home/beanjamin-button/frappe-bench/
And change the permissions:
$ chmod -R o+rx /home/beanjamin-button/
This command recursively changes the permissions of all files and directories within /home/beanjamin-button/. It grants read and execute permissions to others, allowing them to view and access (but not modify) the contents.
And create a new ‘site’:
$ bench new-site brewhq.local
You will be prompted to add your root password for MYSQL. Also, replace the brewhq part with anything, like your organization name. You will also be prompted to set up an admin password.
Installing and Configuring ERPNext
Before we install ERPNext, we’ll need to add some auxiliary packages necessary to install and use ERPNext, namely the Payment package:
$ bench get-app payments
Then, download the main ERPNExt app:
$ bench get-app --branch version-15 erpnext
If you need the HR & Payroll module, you can download it now before we start the actual installation process:
$ bench get-app hrms
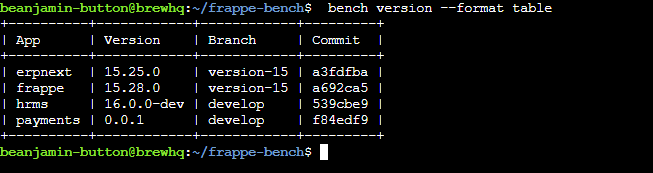
Remember, you may see a few general and overwritten warnings, and it is safe to ignore them. Run bench version –format table to verify whether all the apps have been downloaded correctly.
Verified? Great. Now, let’s install ERPNext:
$ bench --site brewhq.local install-app erpnext
If you plan to use the HR & Payroll module, then go ahead and install it, too:
$ bench --site brewhq.local install-app hrms
Once the installation is complete, we’ll enable the scheduler to ensure any scheduled tasks in the systems, like sending emails, notifications, and more, work properly. Think of it akin to a CRON job. Run the following to enable the scheduler:
$ bench --site brewhq.local enable-scheduler
And then turn off the maintenance mode, which is on by default:
$ bench --site brewhq.local set-maintenance-mode off
Setting up NGINX
Since we have installed Frappe Bench, we can just give it a simple instruction and it will install NGINX and set it up for ERPNext. Just run:
$ bench setup nginx
Once the installation is complete, tell the supervisor to restart all managed processes:
$ sudo supervisorctl restart all
Before you start configuring the instance for production, we must change the Ansible playbook. The statements in this playbook were recently deprecated, and hence, we’ll have to update it to the updated arguments to prevent running into errors.
First, open a new terminal session/tab, login as a sudo user, and open the playbook using nano:
$ sudo nano /usr/local/lib/python3.10/dist-packages/bench/playbooks/roles/mariadb/tasks/main.yml
And look for any arguments that have just “- include” and replace them with “- include_tasks”. These deprecated arguments are found on the first, fourth, and seventh lines of the said playbook. Once you make these changes, press CTRL + X and Y to save the file.
Once set, continue on the previous terminal and ask Frappe Bench to set up the last leg of configurations for the beanjamin-button user and approve by pressing Y when prompted:
$ sudo bench setup production beanjamin-button
And lastly, add the following firewall rules to UFW:
$ sudo ufw allow 22,25,143,80,443,3306,3022,8000/tcp
$ sudo ufw enable
In most Ubuntu servers, UFW comes pre-installed. However, if you’re unsure, you can install it using the following:
$ sudo apt-get update && sudo apt-get install ufw -y
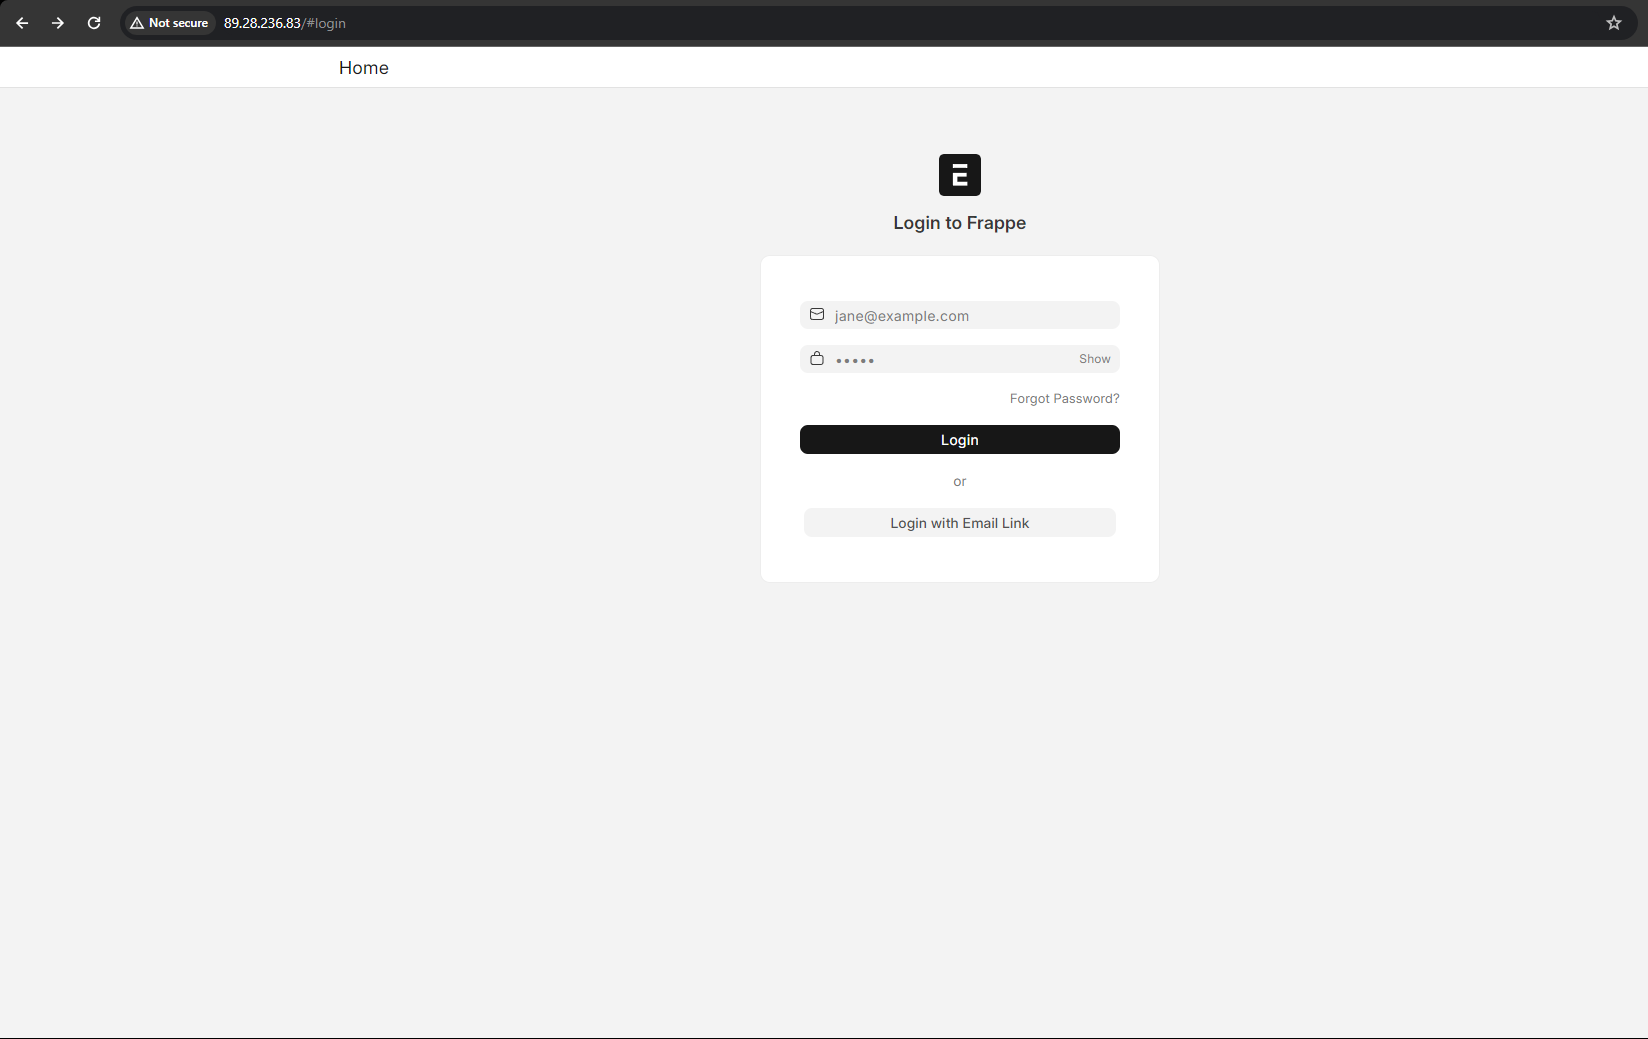
Once installed, add the above firewall rules. ERPNext should now be installed and ready to be used. You can access it using your IP address and adding an:80. For example, 123.456.789:80
You can log in using the username administrator and the password you set up during the setup.
This should be okay if you’re a small, concentrated team; however, if you’re a large team/organization, having a domain associated with it would be better to remember things. Let’s find out how you can add a domain and an SSL certificate to your ERPNext configuration.
Setting up Domain and SSL
First and foremost, before proceeding, ensure that you add an ‘A’ DNS record to your domain pointing to the server’s IP address. If you use Cloudflare to manage your DNS, ensure that you turn off the proxy (orange cloud) for better compatibility.
Once you confirm that you’ve added one, open the frappe-bench folder:
$ cd /home/beanjamin-button/frappe-bench/
Then run the following command:
$ bench config dns_multitenant on
This command enables DNS-based multitenancy, which allows multiple sites to be hosted on a single instance, each accessible via its own domain name.
Then ask Frappe Bench to set your domain name:
$ bench setup add-domain YOURDOMAIN.com --site YOURSITENAME
Ensure to replace the YOURDOMAIN.com part and YOURSITENAME part with actual values.
Then re-setup NGINX using bench:
$ bench setup nginx
Approve if you get an overwrite prompt. Then reload NGINX:
$ sudo service nginx reload
The domain should now be working to access your ERPNext instance. However, we'll need an SSL certificate to ensure better security and email deliverability. As Webdock recommends, we’ll install an SSL using Certbot. Since this is a clean install, we must install Certbot first.
While there are several ways to install Certbot, I will stick with the tried and tested Snap method. Like UFW, Snap to is usually preinstalled in Ubuntu. However, if you’re unsure, install Snapd first:
$ sudo apt update && sudo apt install snapd -y
Then install the core packages:
$ sudo snap install core
And refresh. In case there are any outdated core packages, this command will update them:
$ sudo snap refresh core
And install Certbot:
$ sudo snap install --classic certbot
And establish a symbolic link:
$ sudo ln -s /snap/bin/certbot /usr/bin/certbot
And finally, run the following to start the SSL installation:
$ sudo certbot --nginx
Answer the series of questions you’ll be asked.
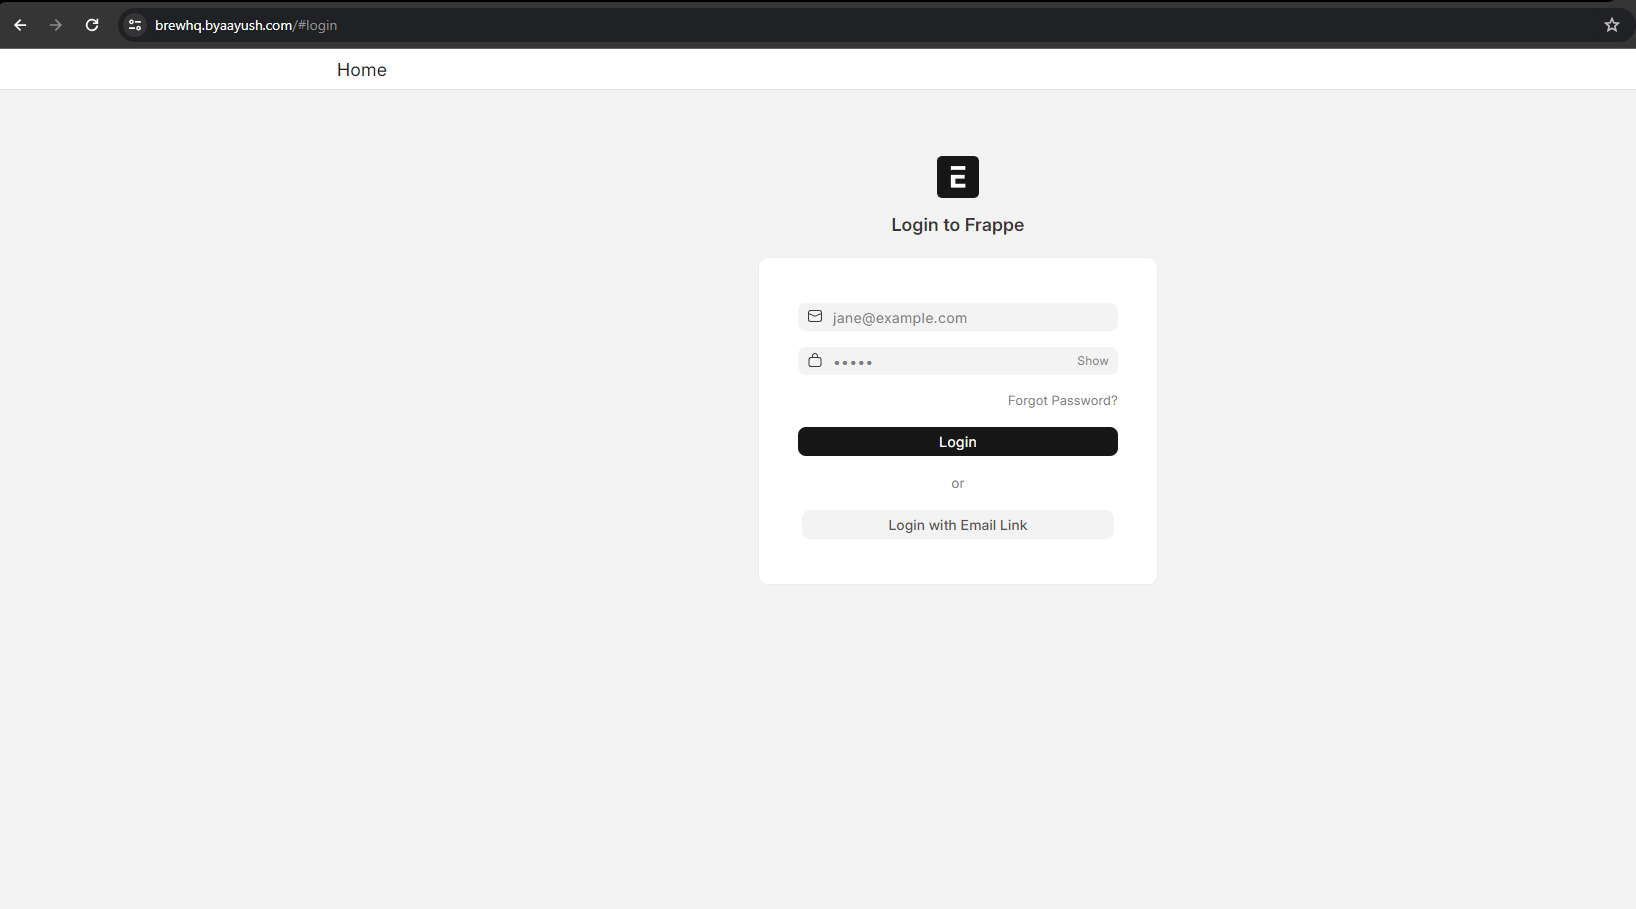
Once your SSL is generated, installed, and applied, try accessing the website using the domain you set up.
Conclusion
That’s how you would set up ERPNext on your Ubuntu server! This powerful business management tool has the potential to streamline various business operational aspects, including accounting, inventory management, customer relations, and human resources. Take the time to explore the extensive features of ERPNext and customize them to meet your specific business needs.
For further assistance and to explore advanced configuration options, refer to the official ERPNext documentation.
Meet Aayush, a WordPress website designer with almost a decade of experience who crafts visually appealing websites and has a knack for writing engaging technology blogs. In his spare time, he enjoys illuminating the minds around him.
