Introduction
Nextcloud is a file-sharing and collaboration platform for documents, calendars, and such. It's widely used in home labs and personal cloud servers for storing media. The fact that it has rich community support and ease of use makes it a reliable choice.
This article will cover the steps to install Nextcloud AIO (All-in-one) image on your Webdock server.
Prerequisites
- Ubuntu server (Focal or above) with Docker installed.
- SSH access to your server.
Why Nextcloud AIO?
The Nextcloud AIO package comes as an "all-in-one" package and eases the setup of the Nextcloud instance. Once deployed, it downloads all the required data and hosts them in containers, without touching the host filesystem. This way, not much manual labor is required, and comes with the advantage that if you ever want to migrate your data or back it up you can do it easily.
Deploying Nextcloud
Here we'll be using the Nextcloud docker image to deploy Nextcloud.
SSH into your server and run the below command.
sudo docker run
--init
--detach
--sig-proxy=false
--name nextcloud-aio-mastercontainer
--restart always
--publish 80:80
--publish 8080:8080
--publish 8443:8443
--volume nextcloud_aio_mastercontainer:/mnt/docker-aio-config
--volume /var/run/docker.sock:/var/run/docker.sock:ro
nextcloud/all-in-one:latest
This pulls and starts the Nexcloud AIO container. Note that the "–detach" flag is used. This makes sure that the container is run in the background instead of in the foreground.
Now visit https://<server-alias>:8443 and should see the Nextcloud screen. There, you should see the login password.
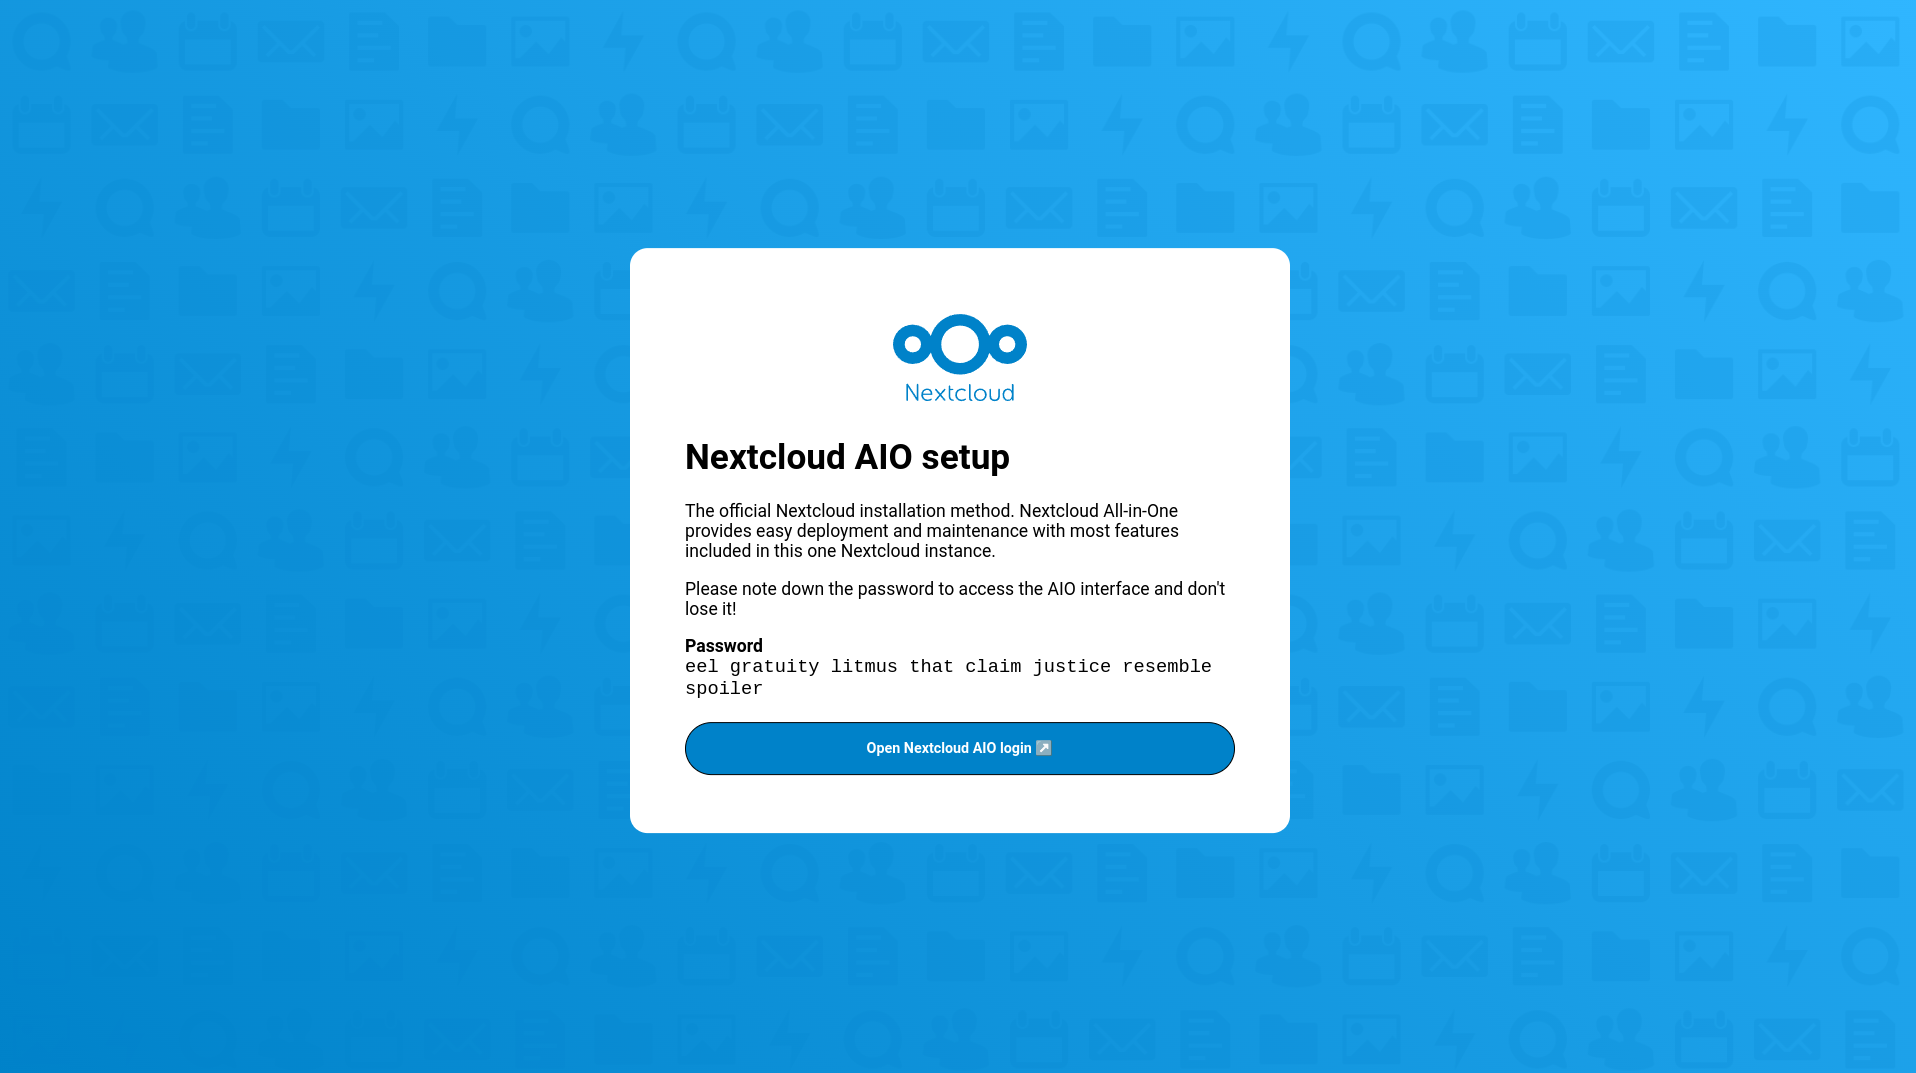
Please save the password in a safe place!
Click on that login link and enter the password as-is to log in.
Once logged in you will see a screen like this.
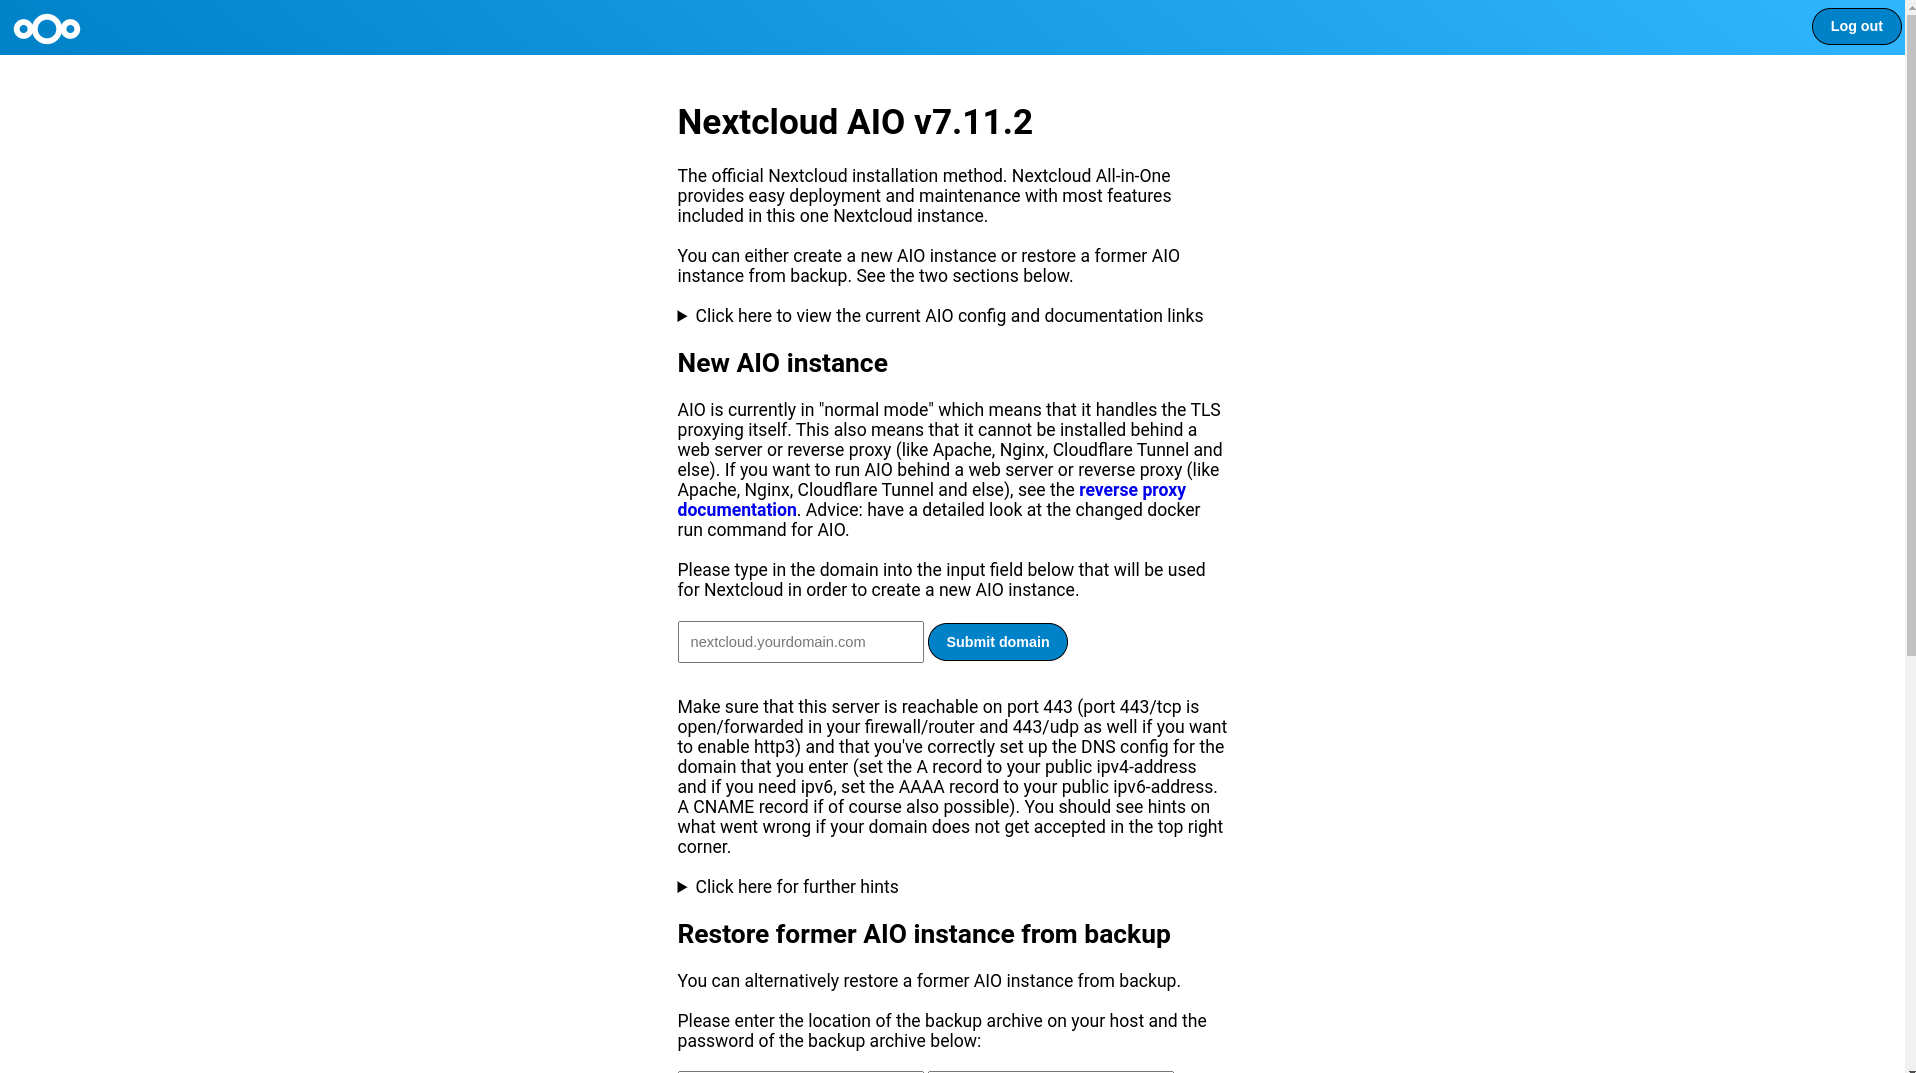
In the domain field, you need to enter the domain that you want to use for accessing Nextcloud. The domain you use there should point to the Webdock server IP address. In this case, I'll simply use my server alias URL. Nextcloud takes care of generating an SSL certificate (Let's Encrypt) for the domain you enter. Cool, right?
In the next screen, you can select, as per your need, what you want to get installed. In my case, I need the latest Nextcloud, so I checked the related box to install Nextcloud 28 instead of Nextcloud 27.
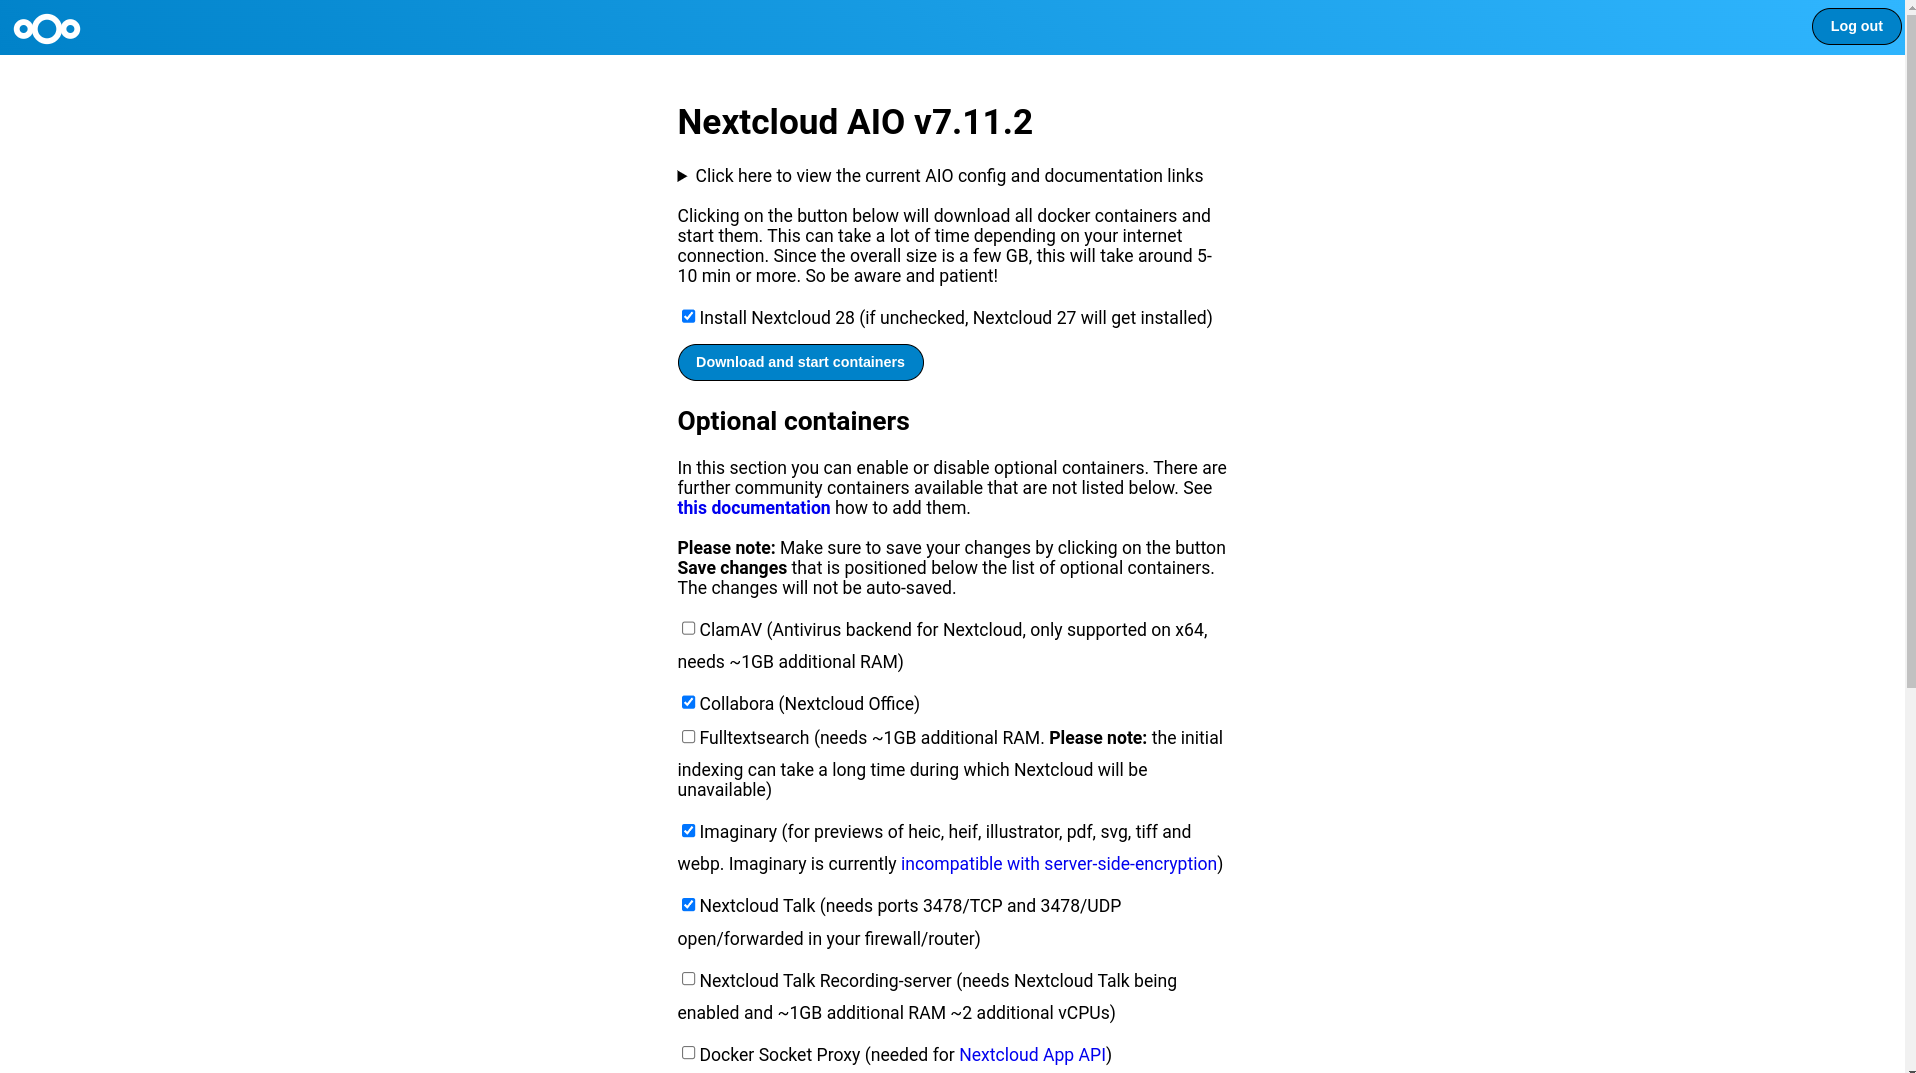
Once done with changing your preferences, finally hit the "Download and start containers" button. You'll see this screen. The page will auto-refresh every few seconds until all the containers are up and running.
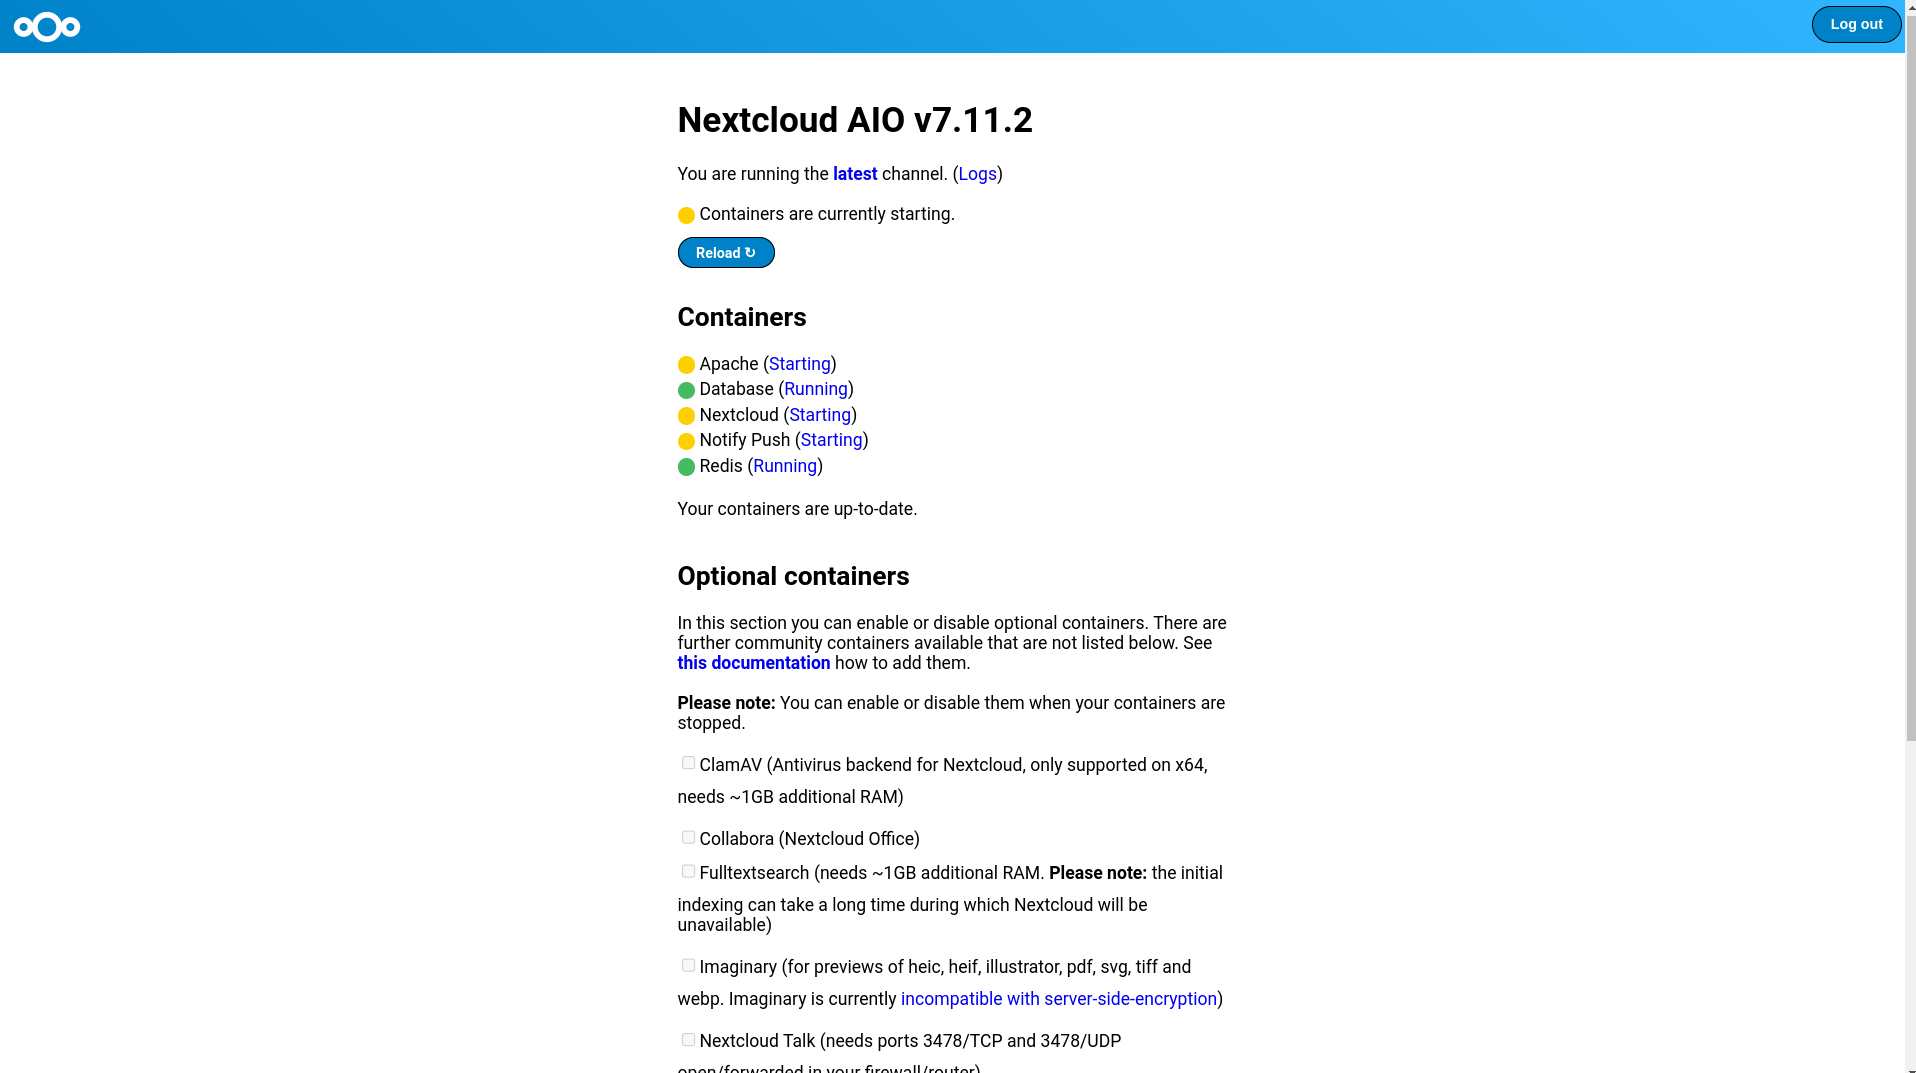
Once every container is UP, you'll see a page like this, with the login credentials. Take note of them as you need them to log into Nextcloud.
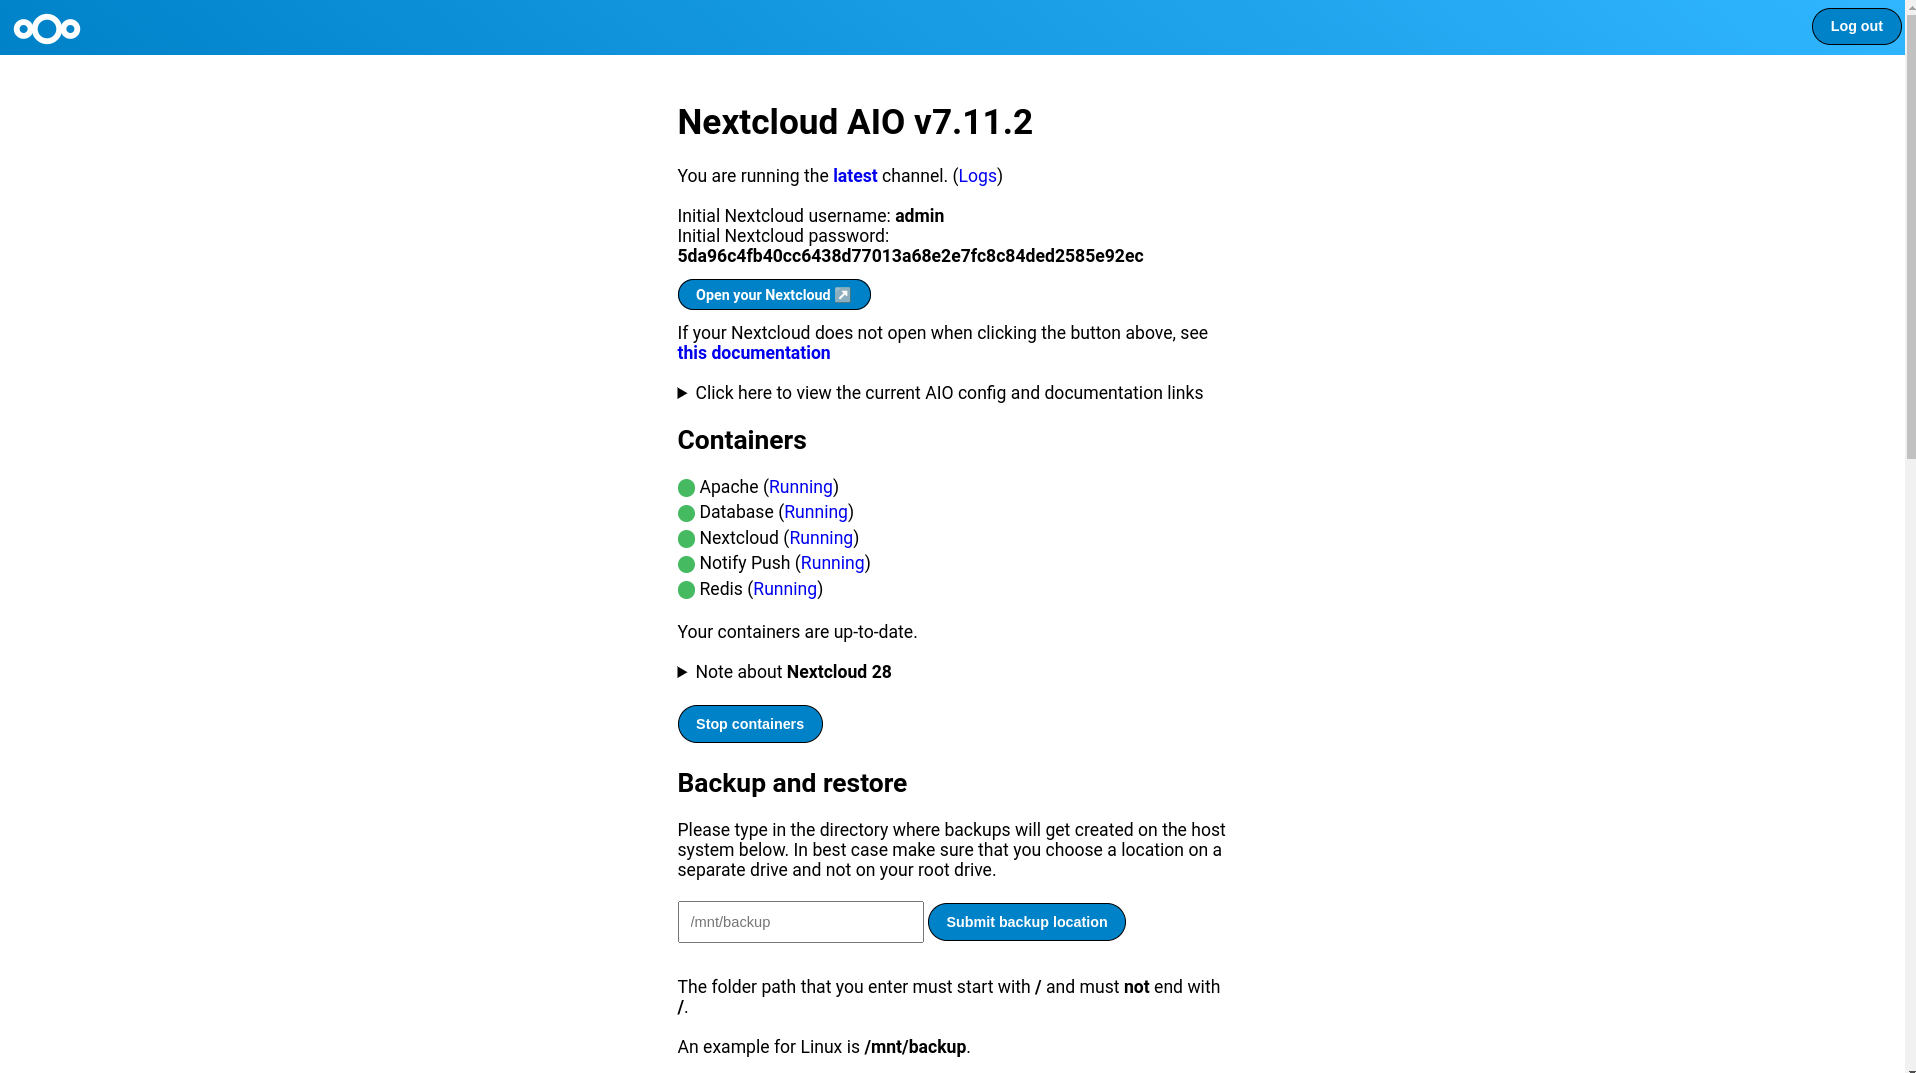
Finally, log in to access the Nextcloud dashboard.
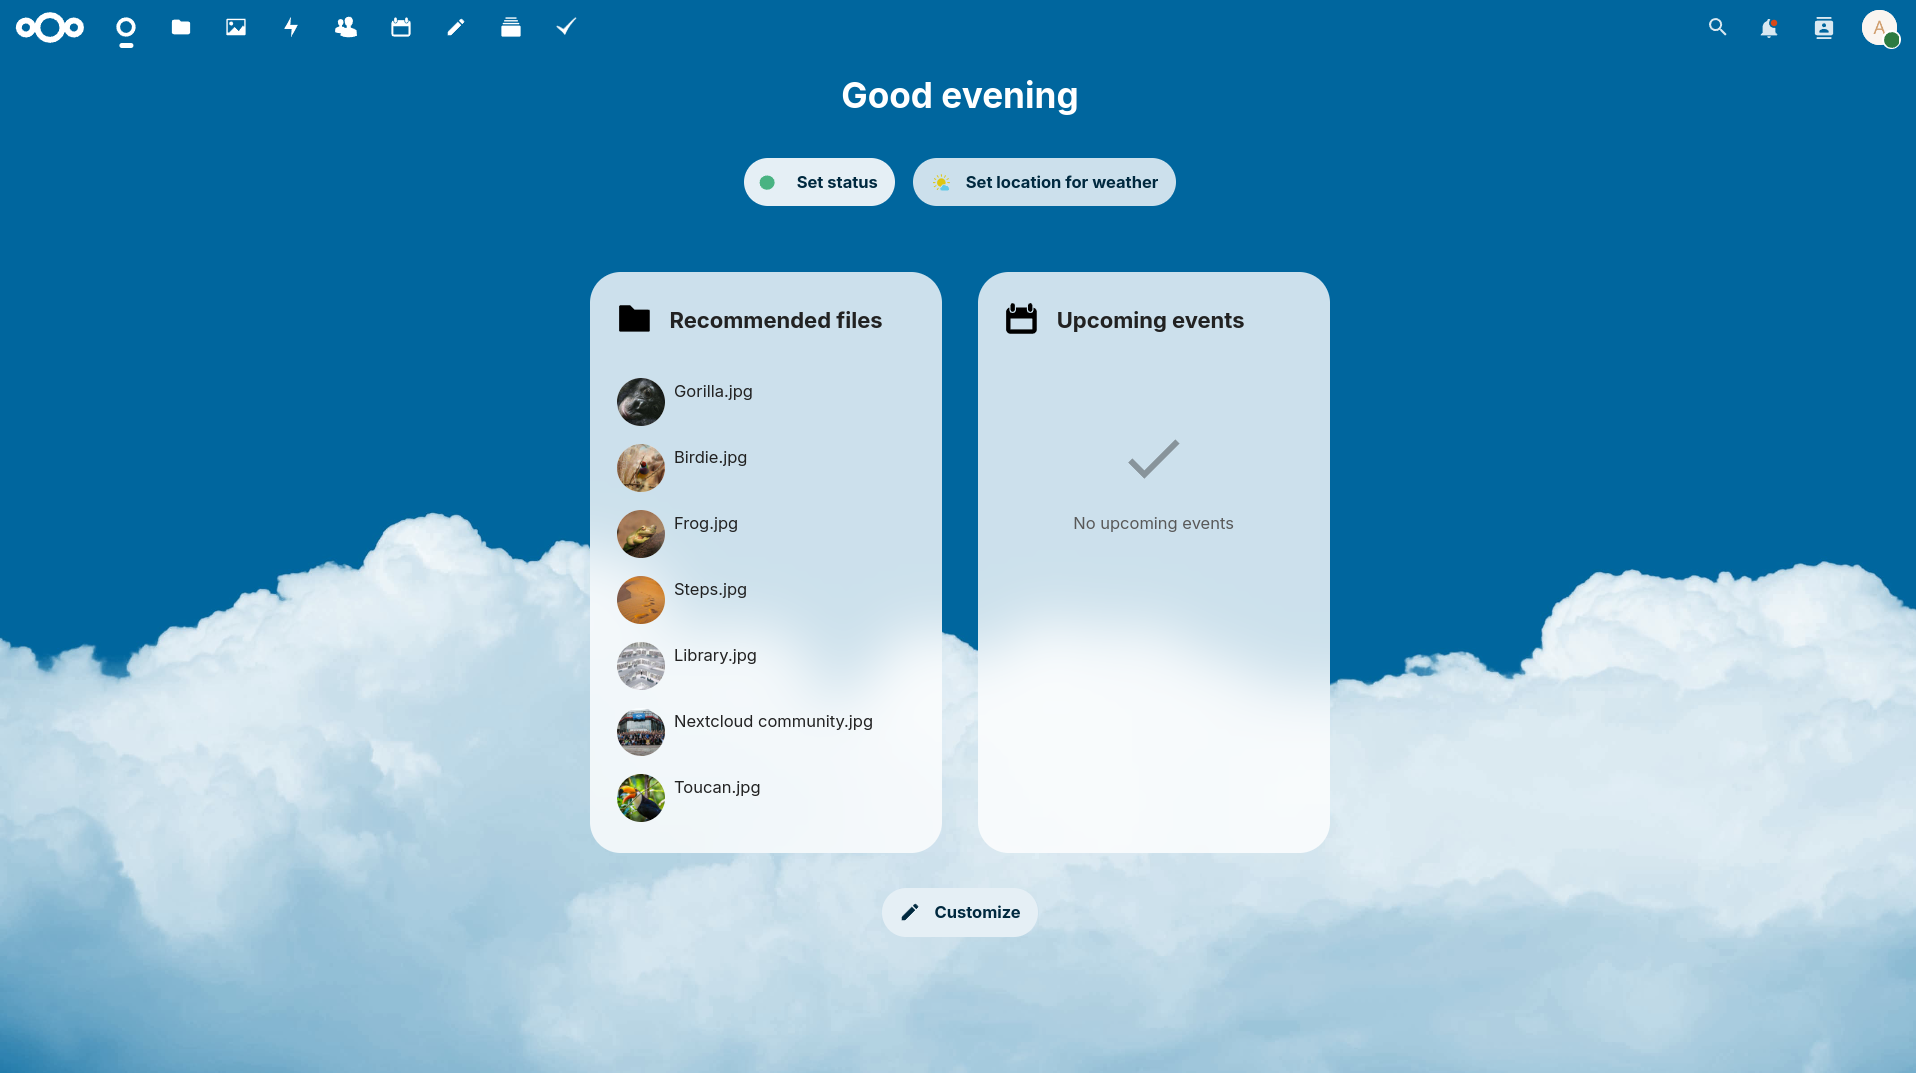
Success 🙂
Don't forget to change your password from the settings.
(Optional) Setting Up Email
If you've invited multiple users (friends or family) and want to receive emails based on select activity, you can use our Postmark addon (available for every server that costs 6 USD/EUR or more) to send as many emails as you want 🙂
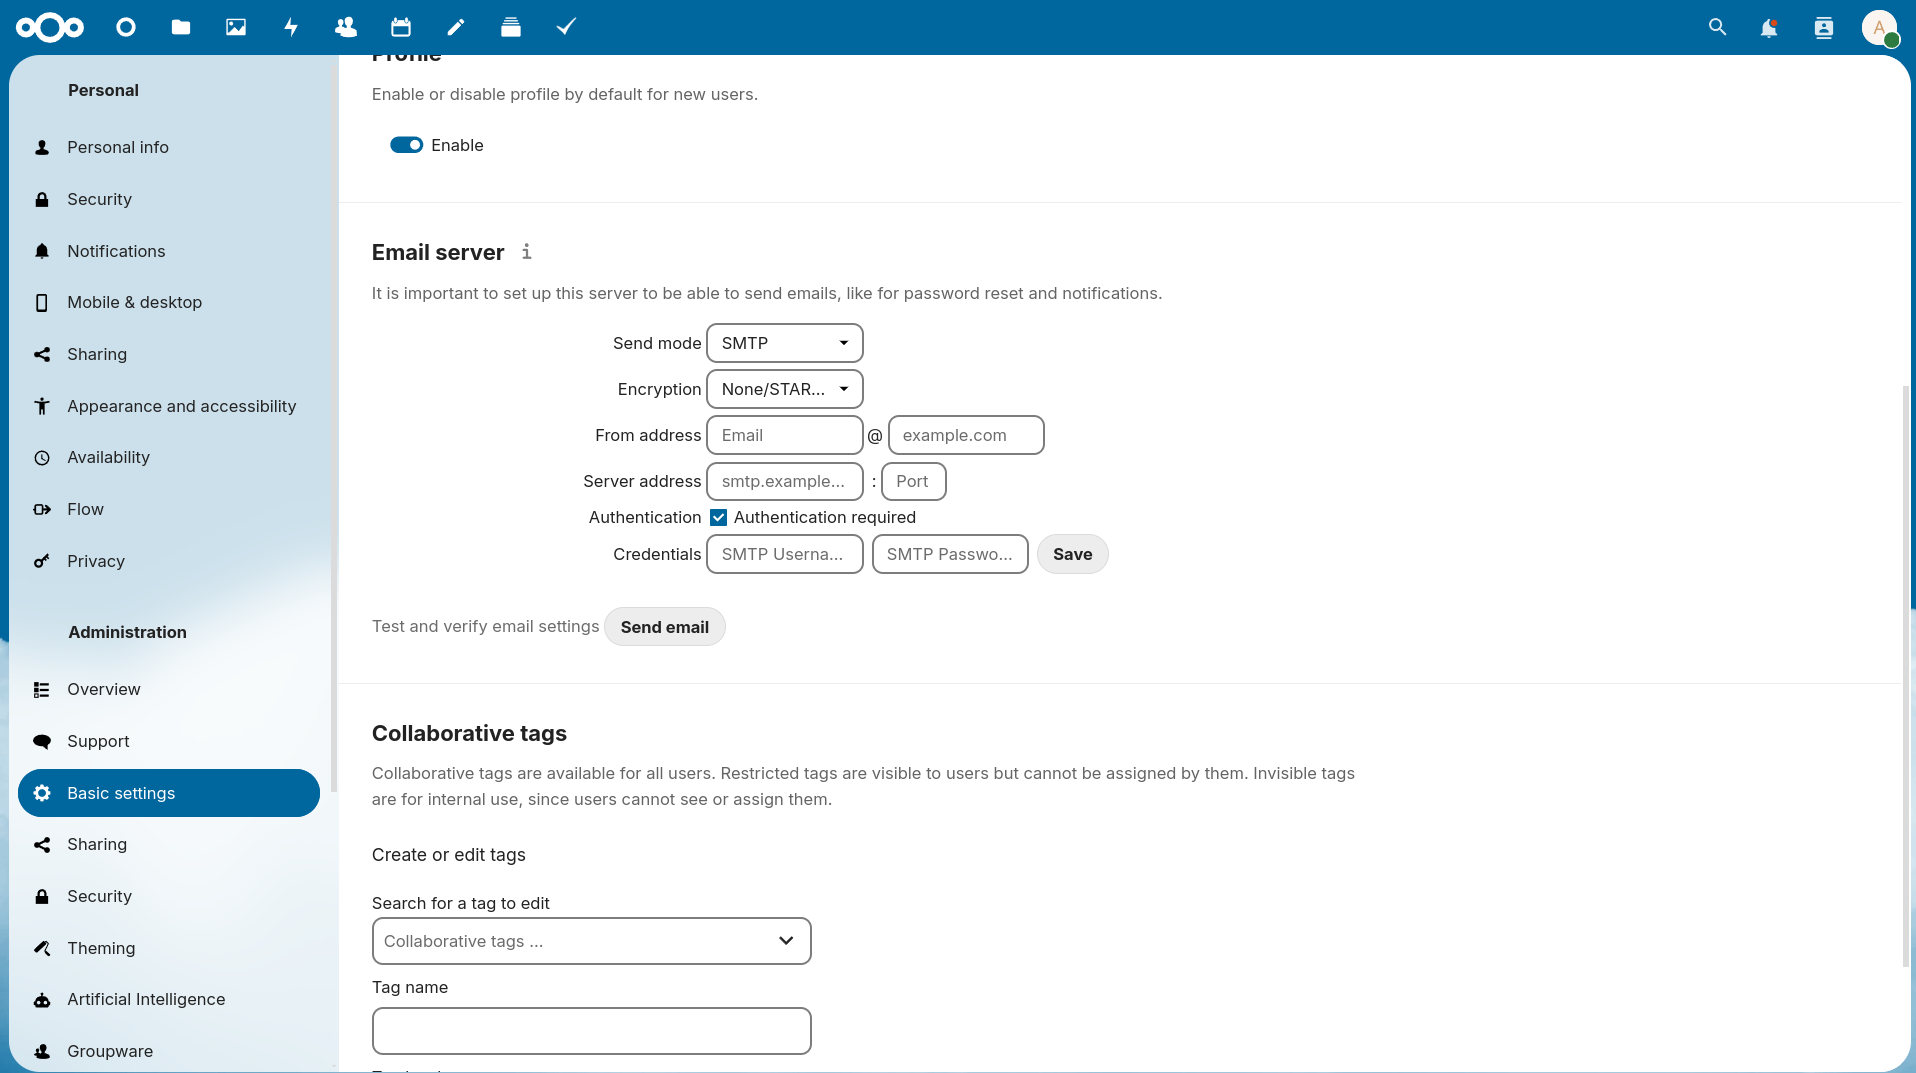
You can find the SMTP credentials in the "Manage Emails" screen for Postmark.
Conclusion
This article showed how you can set up Nextcloud on your server using the Nextcloud AIO docker image, and by no means have covered all the things. There's more customization you can do when it comes to Nextcloud.
For any further customization or server-side configuration refer to Nexcloud documentation or its GitHub repository.
