Introduction
Igor Sysoev created Nginx in 2004 and had its first public release in October of that year. Because Nginx is based on optimizing performance under scale, it often outperforms other web servers in benchmark tests – especially regarding static content and high concurrent requests.
Proxying (also known as proxy_pass) is a way to distribute the load among several servers or to show content from different websites. You can also use proxying to pass requests for processing to application servers over protocols other than HTTP.
Nginx is easy to configure because it uses a straightforward configuration language. This article will show you how to configure Nginx as a reverse proxy for Nodejs using an example.
Let's get started!
Prerequisites
- A vanilla Linux server (I used Ubuntu Noble in this guide)
- SSH Access to the server
- Coffee, the guide is long 😉
Note: If you are on our Perfect Stacks you can skip installing NodeJS and Nginx (if you are on LEMP) as they come pre-installed. In this case, you can right away go to setting up your NodeJS application.
Installing Node.js and NPM
You can install Node.js and NPM by running the following commands:
$ sudo apt-get update && sudo apt-get install nodejs -y && sudo apt-get install npm -y
The command above installs updates, nodejs, and npm all at once. This is helpful if you need to set up a new machine's development environment quickly.
But if you encounter any error, The Node.js website maintains this repository, and you'll need to add it to your system to install the latest Node.js and NPM packages by using the commands below:
$ curl -sL https://deb.nodesource.com/setup_22.x | sudo -E bash -
You may change the setup_18.x to another version, but at the time of writing this guide, version 18 is the most stable version of Node.js.
Once the system has downloaded the official Node.js packages, run the following commands to install the packages:
$ sudo apt-get update && sudo apt-get install nodejs -y && sudo apt-get install npm -y
Installing Nginx
Once you have installed Node.js and NPM, you will need to install Nginx. The process is relatively simple – just run the following commands:
$ sudo apt-get update
Followed by:
$ sudo apt-get install nginx -y
Once you install Nginx, it will automatically start running – no further action is required on your part!
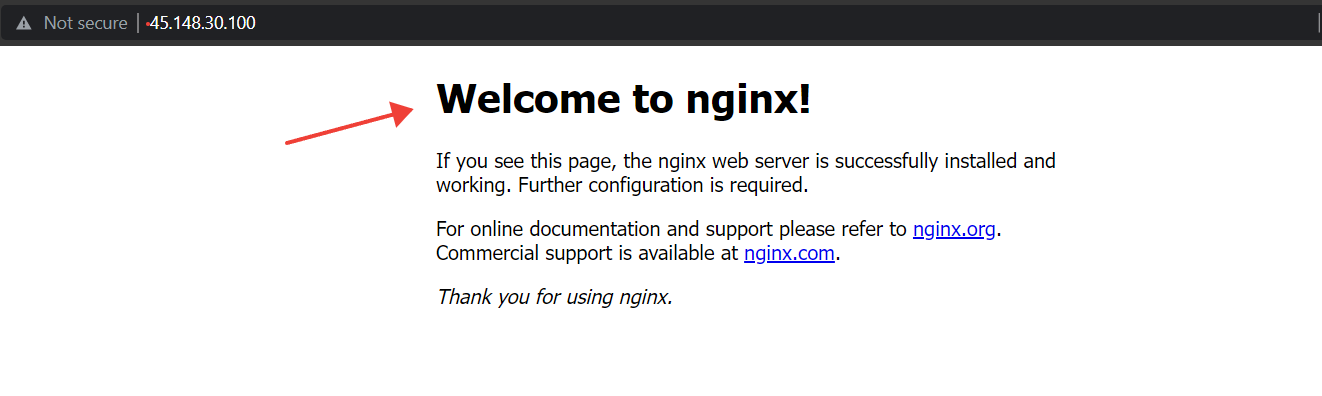
To check if Nginx is installed correctly, type in the IP address of your server. You will be greeted with a welcome message by Nginx.
Setting up a Node.js application
Before we start, let's create a basic Node.js application. You can do this in various ways, but to make things simpler for this guide, I'll show you how to initiate a project and install the Express package.
Run the following command to create a new folder:
$ mkdir my-app
‘my-app’ can be your application name.
Then open the newly created folder inside the terminal:
$ cd my-app
Once it is opened, run the following command:
$ npm init -y
And then:
$ npm i express
Once that is done, we must create a server.js file inside the folder. To do so, run the following command:
$ sudo nano server.js
You can use your favorite text editor for this. Once you run the above command, add the following content to the file:
const express = require('express')
const app = express()
const port = 3000

app.get('/', (req, res) => res.send('Namaste!'))
app.listen(port, () => console.log(`Example app listening on port ${port}!`))
Press CTRL + X or ⌘ + X, Press the ‘Y’ key and then press the Enter key to save the file.
To confirm that your configurations are set up correctly, run:
$ sudo node server &
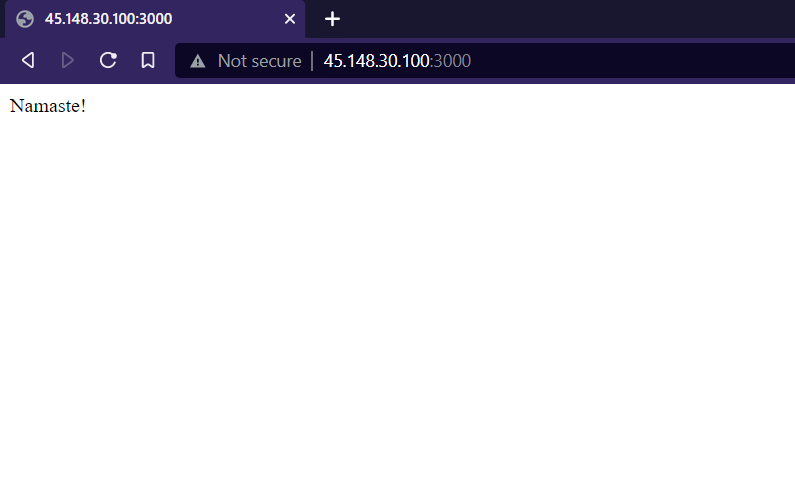
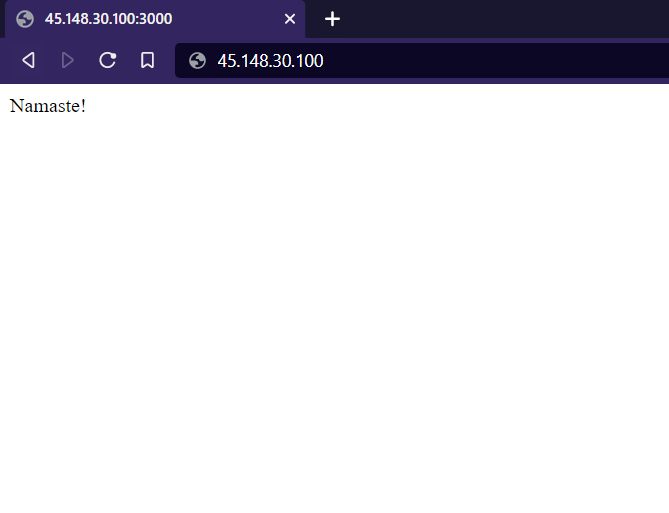
This will start the application in the background. Then, open a new browser tab and add your server's IP address followed by ‘:3000'. If everything is set up correctly, you will see a message that says:
Setting up the Proxy
Now we get to the fun part of this guide! Create a server block configuration file under /etc/nginx/sites-available/default to set up your Node app with Nginx proxy. Here's how to do it:
Open the default site config file using your favorite text editor. I am using nano:
$ sudo nano /etc/nginx/sites-available/default
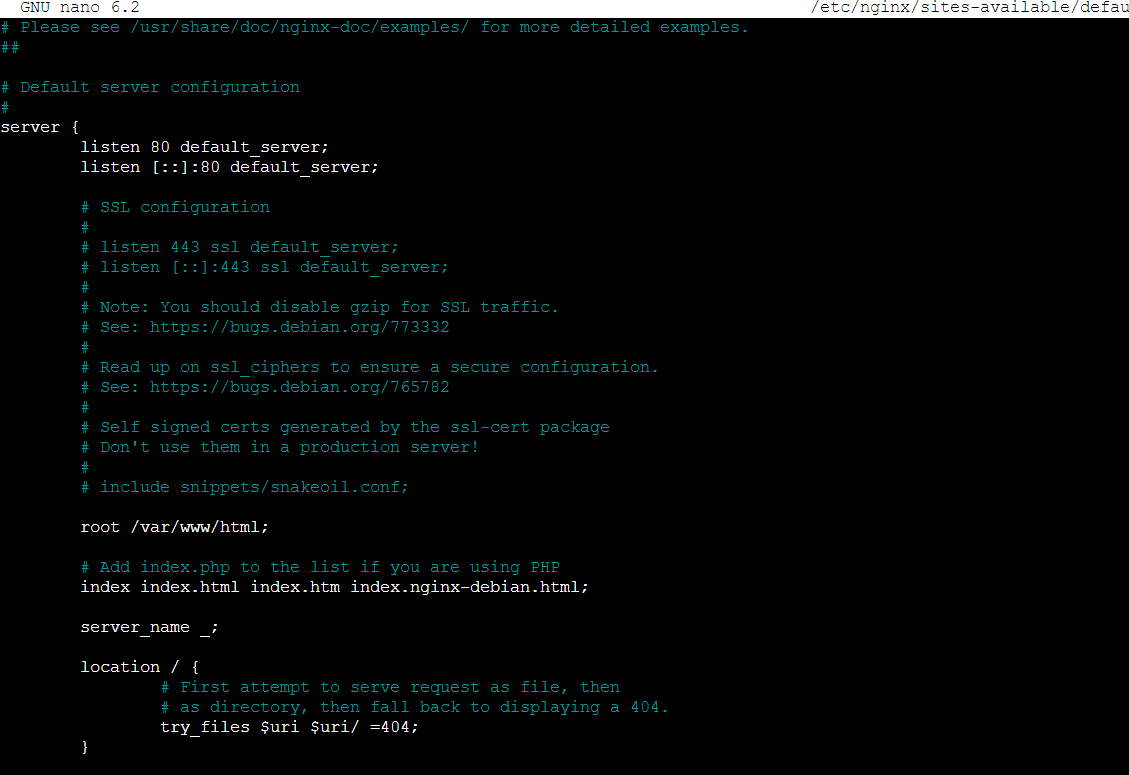
Scroll down to the server block. It will look something like this:
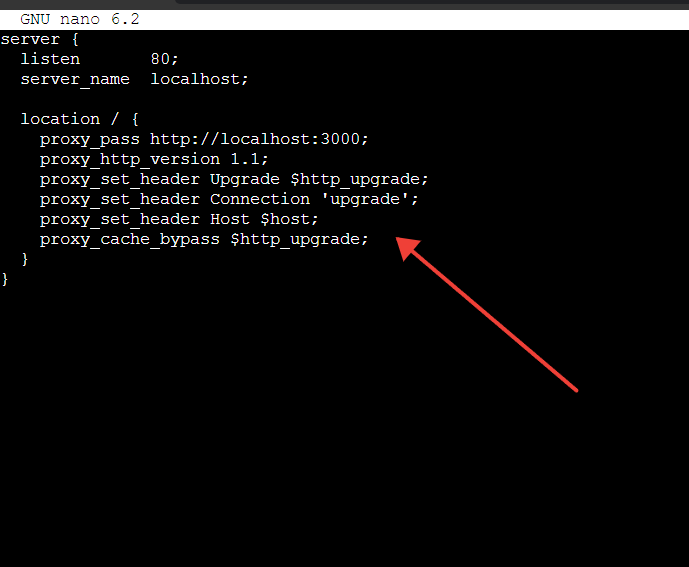
Clear the entire server block and replace it with the following configuration and save the file:
server {

  listen       80;

  server_name  localhost;


  location / {

    proxy_pass http://localhost:3000;

    proxy_http_version 1.1;

    proxy_set_header Upgrade $http_upgrade;

    proxy_set_header Connection 'upgrade';

    proxy_set_header Host $host;

    proxy_cache_bypass $http_upgrade;

  }

}
Now execute the below command to check for syntax errors.
$ sudo nginx -t
You should see this output. If you see some error that that means a mistake has been made while copy-pasting the code.
nginx: the configuration file /etc/nginx/nginx.conf syntax is ok
nginx: configuration file /etc/nginx/nginx.conf test is successful
Now restart Nginx to apply the changes.
$ sudo systemctl restart nginx
The configuration shows that the web server is set up to run on http://localhost port 80. The location block tells NGINX what to do with any incoming request. We use proxy_pass to point to our Node.js application. In this example, our Node.js application is running on http://localhost:3000.
After completing the steps above, you can visit http://your-server-IP to see our proxy server in action. Even though you're technically accessing the NGINX web server, you'll receive the response from the Node.js application:
Setting up SSL certificates
Now that we have successfully set up our Nginx reverse proxy, it is time to enable SSL and encrypt the connection between your server and the visitor. To do this, you need to generate a certificate and key pair and then configure Nginx to use them.
To keep up with this guide's simplicity, we will use Certbot. Before we install Certbot, we need to make a few changes to your Nginx config file. To do so, open your Nginx configuration file:
$ sudo nano /etc/nginx/sites-available/default
Find the ‘server_name’ line and replace server_name localhost; to server_name example.com www.example.com;
(example.com being the domain you’d like to use)
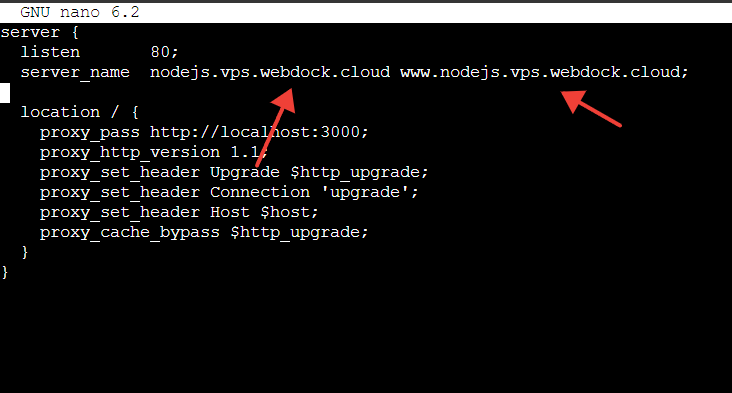
Once you have made this change, save the file and restart your Nginx. Your reverse proxy setup might become unavailable for the time being.
Then head over to your domain registrar or DNS provider and add ‘A’ record pointing to your server’s IP address and a CNAME record for the www version of your domain.
The DNS changes may take 48 hours to propagate. You may check your DNS propagation status using whatsmydns.net
Once your records propagate, we can move to the next step of installing Certbot.
Snap is a self-contained package manager developed by Canonical, the creator of Ubuntu. Snap packages software applications and dependencies together, and the snapd tool manages these packages.
Since certbot is packaged as a snap, we need to install snapd before installing Certbot. While snapd is installed by default on Ubuntu 16.04 and later, it's also available for most other Linux distributions.
If your VPS doesn’t have Snap, install it by running the following
$ sudo apt update
$ sudo apt install snapd
Then install the Snap core:
$ sudo snap install core
$ sudo snap refresh core
The next step is to install Certbot using the snap command. First, we need to ensure that there are no previously installed Certbot packages to avoid running into errors:
$ sudo apt remove certbot
Then, to install Certbot:
$ sudo snap install --classic certbot
After installing Certbot, we would need to configure a symbolic link to its directory:
$ sudo ln -s /snap/bin/certbot /usr/bin/certbot
Let's request a certificate and automatically configure it on NGINX:
$ sudo certbot --nginx
After running this command, you will have to face a few prompts:
- Email Address: Certbot will send urgent notices about the domain or registration to this address. It should be the address of the web server administrator.
- Acceptance of Terms: Entering 'Y' indicates your agreement and will allow the request to proceed. If you disagree with the terms, please enter 'N' to terminate the request.
- Opting in for Newsletters: Subscribing to the mailing list is optional and will not affect the installation progress of Certbot.
- Enter the domain(s): If your domain is in the list of available options, click enter. If you are still waiting to see your domain listed, manually enter it.
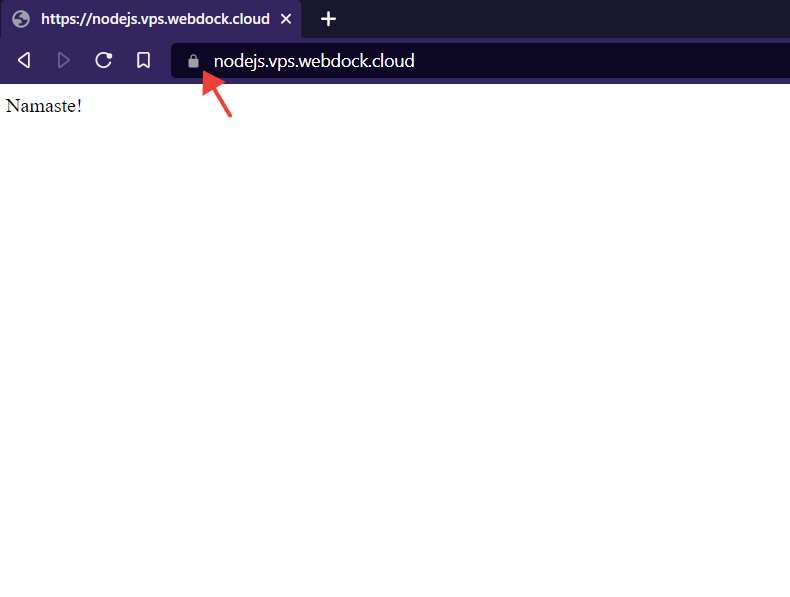
And, ta-da! Your Node.js application is now reverse-proxied by Nginx and secured with SSL!
Note: It's not necessary to add a cronjob to renew SSL certificates as the latest certbot snap packages comes with a systemd timer where the SSL expiry check is done every 12 hours and if your cert is expired it will be renewed automatically.
Aayush Nair has been a passionate freelance WordPress designer for the past eight years. He likes to share his knowledge to help and enrich the community in his free time.
