Introduction
The Zapier bill hit the roof last month. Again.
What started as a simple workflow to sync leads from your website turned into dozens of automations. Each new integration pushed you into a higher pricing tier. Now you’re paying enterprise rates for what should be basic functionality.
The problem isn’t just cost. Your workflows break when Zapier has downtime. Rate limits kick in during busy periods. You can’t modify how integrations work because everything runs in their black box.
Self-hosting puts you back in control. A basic VPS handles more than just hosting Python automation tools; it puts you back in control of your infrastructure. No execution limits. No monthly per-task charges. Your workflows run 24/7 on infrastructure you control.
Activepieces is open-source automation software that works like Zapier but runs on your server. It connects to 280+ services, processes workflows visually, and costs nothing beyond your budget-friendly VPS hosting bill. This guide walks through installing it on Ubuntu from scratch.
How Does Activepieces Work?
Activepieces runs three main parts: a web interface for building workflows, an API server that manages everything, and worker processes that run your automation.
The database stores your workflows and execution history. Redis acts like a to-do list, keeping track of which automations need to run next. This setup means you can restart the system without losing work: everything gets saved and picked up where it left off.
The web interface is where you’ll spend most of your time, dragging and dropping actions to build workflows. The workers stay busy in the background, processing your automations and connecting to external services. Since each part handles a specific job, you can add more workers later if you need to process more automations simultaneously.
What You’ll Need Before Starting
I am going to use Ubuntu 24.04. Your Ubuntu server needs some basic requirements to run Activepieces smoothly. Activepieces is designed to be memory-friendly rather than demanding massive processing power; It is still a better idea to use the minimum specs Activepieces recommends for a moderate, production-ready instance:
- At least 10 GB RAM (8 GB for Activepieces, 1 GB each for PostgreSQL and Redis)
- 4 CPU cores or more
- 50GB Storage (flows can generate substantial logs and file attachments)
Of course, you don’t NEED to have such moderately high specs, but if you are planning to use multiple workflows to automate multiple aspects of your website, this could be an ideal arrangement. The beauty of Activepieces containers is that they are stateless. If your automation needs grow, you can scale horizontally by adding more specs to your machines later when required.
Installing Docker And Other Dependencies
Start by logging in as a sudo user, log in:
$ sudo su
Update your system packages first:
$ sudo apt upgrade && sudo apt update -y
Let’s use Docker’s official repository to install the most recent version. To prevent conflicts, remove any current Docker installations:
$ sudo apt remove docker.io docker-doc docker-compose docker-compose-v2 podman-docker containerd runc
Before adding additional repositories, install the following prerequisites:
$ sudo apt install ca-certificates curl gnupg lsb-release -y
To confirm the legitimacy of the package, add Docker’s official GPG key:
$ curl -fsSL https://download.docker.com/linux/ubuntu/gpg | sudo gpg --dearmor -o /usr/share/keyrings/docker-archive-keyring.gpg
Include the Docker repository in the package sources for your system:
$ echo "deb [arch=$(dpkg --print-architecture) signed-by=/usr/share/keyrings/docker-archive-keyring.gpg] https://download.docker.com/linux/ubuntu $(lsb_release -cs) stable" | sudo tee /etc/apt/sources.list.d/docker.list > /dev/null
Add the new Docker repository to the package details:
$ sudo apt update
Set up Docker Compose and Docker Engine:
$ sudo apt install docker-ce docker-ce-cli containerd.io docker-buildx-plugin docker-compose-plugin -y
Launch Docker, then configure it to launch automatically upon bootup:
$ sudo systemctl start docker
$ sudo systemctl enable docker
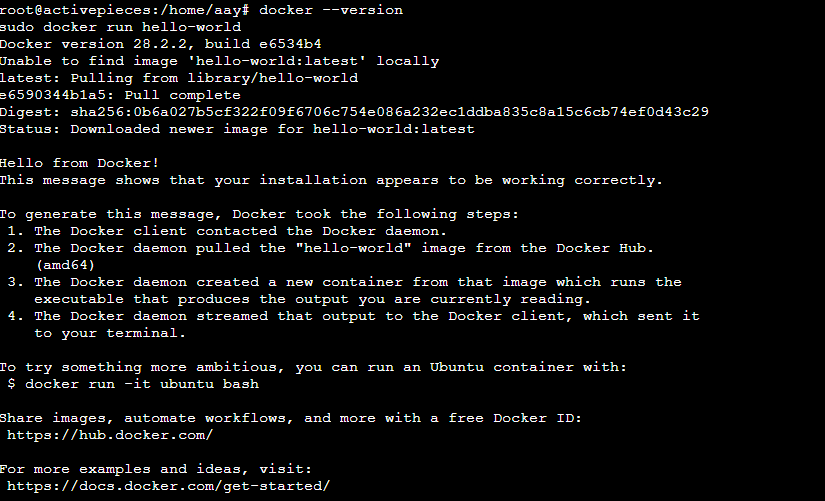
Verify the correct installation of Docker:
$ docker --version
$ sudo docker run hello-world
To run Docker commands without sudo, add your user to the docker group:
$ sudo usermod -aG docker $USER
To make the group change take effect, log out and then blog ack in. You ought to be able to execute Docker commands without sudo after logging back in.
Git manages the Activepieces source code and handles updates. It is usually preinstalled in most systems, but if you are unsure, install it through Ubuntu’s package manager:
$ sudo apt install -y git
Verify the installation:
$ git --version

Downloading And Configuring Activepieces
Download the Activepieces source code to /opt, which is the standard location for third-party software on Linux systems:
$ cd /opt
$ sudo git clone https://github.com/activepieces/activepieces.git
$ sudo chown -R $USER:$USER activepieces
$ cd activepieces
These commands navigate to the /opt directory, then use Git to download the entire Activepieces repository from GitHub (requiring sudo since /opt is system-owned). The chown command transfers ownership of all downloaded files to your user account, letting you modify them later without needing sudo permissions. Finally, you enter the newly created activepieces directory where all the installation files live.
The repository includes everything needed to run Activepieces, including the latest stable code and Docker configuration files.
Activepieces needs several environment variables configured before it can start. The repository includes a setup script that generates secure random values automatically.
Run the setup script:
$ sh tools/deploy.sh
This creates an .env file with randomly generated passwords, encryption keys, and other security tokens.
With configuration complete, start your Activepieces installation:
$ docker compose up -d
The -d flag runs containers in detached mode, so they continue running after you close the terminal. The first startup takes 3-5 minutes as Docker downloads images and initializes the database.
Once the process is completed, check that all containers are running:
$ docker compose ps
You should see three containers with “Up” status:
- activepieces (the main application)
- postgres (database)
- redis (job queue)

Now, if you visit server’s IP_ADRESS:8080, you should be able to see your Activepieces welcome screen. But, it is not production-ready… yet. I think using NGINX as a reverse proxy for your Activepieces installation is a must if you’re planning to use it in any serious capacity.
Setting Up NGINX
NGINX provides several benefits as a reverse proxy: SSL installation, better security headers, request rate limiting, and the ability to serve multiple applications from one server.
It also handles static files more efficiently than Node.js applications and allows you to use your domain.
Without this configuration, external triggers from services like GitHub, Slack, or form submissions won’t be able to reach your Activepieces installation.
Start by installing NGINX. In order to manage clean URLs and SSL certificates, we will install NGINX directly on your Ubuntu machine (not using Docker):
$ sudo apt update && sudo apt install nginx -y
Let’s add NGINX to systemd as soon as possible so that it launches automatically upon server reboot. Without this, even while the Docker containers are running, NGINX won’t launch after a restart, making your Docker installation unavailable:
$ sudo systemctl restart nginx
$ sudo systemctl enable nginx
Then, create a new NGINX site configuration:
sudo nano /etc/nginx/sites-available/activepieces


And add the following:

server {

    listen 80;

    server_name your-domain.com;

    # Security headers

    add_header X-Frame-Options "SAMEORIGIN" always;
    add_header X-XSS-Protection "1; mode=block" always;
    add_header X-Content-Type-Options "nosniff" always;
    add_header Referrer-Policy "no-referrer-when-downgrade" always;
    add_header Content-Security-Policy "default-src 'self' http: https: data: blob: 'unsafe-inline' 'unsafe-eval'" always;

    # Proxy configuration

    location / {

        proxy_pass http://127.0.0.1:8080;
        proxy_http_version 1.1;
        proxy_set_header Upgrade $http_upgrade;
        proxy_set_header Connection 'upgrade';
        proxy_set_header Host $host;
        proxy_set_header X-Real-IP $remote_addr;
        proxy_set_header X-Forwarded-For $proxy_add_x_forwarded_for;
        proxy_set_header X-Forwarded-Proto $scheme;
        proxy_cache_bypass $http_upgrade;

        # Timeout settings

        proxy_connect_timeout 60s;
        proxy_send_timeout 60s;
        proxy_read_timeout 60s;

    }

    # Handle large file uploads

    client_max_body_size 50M;

    # Logging

    access_log /var/log/nginx/activepieces_access.log;
    error_log /var/log/nginx/activepieces_error.log;

}
Replace your-domain.com with your actual domain name and point your domain to your server’s IP with an A/CNAME record. To prevent problems down the line, delete the default NGINX configuration:
$ sudo rm /etc/nginx/sites-enabled/default
Then, test your configurations:
$ sudo nginx -t

After it is successful, activate the configuration by creating a symbolic link:
$ sudo ln -s /etc/nginx/sites-available/activepieces /etc/nginx/sites-enabled/
Finally, restart your NGINX server:
$ sudo systemctl restart nginx
Now your Activepieces instance should be accessible by your domain, though with just http://
Installing SSL
Modern webhooks from services like GitHub, Slack, and Google require HTTPS endpoints. Browsers mark HTTP sites as “not secure,” and many APIs refuse to send data to unencrypted endpoints. SSL also protects your login credentials and workflow data from interception.
Obtaining SSL certificates used to be costly and complex. Let’s Encrypt changed this by providing free certificates that perform just as well as paid ones. The best part is how straightforward the process becomes with Certbot. I’ll be using it for this tutorial because it’s so user-friendly.
First, install snapd, which Certbot depends on:
$ sudo apt update && sudo apt install snapd -y
Next, install Certbot using snap:
$ sudo snap install --classic certbot
Now, run Certbot to automatically set up SSL for your Activepieces installation:
$ sudo certbot --nginx -d your-domain.com
Before running this command, ensure your domain points to your server’s IP address; otherwise, the verification will fail. Certbot will prompt you for your email address and guide you through the setup.
Certbot takes care of everything: generating the certificate, updating NGINX configuration, and setting up automatic renewals via a cron job. To confirm the renewal process works properly, run:
$ sudo certbot renew --dry-run
This test ensures your certificates will renew automatically before they expire.
To make the setup more production ready, you may add the following to your NGINX config:
# Rate limiting

limit_req_zone $binary_remote_addr zone=activepieces:10m rate=10r/m;


server {

    # Apply rate limiting

    limit_req zone=activepieces burst=20 nodelay;

    # Hide Nginx version

    server_tokens off;


    # Additional security headers

    add_header Strict-Transport-Security "max-age=31536000; includeSubDomains" always;
    add_header X-Frame-Options "SAMEORIGIN" always;
    add_header X-Content-Type-Options "nosniff" always;


    # Your existing configuration

}
This configuration limits requests to 10 per minute per IP address, helping prevent abuse while allowing standard usage patterns.
Using Activepieces
Congrats! Activepieces is now installed and ready to use. You will be greeted with a welcome screen.
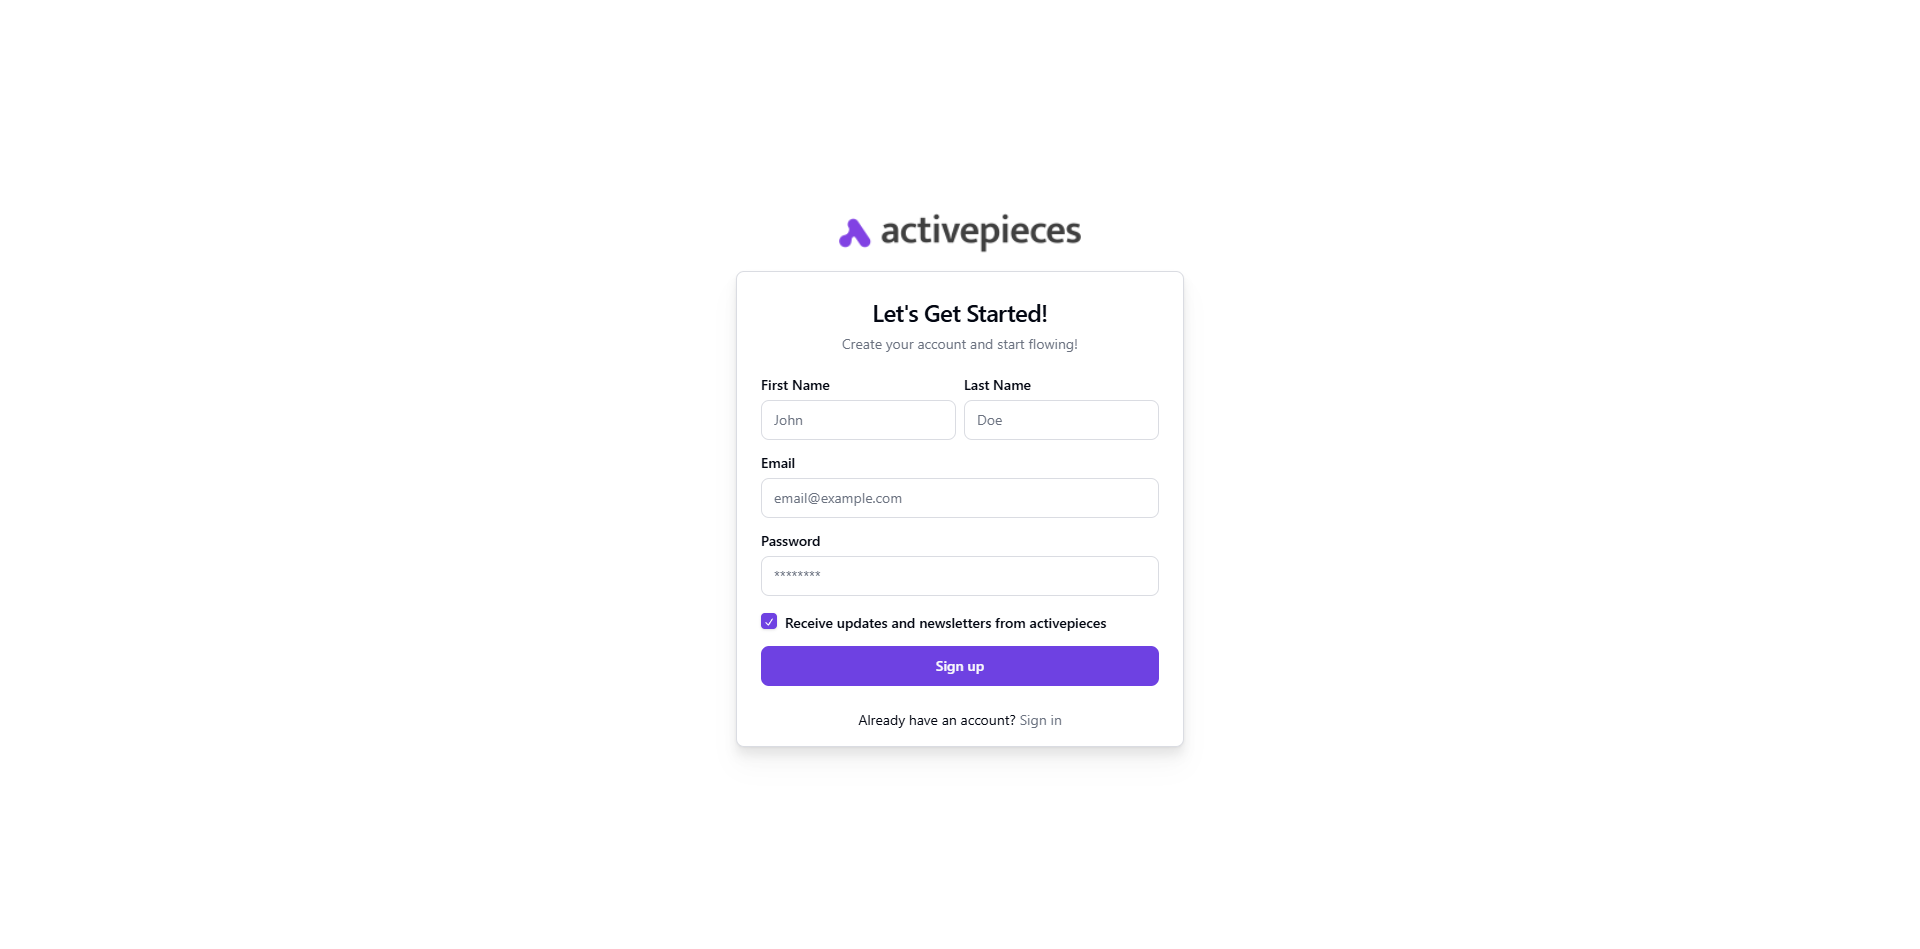
To create the admin user, you will need to add an email and password. You may also opt to receive emails from Activepieces.
Click “Create Flow” on the dashboard to build your first automation. The visual flow builder opens with a clean canvas.
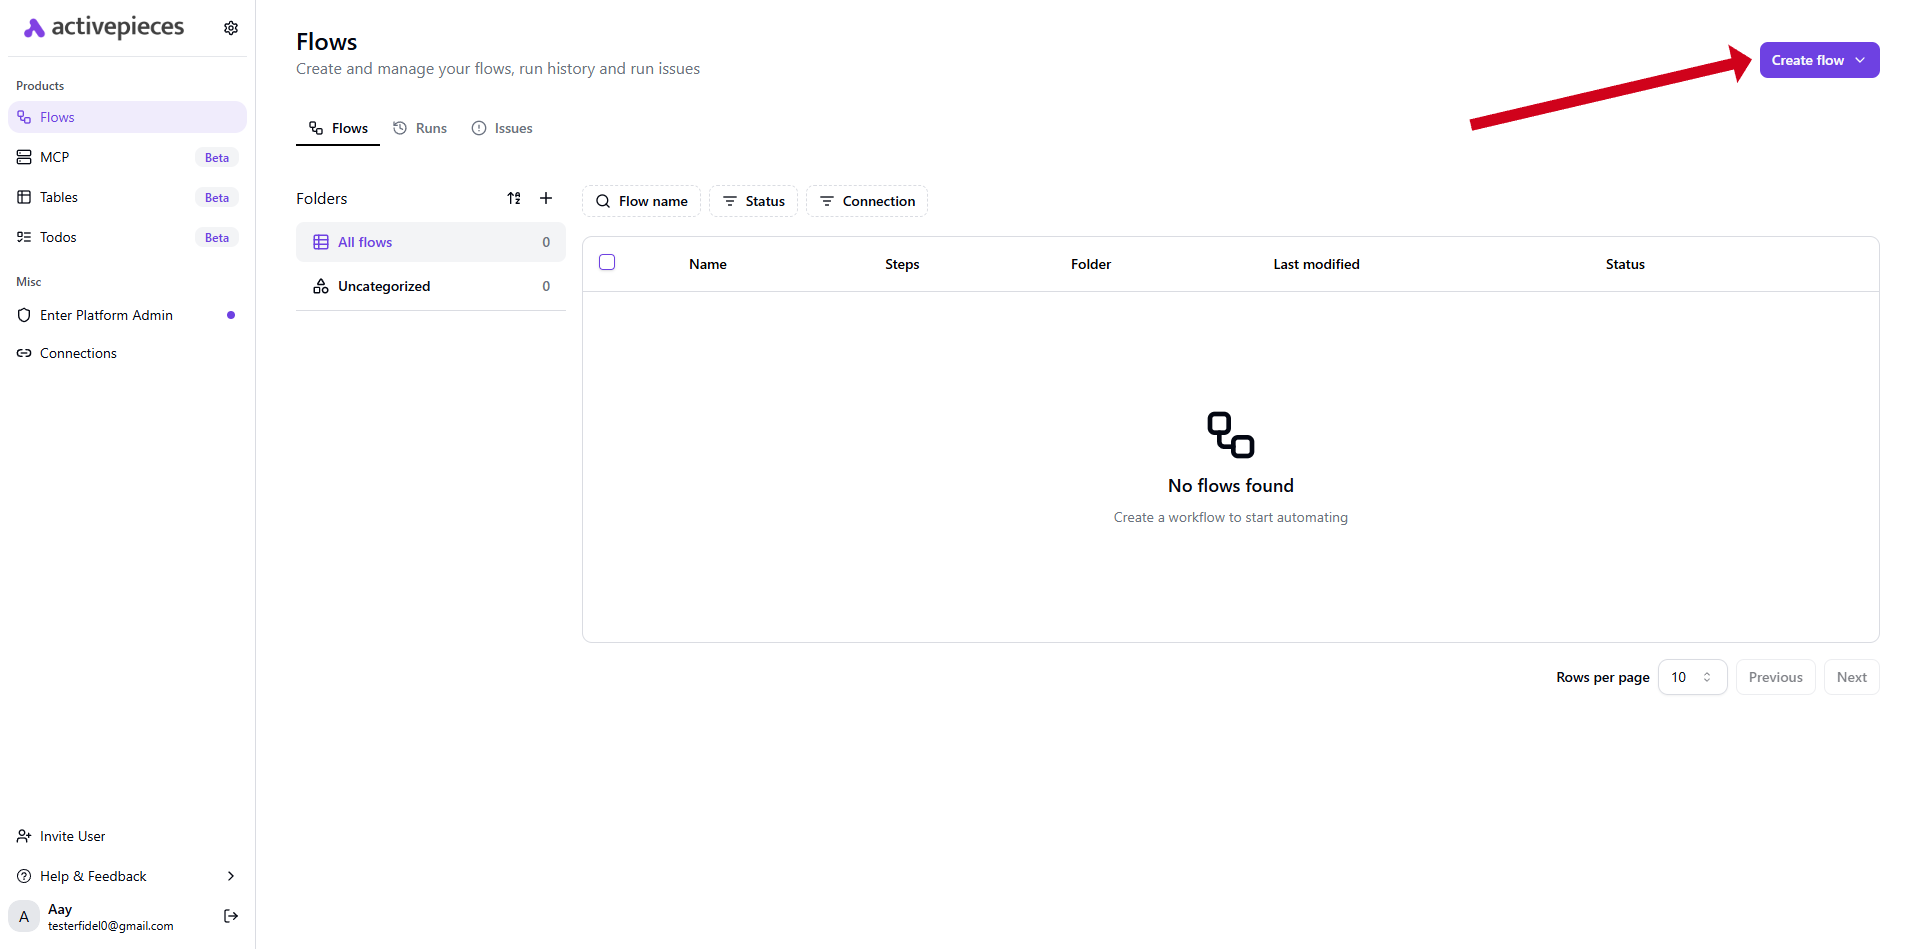
You may choose from a template or start from scratch. If starting from scratch, start by adding a trigger:
- Click the “+” button to add a trigger
- Choose from available options like “Schedule,” “Webhook,” or service-specific triggers
- Configure the trigger settings
For example, to create a daily report automation:
- Select “Schedule” trigger
- Set it to run daily at 9 AM
- Add an action to fetch data from your CRM
- Add another action to send an email report
- Test the flow to verify it works
- Publish to activate the automation
The drag-and-drop interface makes building complex workflows intuitive. Each action receives data from previous steps, allowing you to chain operations together.
Building automations in Activepieces feels intuitive once you understand the flow. You start by picking a trigger: something that kicks off your workflow. This could be a new email arriving, a form submission on your website, or a scheduled timer that runs every hour.
Next, you add actions that happen when the trigger fires. Maybe you want to save form data to a Google Sheet, send a Slack notification to your team, and create a task in your project management tool. Each action connects to the next, creating a chain of automated tasks.
For example, when someone fills out your contact form, here’s what happens: the webhook hits your Activepieces server, the system identifies which workflow should handle it, then queues up all the actions you defined. Workers pick up and execute these tasks, handling any errors or retries needed.
After execution, you can review exactly what happened through the run logs. Each step shows a green checkmark for success or a red X for failure.
Click on any step to see the exact data that passed through, what came in, what went out, and how long each action took. This visibility makes debugging broken workflows much easier than guessing what went wrong in other automation tools.
The system processes workflows reliably even during traffic spikes. Everything gets queued, so no automations get lost if your server gets busy. Failed steps can be retried, and you can see the complete execution history for every workflow run.
Updating Activepieces
Manually running update commands every time can be tedious and error-prone. You may forget steps or mix up the order when you’re in a hurry. Creating a script solves these problems by packaging all update steps into a single command.
The script also ensures consistency. Every team member runs updates the same way, reducing the chance of someone breaking the installation by running commands in the wrong sequence. When you’re managing multiple servers, scripts let you update them all identically without memorizing command sequences.
Start by creating a new file inside your Activepieces folder:
$ cd /opt/activepieces
$ nano update-activepieces.sh
And add the following:
#!/bin/bash

cd /opt/activepieces

git pull origin main

docker compose pull

docker compose down

docker compose up -d

echo "Activepieces updated successfully"
Save and make it executable:
$ chmod +x update-activepieces.sh
Updates are now simplified to a single command:
$ ./update-activepieces.sh
You no longer need to remember whether to pull the code or Docker images first. The script takes care of the correct order every time, and you can run it from any location on your server. Don’t forget to create backups. In case of Webdock, you can create snapshots of your server anytime you want and use them as a restore point.
In Conclusion
Your Activepieces installation is running. No monthly bills are climbing as you add workflows. No execution limits stop automations mid-month.
With Webdock’s custom VPS configurations, you get exactly the RAM and CPU cores Activepieces needs without paying for unused resources that other providers bundle in.
When automation demands grow, you scale your server specs rather than switching to expensive enterprise tiers. The setup pays for itself within months while controlling your data and integrations completely.
You now have the same visual workflow builder and extensive integrations as premium cloud services, but running on infrastructure you manage, while savouring the free time from all workflow automation!
Meet Aayush , a WordPress website designer with almost a decade of experience who crafts visually appealing websites and has a knack for writing engaging technology blogs. In his spare time, he enjoys illuminating the surrounding minds.
