Introduction
Envision a digital world liberated from single corporate oversight. Mastodon offers a decentralized microblogging sphere where you can host your server, crafting a space with your own rules for a community of peers. It is not only limited to local interactions, but your server also joins a vast federation, interlinking many servers that enrich the network with diverse dialogues and content.
This guide helps you install Mastodon. You’ll set up the Mastodon repository, prepare your environment, and create your customized Mastodon instance for managing content, emails, and administration. You’ll also secure your instance with SSL/TLS certificates from Let’s Encrypt.
Prerequisites
To get started, you’ll need the following already in place:
- A domain with an A/CNAME record pointing to the Server’s IP. Both root and www. versions.
- Preinstalled NGINX. I’ll be using Webdock’s default stack for this tutorial.
- Node.js is installed on the server. Check out the tutorial on how to do so here. Just follow the first step.
- You should also have Postgres installed on the server. Check out how to do so here. Just follow the first step.
I presume you have already taken care of the above. After completing all the preparations, you can initiate the first step.
Note: You’ll need to install UFW on your server and enable it if it’s not already installed and enabled. On Webdock stacks, it’s installed and enabled by default.
Creating Users
You may have created a user during the initial server setup, as stated in the prerequisites of this tutorial. So, switch to the sudo user by running:
$ sudo su
And then execute the following command:
# adduser mastodon
Set a password and fill in the information if you like. Then, add your mastodon user to the sudo group to give it administrative privileges:
# usermod -aG sudo mastodon
Then, change the file permissions for the directory /home/mastodon by adding read and execute permissions for the owner’s group and others:
# chmod og+rX /home /home/mastodon
You can now access your newly created Mastodon account by logging in:
# su - mastodon
To proceed, create a corresponding role in your database for the system-level mastodon user. Remember, PostgreSQL employs peer authentication, linking created roles with corresponding system users. Ensure you establish a “mastodon” user to match the system-level user:
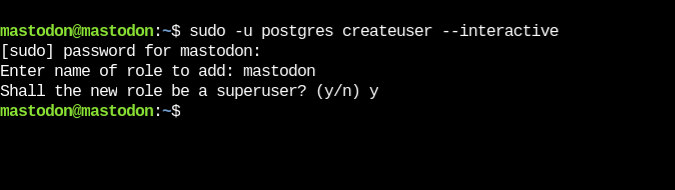
# sudo -u postgres createuser --interactive
When the interactive flag is enabled, a prompt will appear, allowing you to select a name for your new role, mastodon. Remember to type ‘y’ to designate your new role as a superuser.
You should administer your server using a specific system user named Mastodon, as assumed by Mastodon’s source code. This user is hardcoded into many parts of Mastodon. Throughout this tutorial, you will create and use the mastodon user at the system level and as a role for your PostgreSQL database. So, all commands in this tutorial will be run as the mastodon user.
Installing Dependencies
Before setting up Mastodon, you need to install its dependencies. Mastodon heavily relies on Ruby and Node.js in a Linux environment. To do this, you will need three package managers: APT for system-wide packages, Bundler for Ruby gems, and Yarn for Node.js packages.
First, you should install the APT dependencies. Then, proceed by cloning Mastodon from the source. After that, install Ruby along with Mastodon’s Ruby dependencies. Lastly, install the Node.js dependencies.
First, update your package index with:
$ sudo apt update
Then, install Redis to use as your key-store database. Next, get Certbot to help with TLS/SSL encryption. Lastly, pick up the needed libraries for building, compiling, and handling images, all through apt install:
$ sudo apt install imagemagick ffmpeg libpq-dev libxml2-dev libxslt1-dev libprotobuf-dev protobuf-compiler pkg-config redis-server redis-tools libidn11-dev libicu-dev libjemalloc-dev
You may need to be permitted to do so, so look out for the Yes/No prompt.
Make sure snapd is installed.
$ sudo apt install snapd -y
Install Certbot with:
$ sudo snap install --classic certbot
And finally, link in the Certbot binary so it can be run from anywhere.
$ sudo ln -s /snap/bin/certbot /usr/bin/certbot
Getting Mastadon
Get the Mastodon source from its official repository on your server. This tutorial will utilize the latest Mastodon version for the most current features, security enhancements, and bug fixes.
Start by duplicating the Mastodon repository on your server and establishing a fresh folder called “live”:
$ git clone https://github.com/mastodon/mastodon.git live
Follow the directory naming convention from Mastodon’s documentation for consistency. Then, move to the directory you created, which will become your project directory for the remainder of the tutorial:
$ cd live
Installing Other Dependencies
To proceed with installing Ruby and Mastodon’s Ruby dependencies after setting up the Mastodon source code, you need to install rbenv, a version manager tool used for installing the Ruby programming language. Since rbenv is installed at the user level, this step must be completed after creating and switching to your mastodon user.
You can follow our tutorial here. Remember to install Ruby, rbenv, and bundler (the step just before installing Rails) as a non-sudo (root) user and inside the “live” folder. Once you install Ruby, rbenv, and bundler, let’s install more dependencies.
To manage Ruby dependencies for Mastodon, you must configure Bundler for production installation. Utilize the bundle config command to interact with Bundler’s configuration system. Set deployment to true using this command:
$ bundle config deployment 'true'
Then, exclude dependencies to prevent the installation of unnecessary packages for development and testing purposes:
$ bundle config without 'development test'
You can proceed to install your Ruby dependencies using the command “install.” This process may include multiple pauses, a standard behavior that should be expected:
$ bundle install
After this process is complete, you will see a lot of information at the end that may seem like it requires action. However, you can continue without needing to do anything further.
Once the Ruby dependencies for Mastodon are installed, you can proceed to set up the JavaScript dependencies. Mastodon uses yarn to handle and install JavaScript packages rather than npm. If you have Node.js versions 16 and higher, yarn is included by default with the corepack.
To access yarn, activate Node.js’s corepack, which is included:
$ sudo corepack enable
Yarn, which has a development history that differs from its classic version 1.0 and version 2.0. To enable the most stable, latest version, you can use the command yarn set version:
$ yarn set version stable
You can install Mastodon’s JavaScript dependencies by running yarn install:
$ yarn install
You might be asked to select a version for a plugin. Select the latest version. Now, Let’s generate the server’s personalized Mastodon configuration file.
Configuring Mastadon
Please ensure that your firewall permits SMTP traffic through the correct port. The standard SMTP port for secure TLS connections is port 587, and we will provide further details on this in the email setup section later on. For now, grant access to this port within your firewall:
$ sudo ufw allow 587
Begin the setup for Mastodon by running bundle exec rake. Remember to choose the production environment when setting it up:
$ RAILS_ENV=production bundle exec rake mastodon:setup
Provide your domain name. It’s important to double-check this information, as changes can be challenging later.

To create a shared space with others on Mastodon, avoid enabling single-user mode, which disables registrations.

Please decline the suggestion to use Docker, as this guide focuses on a traditional installation on a VPS.

You are using a variation of the .env file as the configuration file for Mastodon. You can find a sample at ~/live/.env.production.sample, but you opted for the interactive setup process instead of copying that file. After completing the setup, a customized file will be created at ~/live/.env.production.
Throughout this interactive setup, you will be prompted to input fundamental server details, connect to PostgreSQL and Redis, set up cloud storage and email preferences, compile CSS and JavaScript assets, and generate an administrator account on Mastodon. Shall we begin?
Database
You can leave all the PostgreSQL settings at their defaults by pressing Enter for each prompt. Instead of using a password for authentication, your database employs peer authentication. For now, you may leave it empty:

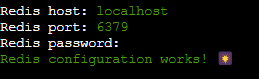
You can keep the Redis settings as default and leave the password field empty. Since this database is meant to be accessed only locally on this server, setting up a password is unnecessary. Simply press Enter for each prompt.
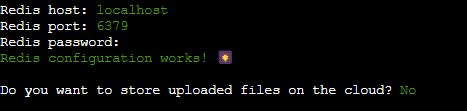
Storage
You will now be asked about uploading files to cloud storage. Mastodon storage can be configured locally or through various cloud storage providers. However, to keep things simple, let’s stick with local storage, and thus, my answer would be No.
Emails
To enable Mastodon to send emails, you should use an SMTP email server from an external email service provider instead of setting up your server.
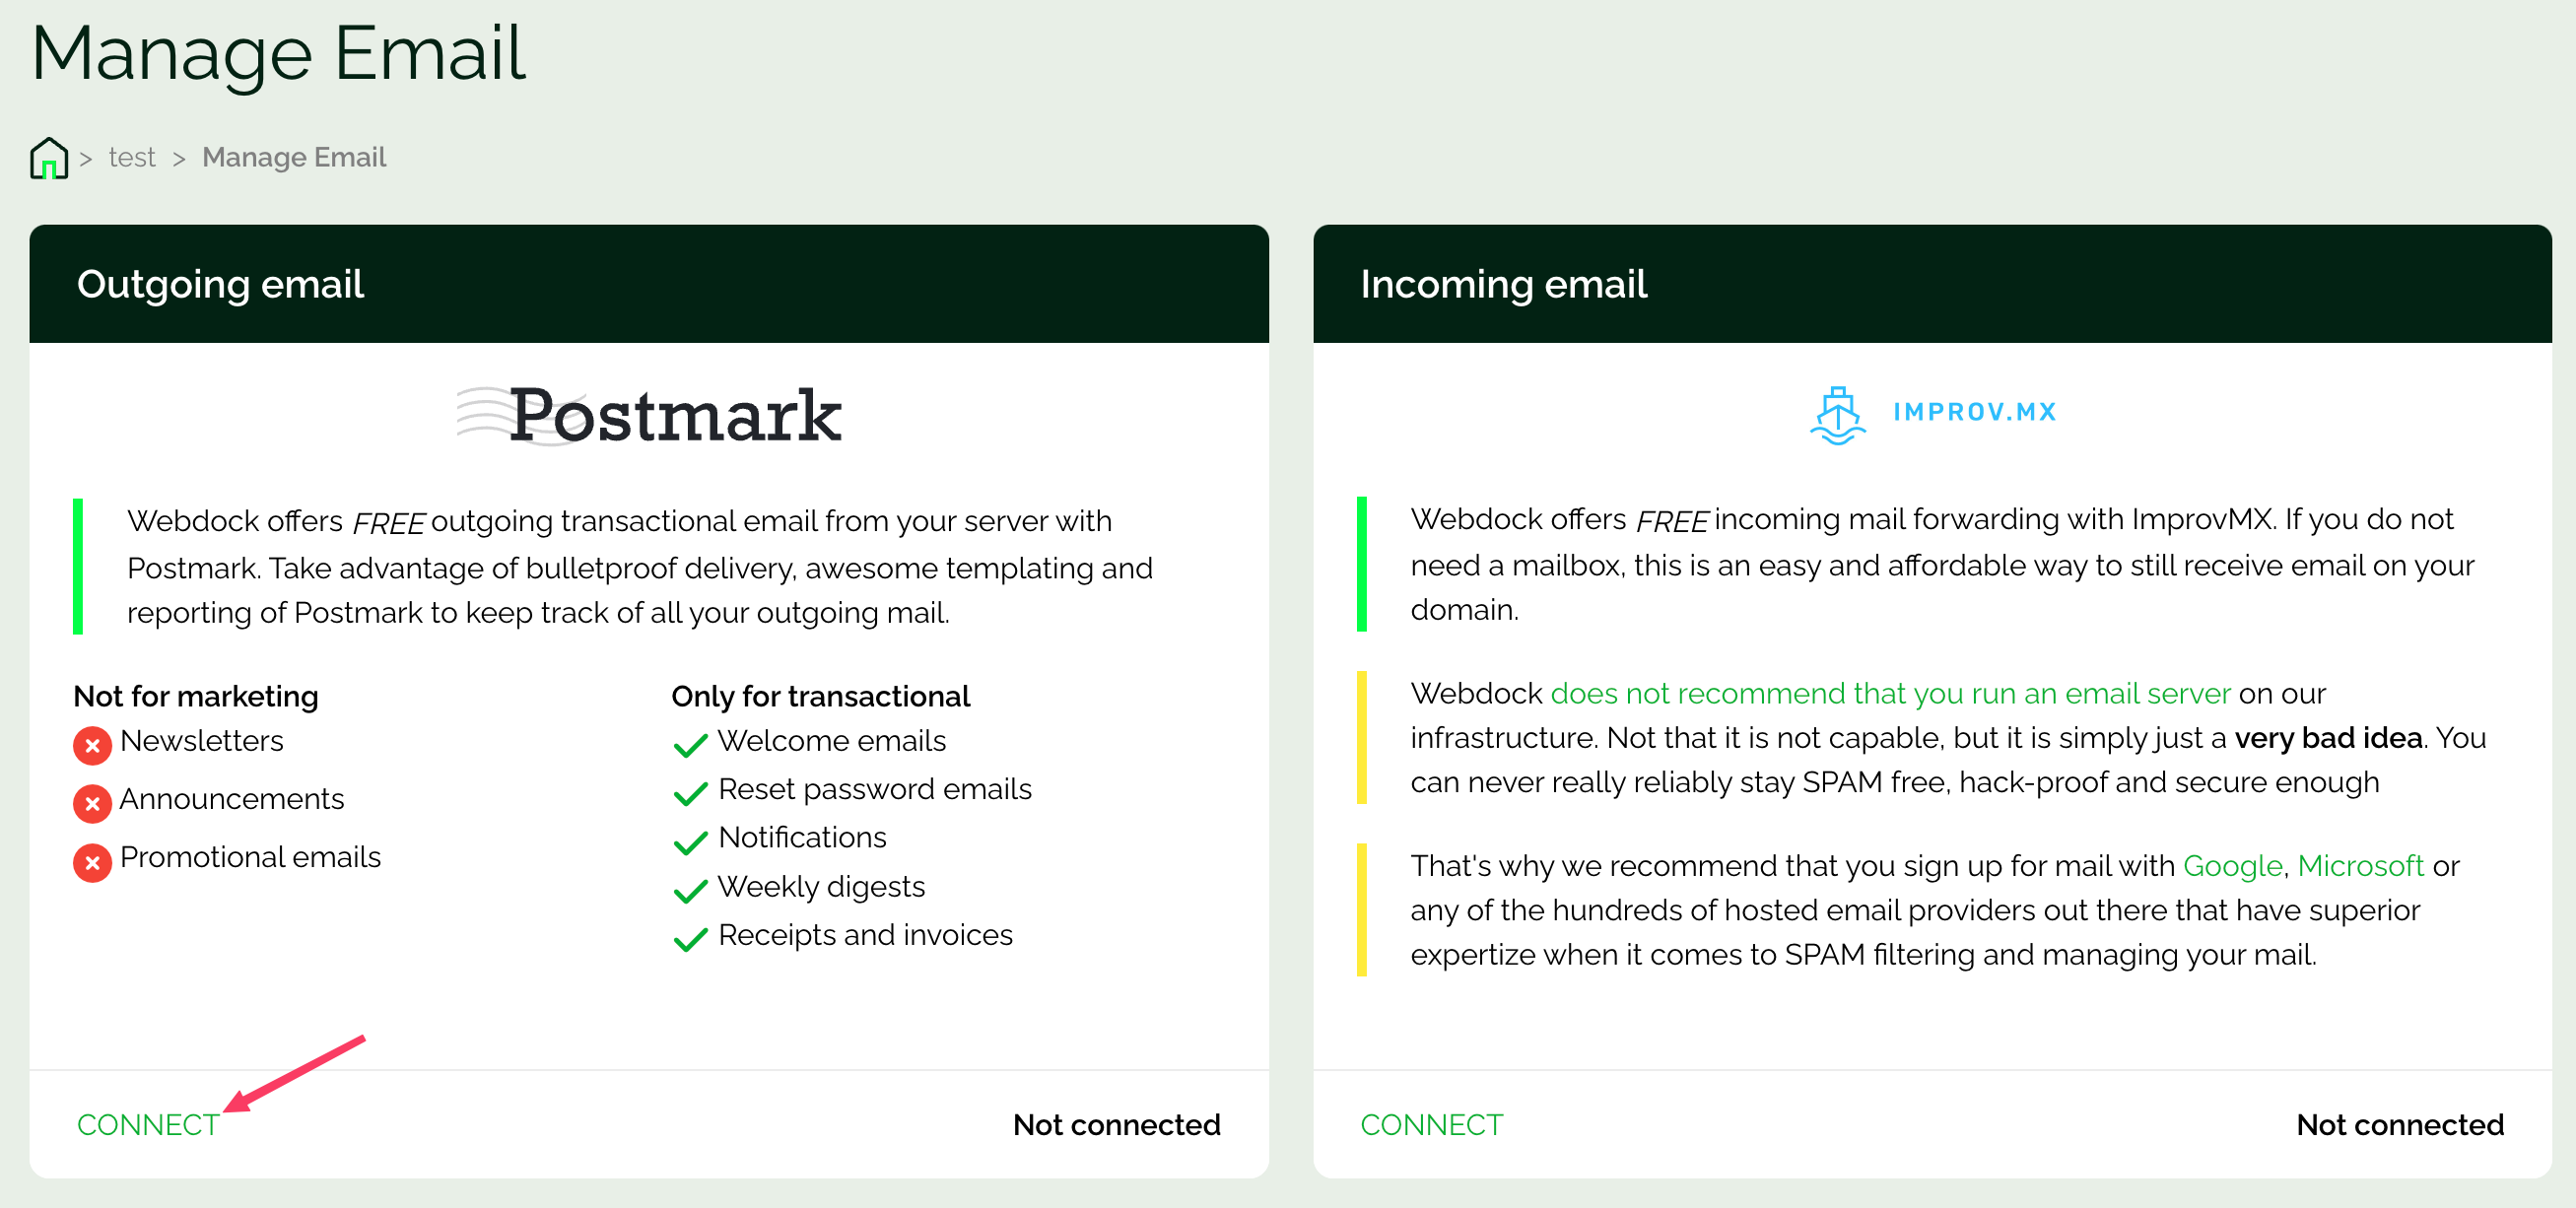
Setting up and maintaining a secure and reliable email server can be challenging. Therefore, relying on a third-party provider is advisable. Experienced professionals often recommend Postmark for its reliability. Fortunately, if you have Webdock’s SSD Bit stacks or higher, you can send unlimited transactional emails through Postmark at no additional cost—Webdock covers the fees.
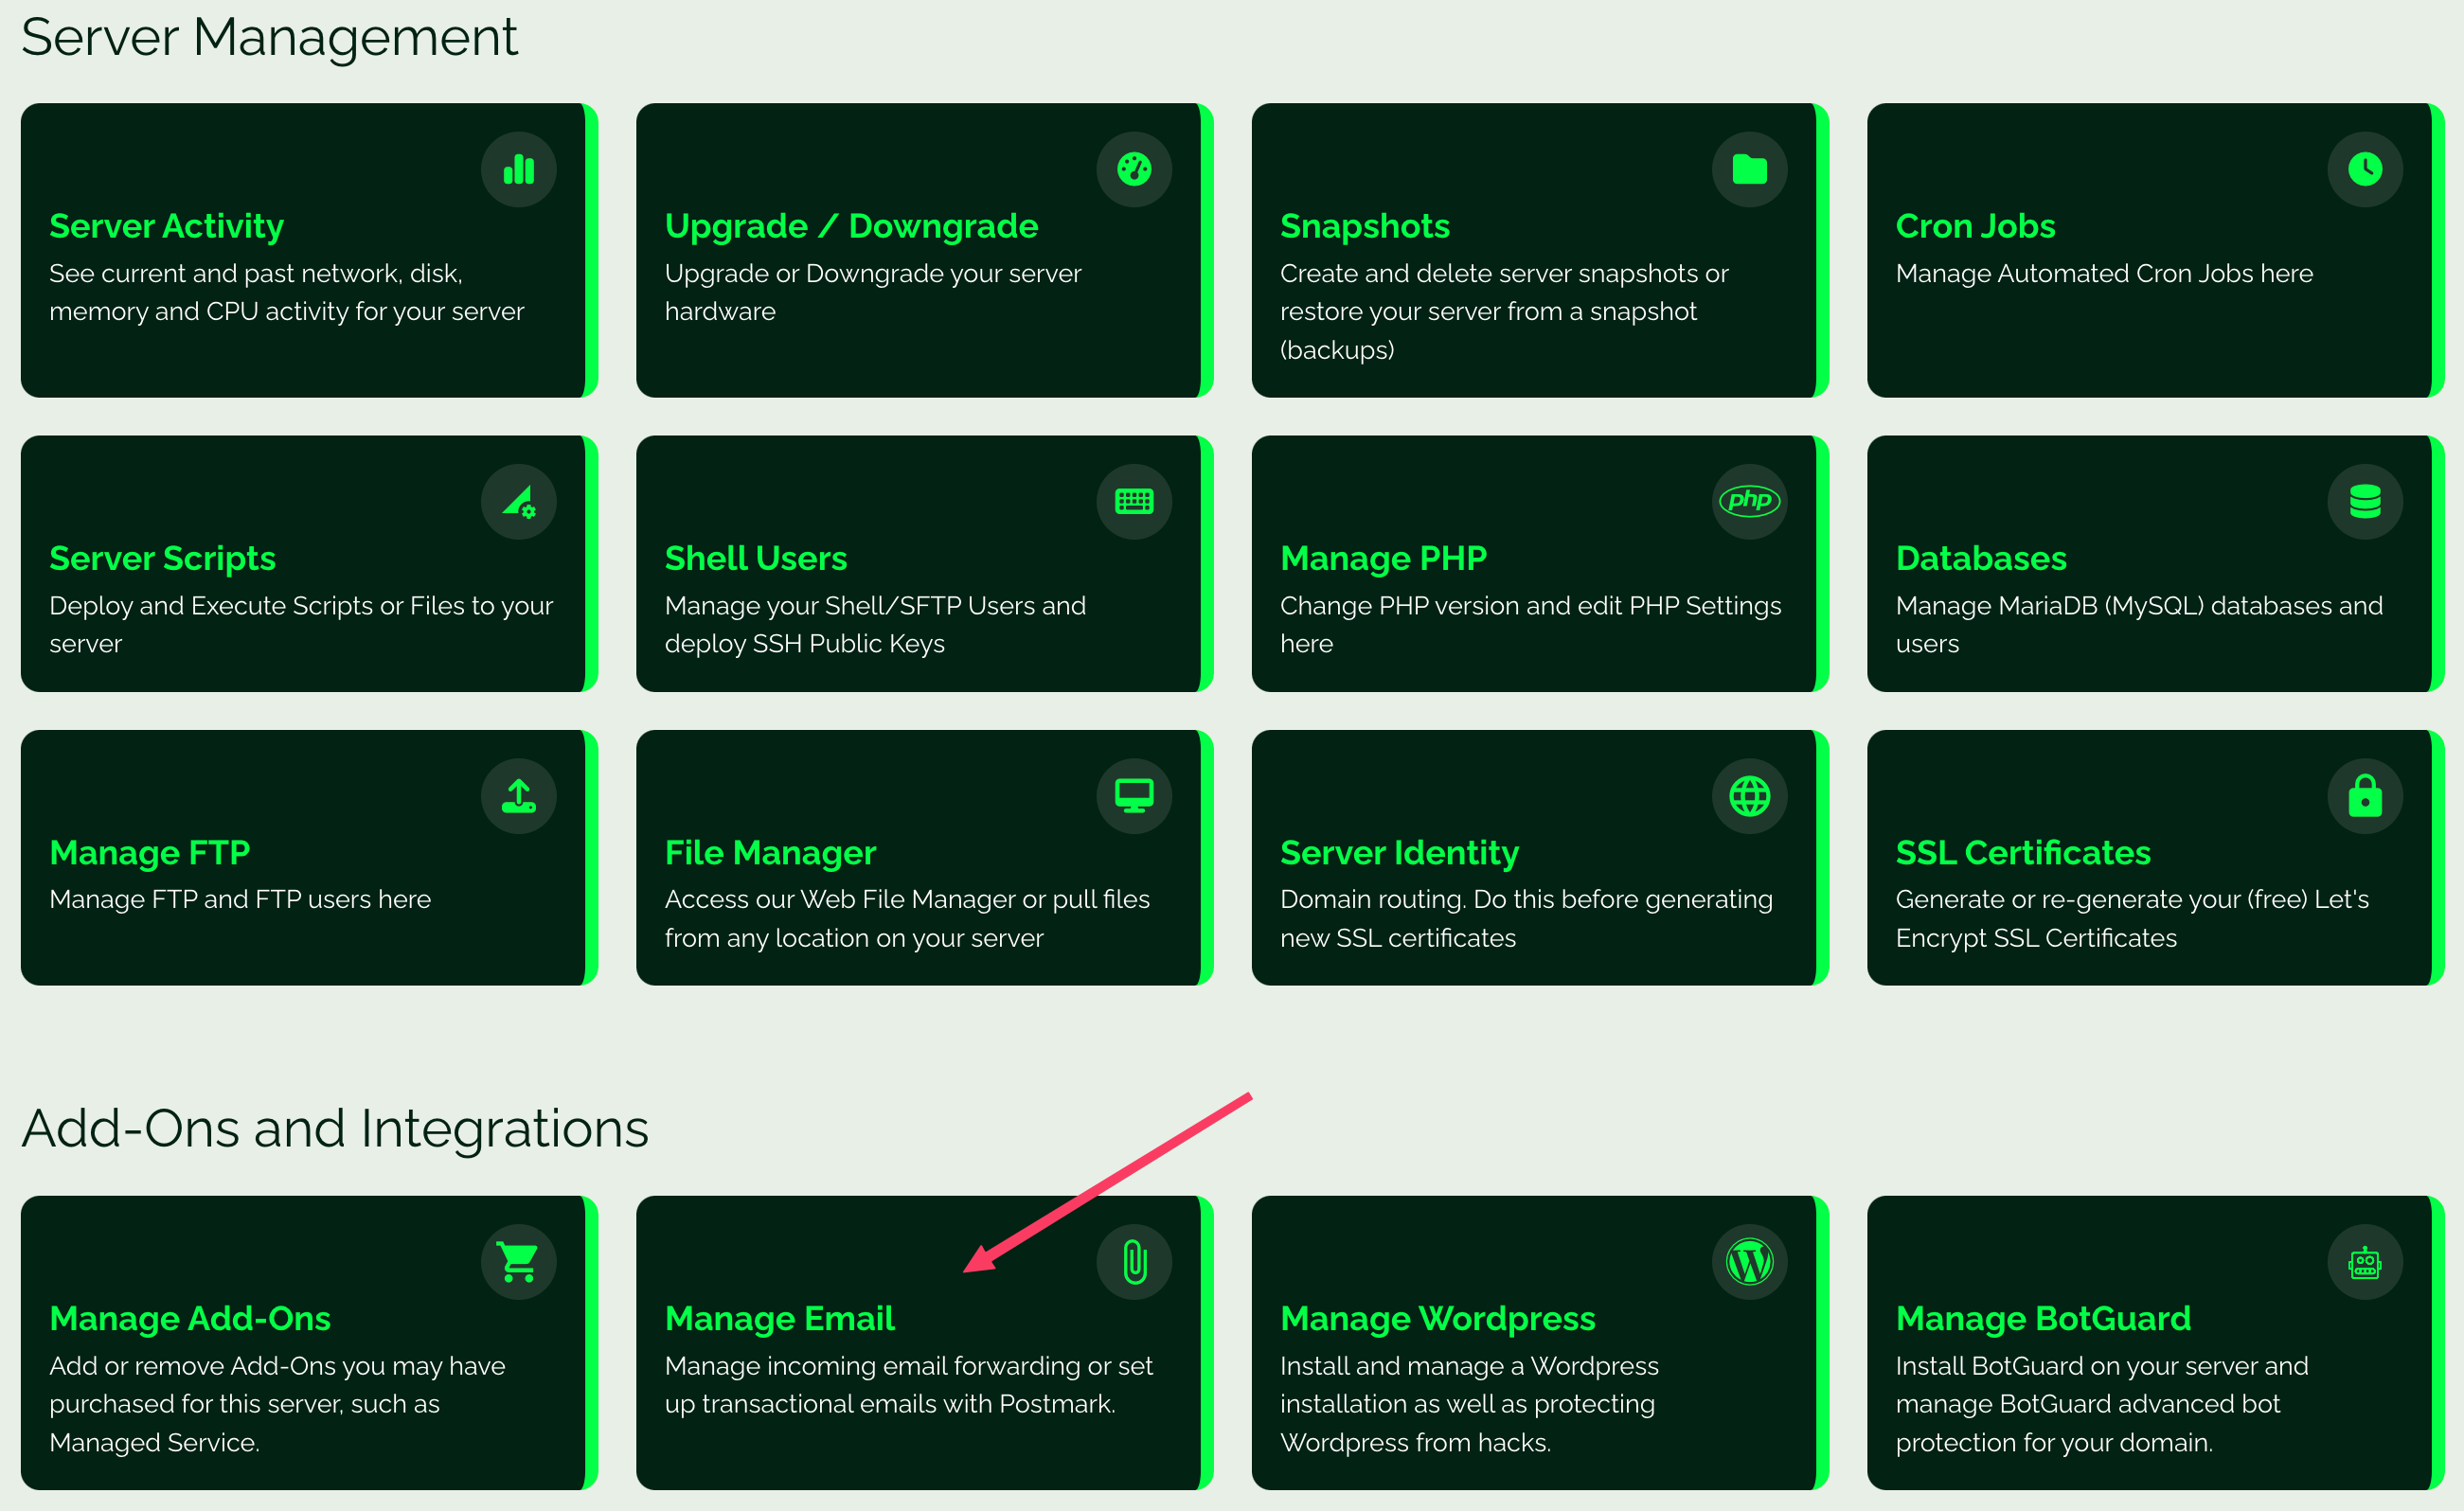
To set up your email sender, simply go to your server’s control panel. Look for the “Manage emails” section and request Webdock’s permission to enable this feature, committing to its responsible use.
After approval, click Connect:
Please add DKIM and return-path records to your DNS provider’s site to start sending emails with Postmark. After you update these records, the verification process may take up to 15 minutes. Subsequently, Postmark will send you an email to confirm completion.
Once you confirm that Postmark is connected and working, answer no to the question if you’d like to send from localhost:
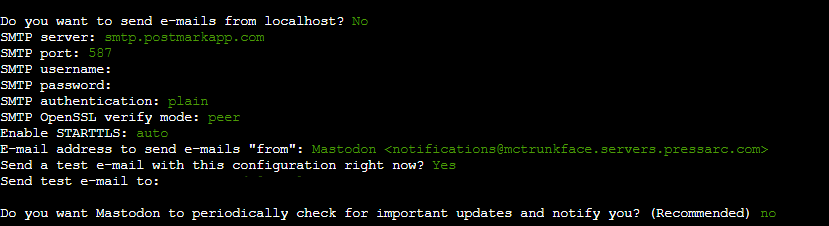
Remember to substitute the placeholders with real data, which you can access in the manage email section of Webdock (or your SMTP provider).
You can complete this tutorial without an SMTP solution by leaving the credential fields empty or at their default settings. Still, this approach is not recommended because it will restrict the full functionality of Mastodon.
Alternatively, you can set up an account with an email service provider and insert your credentials into the configuration file later. However, Mastodon will not send emails, and features like following other accounts will be unavailable until you add these credentials.
Send a test email to verify your SMTP credentials are functioning correctly. Afterward, provide the email address of a recipient that you can access, such as your email.

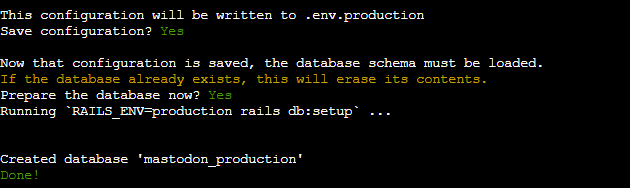
You will be asked to save your configuration. Mastodon will utilize it for setting up your database. Just answer yes to all prompts.
Once you receive the prompt, you must compile Mastodon’s CSS and JavaScript assets. Please remember the warning highlighting the significant time and resource consumption during this process.
Your Mastodon server is ready to go, but it’s not running yet. You’ll need to create an administrator account to log in.

Remember that you won’t be able to select a password for your administrator account at this time. You’ll receive a unique password that you should keep in a safe place. Once you access the admin UI, you can change your password.
Open the generated Mastodon configuration file and check its contents using nano or your preferred text editor:
$ nano ~/live/.env.production
It should be something like this.
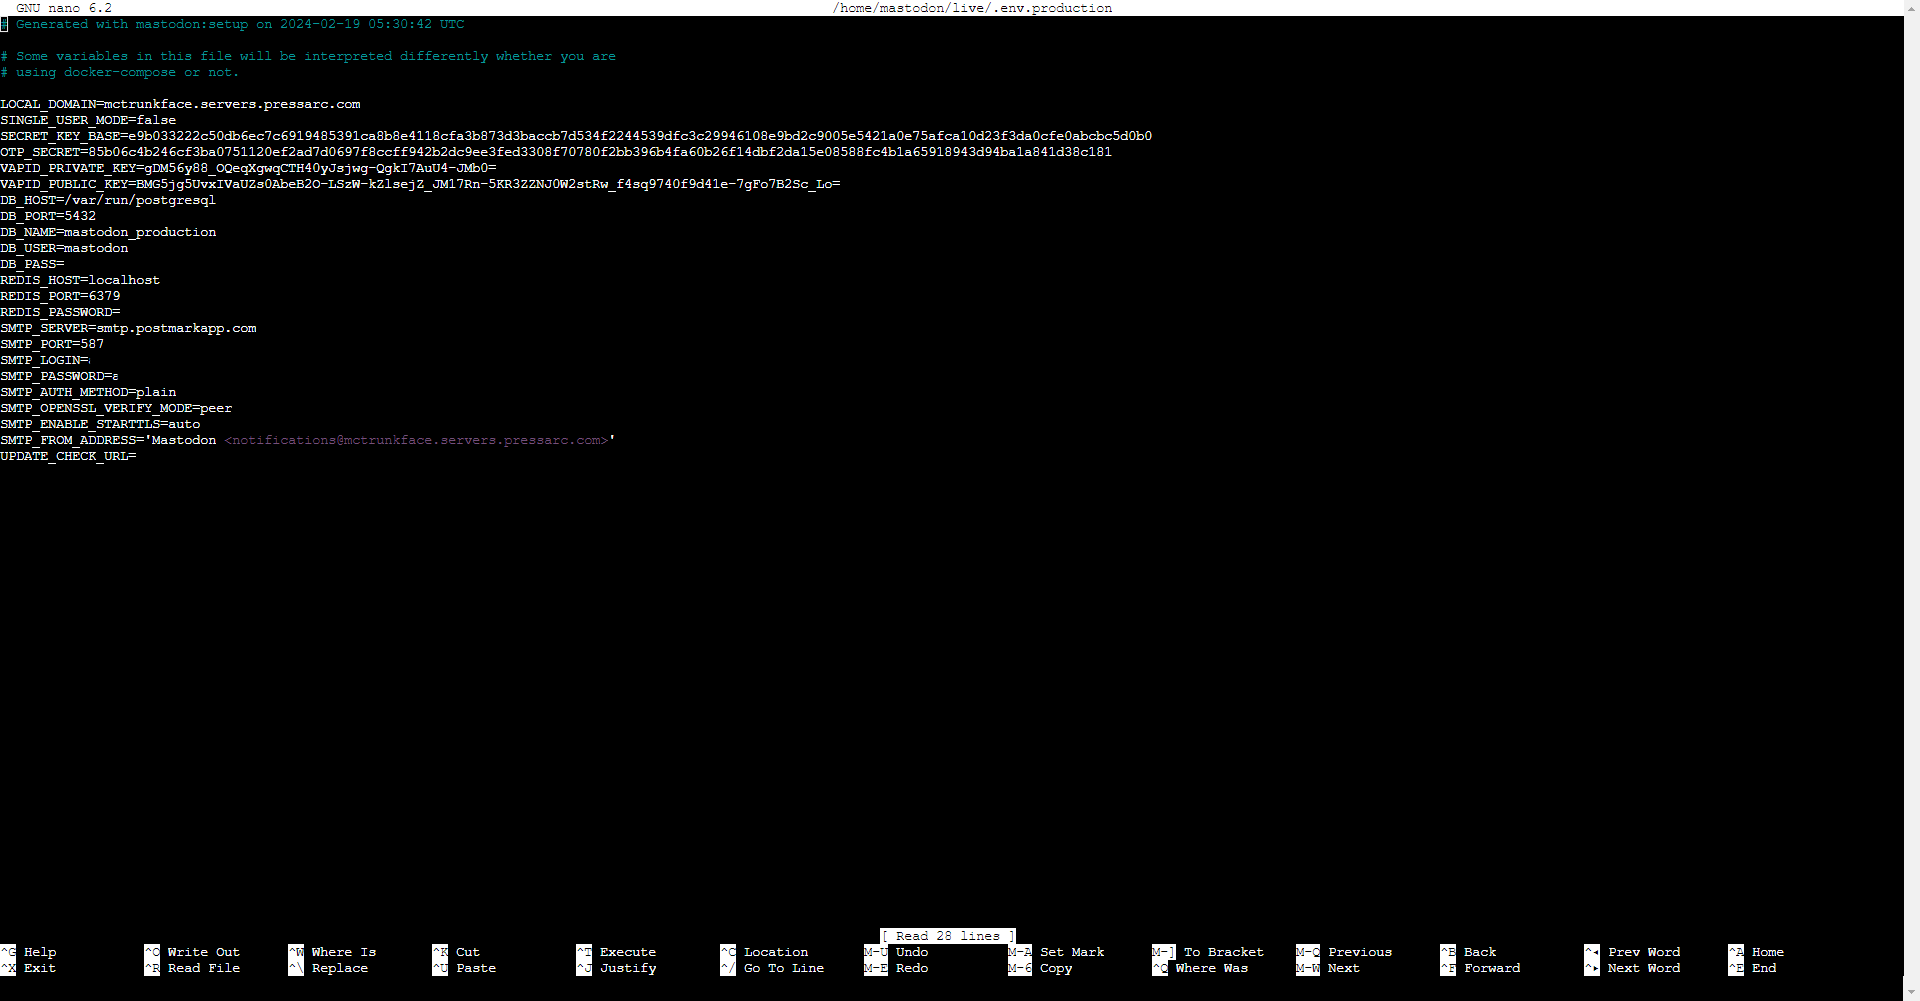
After completing the interactive setup process, feel free to modify this file manually. Once you have reviewed it thoroughly, save and close the file. If you are using nano, you can achieve this by pressing CTRL + X. When prompted, choose Y and press Enter.
Configuring NGINX
To make your Mastodon application server accessible online, you must expose it using a reverse proxy, with NGINX as the recommended option.
Included in the Mastodon repository is a default NGINX configuration file. However, you must customize this file to match your domain and secure it with Certbot and Let’s Encrypt.
The NGINX file provided by Mastodon contains all necessary blocks and directives for deployment, but its default SSL/TLS settings can interfere with Certbot. This guide will take you through two phases of modifications to the NGINX configuration file to avoid these issues before and after integrating Certbot.
Firstly, you should adjust your firewall settings to permit traffic on both HTTP and HTTPS to your NGINX server:
$ sudo ufw allow 80/tcp
$ sudo ufw allow 443/tcp
Copy the NGINX configuration provided in the Mastodon repository. This is essential for users to access your Mastodon website and for Certbot to verify your certificate –
For Webdock Default Stack Users:
$ sudo cp /home/mastodon/live/dist/nginx.conf /etc/nginx/sites-available/webdock
For Others:
$ sudo cp /home/mastodon/live/dist/nginx.conf /etc/nginx/sites-available/mastodon
NGINX commonly uses symbolic links, or symlinks, to manage which server blocks are active. Creating a symlink is similar to making a shortcut on the disk.
This approach lets you remove the shortcut from the sites-enabled directory later while preserving the server block in the sites-available directory for future use. To proceed, create a link with the file you have just created. This step won’t be necessary for Webdock Default Stack users.
For Others:
$ sudo ln -s /etc/nginx/sites-available/mastodon /etc/nginx/sites-enabled/mastodon
Open the copied configuration file with your preferred text editor. Ensure you update the settings so that NGINX can serve your Mastodon website correctly.
Webdock Default Stack Users:
$ sudo nano /etc/nginx/sites-enabled/webdock
Others:
$ sudo nano /etc/nginx/sites-enabled/mastodon
Make sure that the server_name directive specifies your domain and its www. version. There are two occurrences of the server_name directive: one within the server block that handles port 80 for HTTP and another in the block managing port 443 for HTTPS. Verify that both instances of the server_name directive are set to your domain.
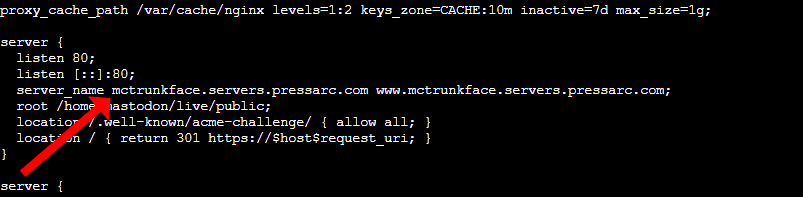

To disable the listen directive in the second server block, you can simply add a # symbol at the start of the line. Using an SSL parameter without configuring your SSL certificate will invalidate this NGINX configuration. Certbot will not be able to generate a certificate. It is recommended to temporarily deactivate this directive and reactivate it only after successfully setting up your certificate.

Configuring SSL
After finishing, save and close the file. You can now proceed to generate your secure SSL/TLS access certificates. As you are utilizing Mastodon’s default NGINX configuration file, which comes pre-filled, you must use the Certbot command with certonly.
By using certonly, you can manually adjust the configuration file to ensure compatibility. Otherwise, Certbot might make incorrect assumptions about your NGINX setup, which may not align with Mastodon’s requirements. Ensure that both the www and non-www. versions of your domain are pointing to the server and then run:
$ sudo certbot certonly --nginx -d yourmastodon.domain -d www.yourmastodon.domain
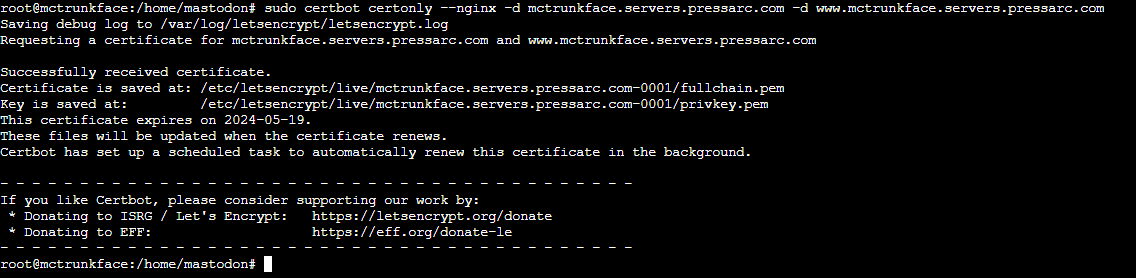
Locate the directory where you saved your certificate and key files first. Next, include this information in your configuration file. Finally, use your preferred text editor to open your configuration file again.
For Webdock’s Default Stack users:
$ sudo nano /etc/nginx/sites-enabled/webdock
Others:
$ sudo nano /etc/nginx/sites-enabled/mastodon
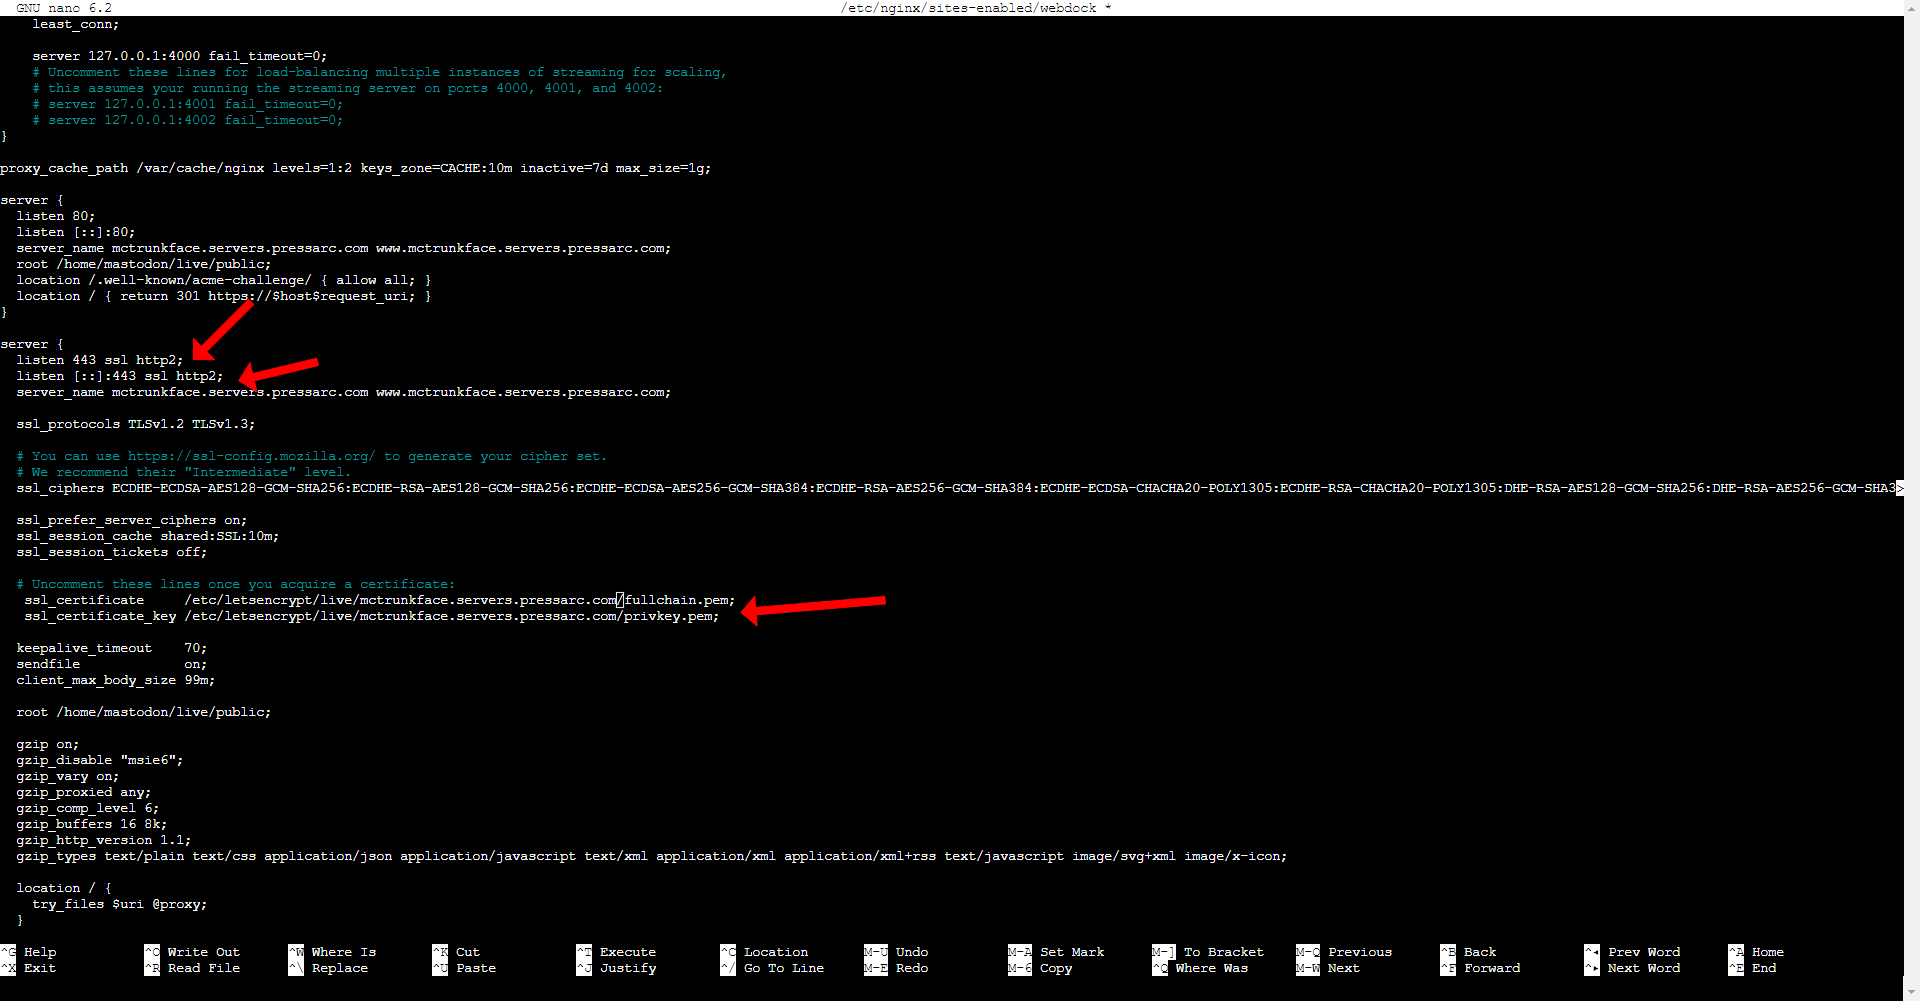
Uncomment the listen directives that were previously disabled for port 443. You can now activate them confidently. These directives used to cause errors before due to the lack of certificates. However, these directives are now valid with the certificates generated by Certbot.
Additionally, make sure to remove the comment tags from the ssl_certificate and ssl_certificate_key directives within the same block. Verify that the file paths specified in these directives correspond to the certificates generated previously by Certbot. Simply substitute “example.com” with the real domain name to achieve this.
Save your document and close the text editor. Confirm the correctness of your NGINX configuration file by running the following command:
$ sudo nginx -t
To complete the process, please restart NGINX for the changes to take effect:
$ sudo systemctl reload nginx
NGINX is now serving your Mastodon server. However, you must set up some additional services before accessing your website.
Setting Up Services
Mastodon comprises three system services to maintain functionality and uptime: mastodon-web, mastodon-sidekiq, and mastodon-streaming. These services allow Mastodon always to restart and keep the web application and asynchronous task scheduling alive. You need to copy these services from the Mastodon source first:
$ sudo cp /home/mastodon/live/dist/mastodon-*.service /etc/systemd/system/
Review these files, assuming everything is set up with the default settings in mind, including using Mastodon as your user. Suppose you’ve made any changes from the defaults or the recommendations in this tutorial.
In that case, you should open these files in your preferred text editor and verify if there are any usernames or paths that require modification:
$ sudo nano /etc/systemd/system/mastodon-*.service
Following the steps in this tutorial ensures no further changes are necessary. After inspecting your files, please close them. Subsequently, proceed to activate the services. Initially, execute daemon-reload to ensure their recognition:
$ sudo systemctl daemon-reload
Next, you can activate your recently identified services:
$ sudo systemctl enable --now mastodon-web mastodon-sidekiq mastodon-streaming

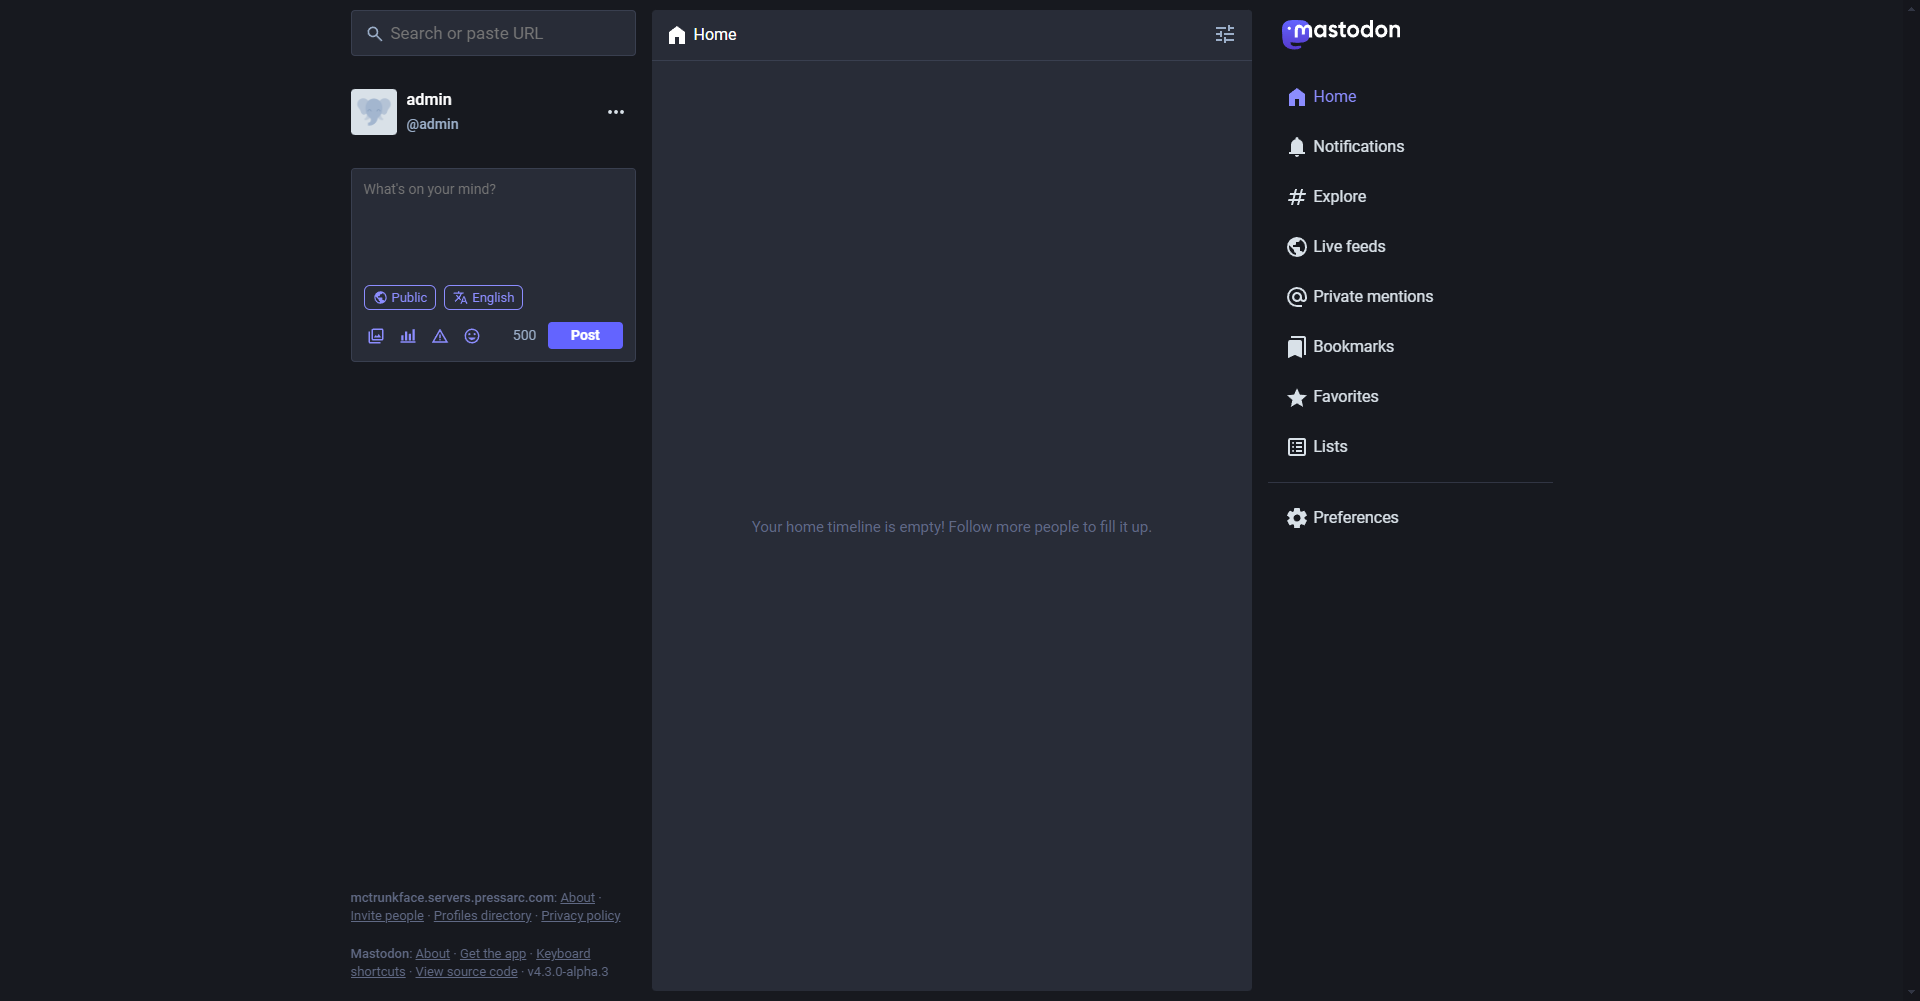
Your Mastodon installation has been completed. To access Mastodon in your browser, visit your domain. Please be aware that when you first open Mastodon, some backend processes may still be initializing, leading to an error message like “We’re sorry, but something went wrong on our end.”
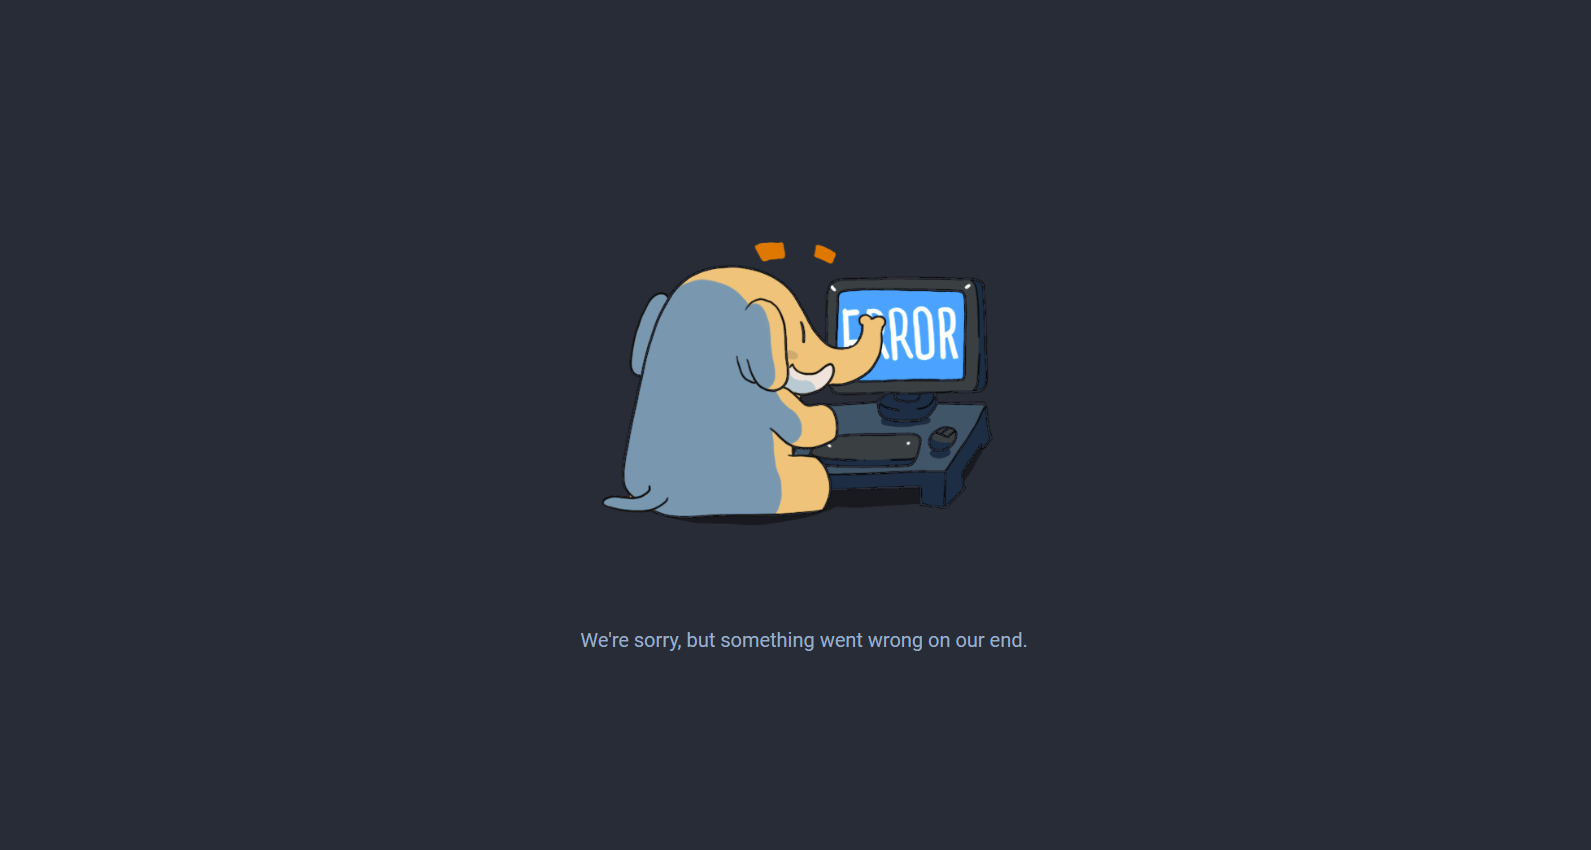
If this happens, wait a few seconds and then perform a hard refresh by holding Shift while clicking the refresh button in your browser. This should resolve the issue and only be necessary the first time you access Mastodon.
You can log in and begin by using the administrator username and password generated earlier. You should update your password and adjust the administrative settings on your new Mastodon server.
Wrapping Up
In wrapping up, as you follow the steps in the ultimate guide to setting up Mastodon, you can create a unique and decentralized social networking experience.
You can enjoy a safe and inclusive online community by setting up your instance, adjusting settings, and connecting with like-minded individuals.
Embracing Mastodon’s open-source nature and focus on user privacy can help you have a fulfilling social media experience that values your individuality and control over your online presence.
Meet Aayush Nair, a WordPress website designer with almost a decade of experience who crafts visually appealing websites and has a knack for writing engaging technology blogs. In his spare time, he enjoys illuminating the minds around him.
