Introduction
cPanel is a web hosting control panel that allows you to manage different websites and server tasks directly from your hosting account. With cPanel, you can track server resources like bandwidth, handle your domain names, arrange your website files, and create email accounts, among other features.
Because of its easy-to-use interface, many hosting providers offer cPanel options like shared hosting, cloud hosting, VPS hosting, and dedicated servers. This makes it a favored choice for users looking to streamline their hosting experience.
With Webdock, you won’t need an additional control panel to manage your website, as all servers on Webdock come with an inbuilt control panel, free of cost. However, if you plan to host multiple websites, especially hosting them for clients, using cPanel could be a good option as it is ubiquitous, and your clientele might find it easier to use.
So, in this guide, we’ll go over how to install cPanel on your Webdock server. Let’s see how.
Prerequisites
Before installing cPanel, your server should have at least:
- A blank Ubuntu 22.04 installation
- 4 GB of RAM
- 50 GB Storage
- 2 vCPUs
A server with such specs would cost at least $24/month with leading VPS providers. However, with Webdock, this server would cost only $5.30/mo. Speak about a savings of around 78%!
Moreover, you would need an active cPanel license, which you setup while you install cPanel. You’ll also need a domain. You should point your server’s IP to your domain before moving forward to fast-track the process, as DNS propagation sometimes takes up to an hour or even more.
Installing cPanel
Login into your server as the root user:
$ sudo su
Update the package list and upgrade the system to ensure you have the latest packages:
# apt update && sudo apt full-upgrade -y
To get started with cPanel installation on your Ubuntu system, you first need to install a few necessary packages. You can do this by running the command below to set everything up:
# apt-get install perl make curl bash bc rpm2cpio cpio perl-modules build-essential
This command would install the following:
- perl: A programming language that is highly capable and used for various tasks, including text processing and system administration.
- make: A build automation tool that automatically builds executable programs and libraries from source code.
- curl: A command-line tool for transferring data with URLs, supporting various protocols like HTTP, HTTPS, FTP, etc.
- bash: The Bourne Again SHell, a command processor that typically runs in a text window where the user types commands.
- bc: An arbitrary precision calculator language, useful for performing mathematical calculations.
- rpm2cpio: A utility that converts RPM package files into CPIO archives, allowing for extraction of files.
- cpio: A tool for creating and extracting archives, often used in conjunction with other commands to manage file archives.
- perl-modules: A collection of modules that extend the functionality of Perl.
- build-essential: A package that includes essential tools and libraries for building software, such as gcc, g++, and make.
Most of them are usually preinstalled in Ubuntu, but it is still a good idea to run the command to be on the safer side.
We would also first need to configure the firewall first to ensure nothing goes haywire during the rest of the process.
Using the Ubuntu Firewall (UFW), unlock the said ports:
# ufw allow 2087

# ufw allow 2083

# ufw allow 2082

# ufw allow 2086

# ufw enable
Then, download the installation script:
# curl -o latest -L https://securedownloads.cpanel.net/latest
And make it executable:
# chmod +x latest
And run:
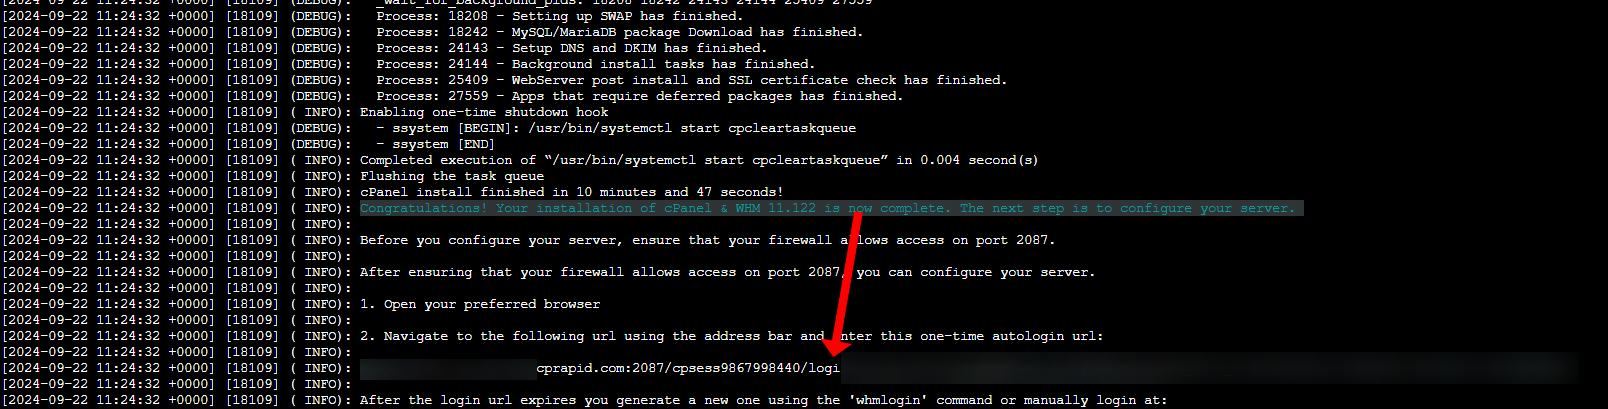
# ./latest
This process may take several minutes to complete. The script will install all additional necessary components and dependencies. Boiling and having a cup of Joe would be a great option to pass on the time 🙂
After finishing the installation, you'll need to set up cPanel. The initial setup wizard will help you through the essential configuration steps. To access the cPanel setup wizard, simply click on the “magic” link it provides after installation.
Once you click on it, you’ll be provided with legal docs that you must go through and confirm that you accept them.
Then, you’ll be prompted to start your cPanel trial. Follow the steps to set up your account and try it out. You’ll also be asked to set up nameservers and other things in the process.
Once you finish the setup, you’ll be taken to the WHM admin area, which is the control center for your server. Here, you can carry out all the tasks you need to host and manage your clients’ websites. You can also update the root password.
It is a good idea to configure IP Tables will be configured for additional security. Fail2Ban is usually preinstalled on Ubuntu. But to be sure, try installing it anyway:
# apt install fail2ban -y
Once installed or confirmed, create a custom configuration for cPanel:
# nano /etc/fail2ban/jail.local
Add the following content and save the file:
[cpanel-iptables]

enabled  = true
filter   = cpanel-iptables
action   = iptables[name=cpanel, port=cpanel, protocol=tcp]
logpath  = /usr/local/cpanel/logs/access_log
maxretry = 5
And restart Fail2Ban to apply:
# systemctl restart fail2ban
In Conclusion
By following these steps, you should be able to install and configure cPanel on your Webdock server. Remember to keep your cPanel installation up-to-date by regularly running:
# /usr/local/cpanel/scripts/upcp
Enjoy the powerful features and ease of use that cPanel provides!
Meet Aayush , a WordPress website designer with almost a decade of experience who crafts visually appealing websites and has a knack for writing engaging technology blogs. In his spare time, he enjoys illuminating the minds around him.
