Introduction
Want to get your own super secure internet connection going? Setting up your own OpenVPN might sound like a big deal, but it's totally doable, and we're here to show you how! Think of it like building your own secret tunnel for your internet stuff. This guide will take you through the very first steps to get you started, so you can browse with a little extra peace of mind. Let's jump in and see how it's done!
Prerequisites
- A fresh Webdock cloud Ubuntu instance.
- Make a note of your Webdock server IPv4 address
- You have shell (SSH) access to your VPS.
Your initial step in setting up your OpenVPN connection is to visit the official OpenVPN website at http://openvpn.com/. Here, you will need to sign in to your existing OpenVPN account. If you don't have an account yet, you'll need to register first. Signing in grants you access to your account dashboard where you can manage your subscription and find necessary resources for the VPN setup process.
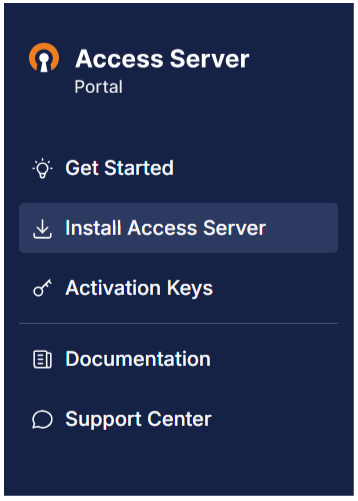
Select the option to "Install Access Server" within the portal. The OpenVPN Access Server is the software you'll use to create your VPN server. Upon choosing this, you will be presented with an installation command specific to your server's operating system. Make sure to carefully copy this entire command, as you will need it in the next step to install the Access Server software on your chosen server. This command is essential for setting up the core of your VPN.

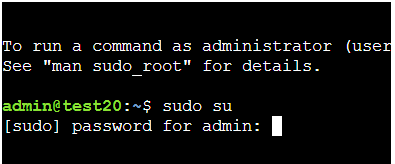
Now, go back to your server's command line and paste the installation command you copied earlier. Press Enter to run the command. This will begin the installation of the OpenVPN Access Server. Allow the process to complete, which may take a few minutes depending on your server's speed.
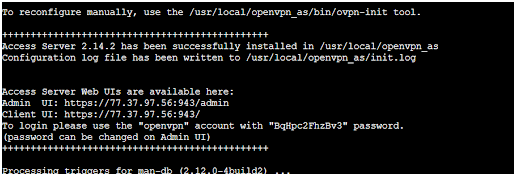
Once the installation finishes, carefully scroll back through the text displayed in the terminal window. Look for a section within the installation logs that contains your administrative username and password for the OpenVPN Access Server. These credentials are often displayed with clear labels like "Admin Username:" and "Admin Password:". Make sure to note these down securely as you will need them to access the server's web interface.
Alright, now open your web browser and head to your admin dashboard. You'll usually find it at your server's IP address followed by port 943 (like https://your_server_ip:943). Your browser might give you a security warning – you can probably just ignore that and proceed. Then, log in using the username and password you grabbed from the installation logs. Easy peasy.
Creating the config file
After successfully logging in to the admin dashboard, please navigate to this URL:
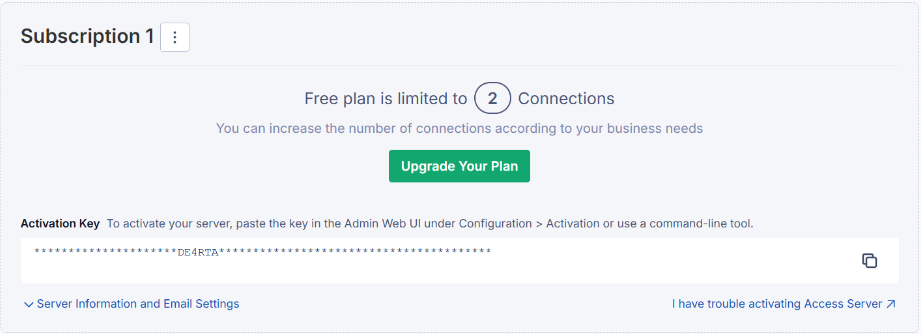
https://as-portal.openvpn.com/billing/activation-keys/subscriptions
Once there, locate and promptly copy the specific activation code for further processing or configuration.
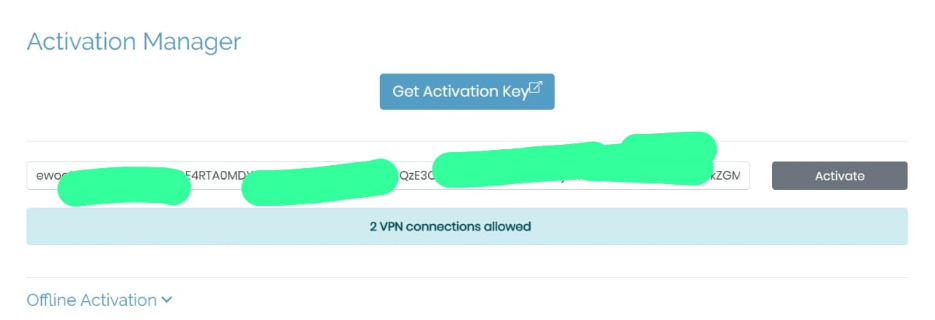
Copy the key to your dashboard, paste it into the activation field, and then click the activate button to proceed.
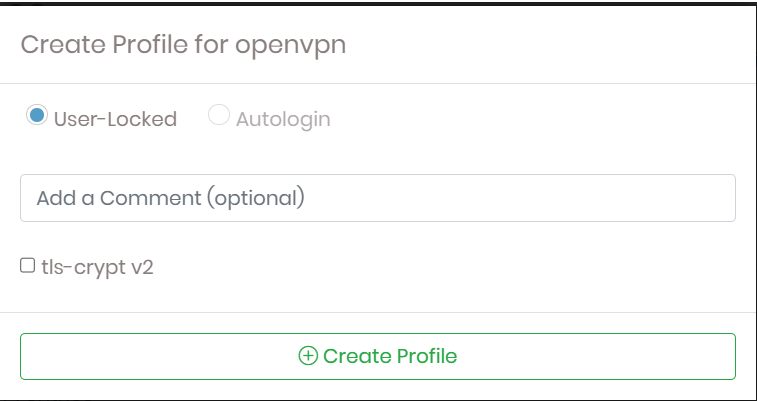
A .ovpn file will be downloaded. Import that to your OpenVPN client (https://openvpn.net/client) and connect.
Conclusion
In this article, we’ve successfully set up our own private VPN on a Webdock Ubuntu server. If you want to learn more about OpenVPN, you can read the official documentation here.
